Introduction:
Windows are often considered the eyes of a home, offering glimpses into its personality and style. Custom blinds provide not only practical benefits like light control and privacy but also serve as an opportunity to enhance the aesthetic appeal of any room. DIY custom blinds offer a cost-effective and personalized solution for homeowners looking to elevate their windows without breaking the bank. In this article, we’ll explore 10 creative DIY custom blind ideas to inspire your next home improvement project.
1. Fabric Roller Shades:
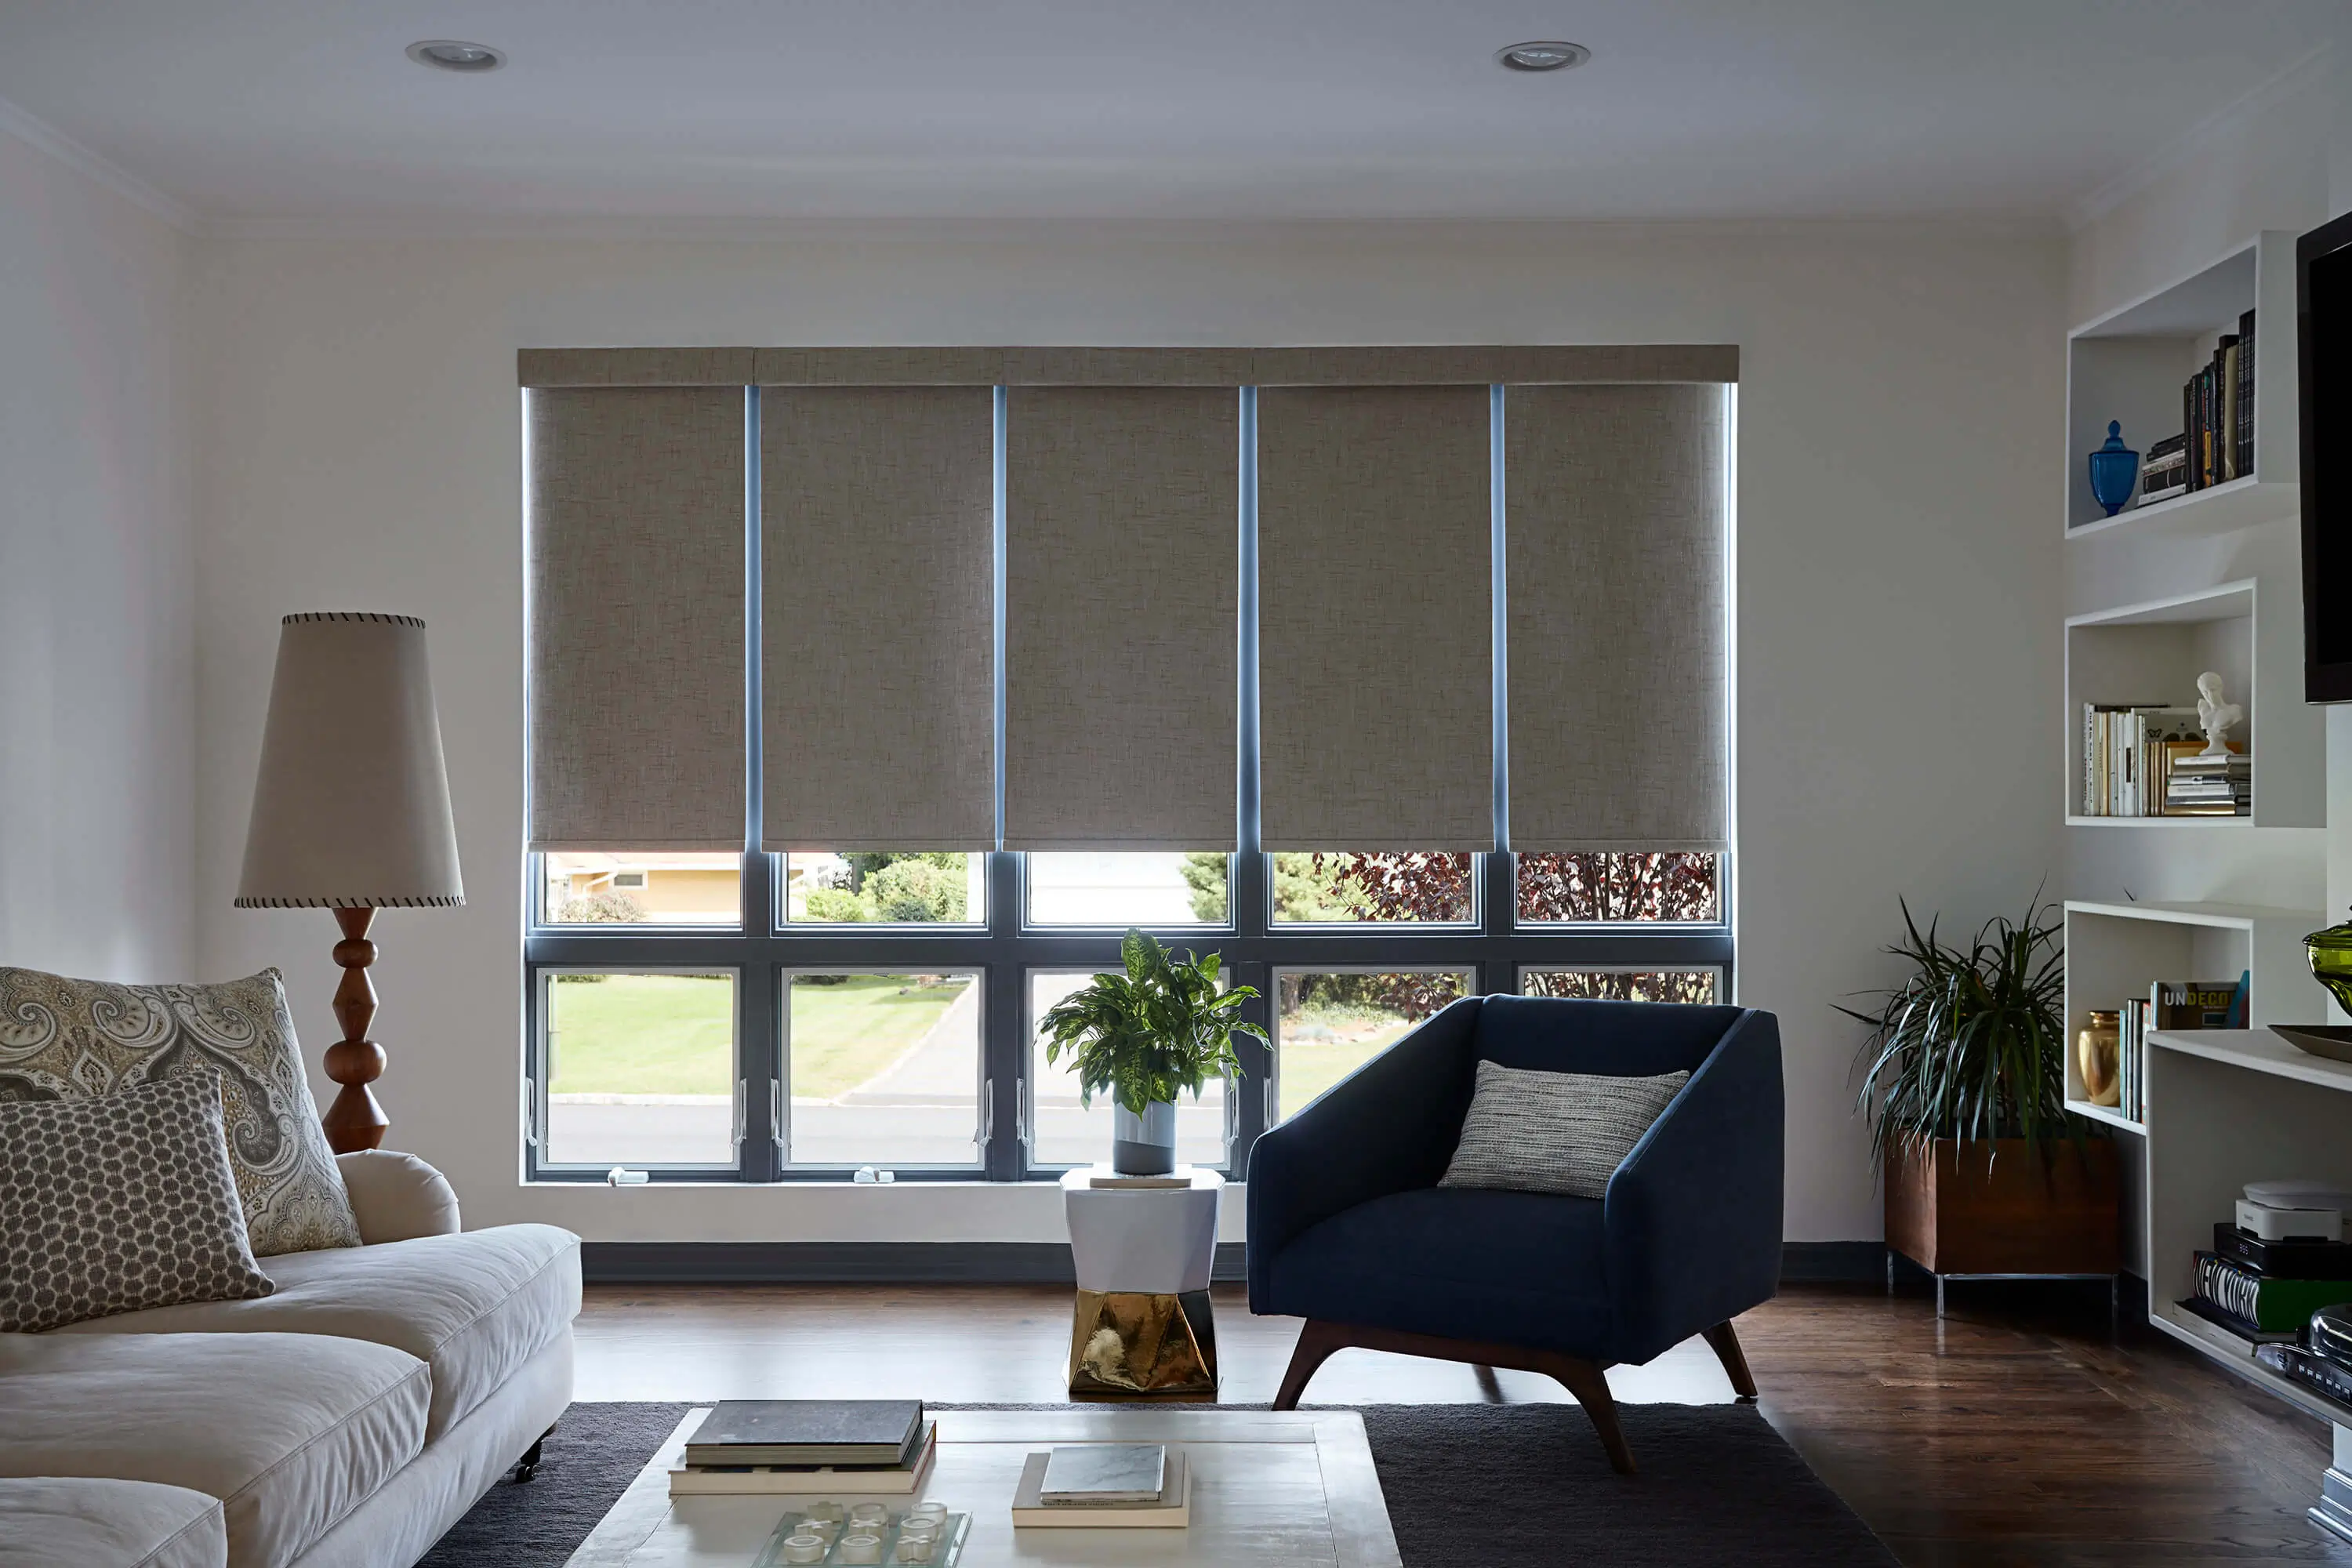
source: blindstogo.com
Fabric roller shades are a versatile option for DIY custom blinds, allowing you to choose from a wide range of fabrics to match your décor. To create fabric roller shades, you’ll need roller shade kits, fabric of your choice, fabric glue, and basic sewing supplies. Simply measure and cut the fabric to fit the roller shade, then attach it using fabric glue or sew it in place. Fabric roller shades offer endless possibilities for customization, from bold patterns to subtle textures.
2. Bamboo Roman Shades:
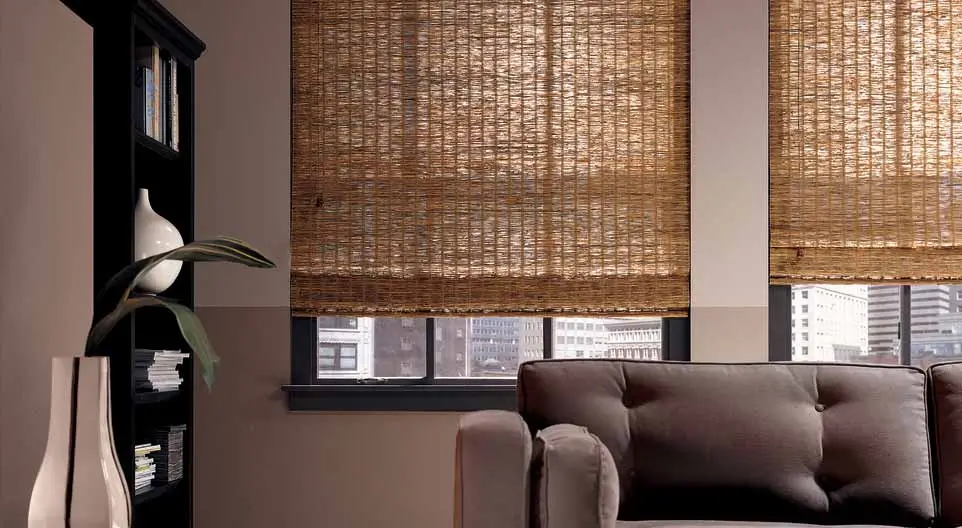
source: cottageinterior.ae
Bamboo roman shades add a touch of natural warmth and texture to any room. To make your own bamboo roman shades, you’ll need bamboo blinds, fabric liner (optional), and basic hardware for installation. Start by removing the existing fabric from the bamboo blinds if necessary, then measure and cut the fabric liner to fit. Attach the fabric liner to the back of the bamboo blinds using fabric glue or sewing it in place. Finish by installing the blinds according to the manufacturer’s instructions, and enjoy the natural beauty of your DIY bamboo roman shades.
3. Painted Mini Blinds:
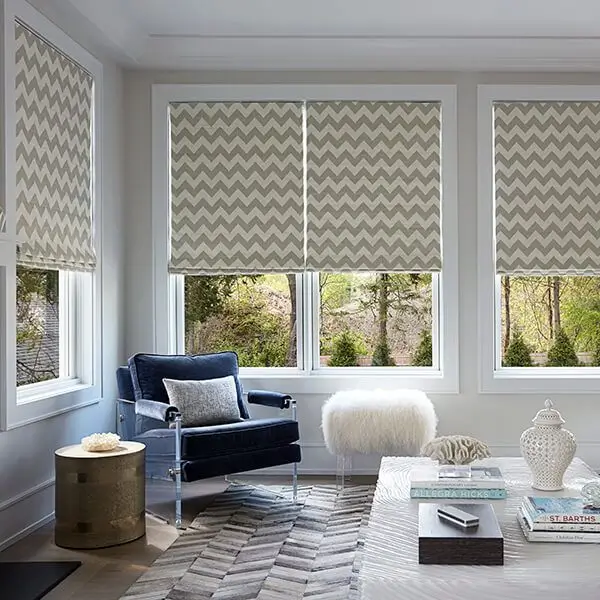
source: topsdecor.com
Give plain mini blinds a custom look with a coat of paint. This DIY project is simple yet effective, allowing you to customize your blinds to match any color scheme. Start by cleaning the mini blinds thoroughly and removing any dust or debris. Next, use painter’s tape to protect the strings and mechanisms of the blinds. Then, apply a coat of primer followed by your desired paint color. Once the paint is dry, remove the painter’s tape and reinstall the blinds. Painted mini blinds add a pop of color and personality to any room.
4. Stenciled Roller Shades:
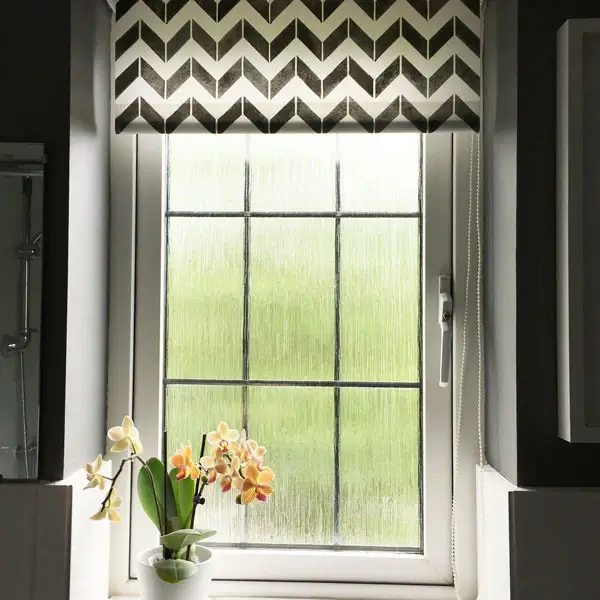
source: thestencilstudio.com
Stenciled roller shades offer a fun and creative way to customize your window treatments. To make stenciled roller shades, you’ll need plain roller shades, stencil designs, acrylic paint, and stencil brushes. Begin by selecting your stencil designs and positioning them on the roller shades. Secure the stencils in place with painter’s tape, then apply acrylic paint using stencil brushes. Once the paint is dry, carefully remove the stencils to reveal your custom design. Stenciled roller shades allow you to add intricate patterns and motifs to your windows with ease.
5. No-Sew Fabric Blinds:
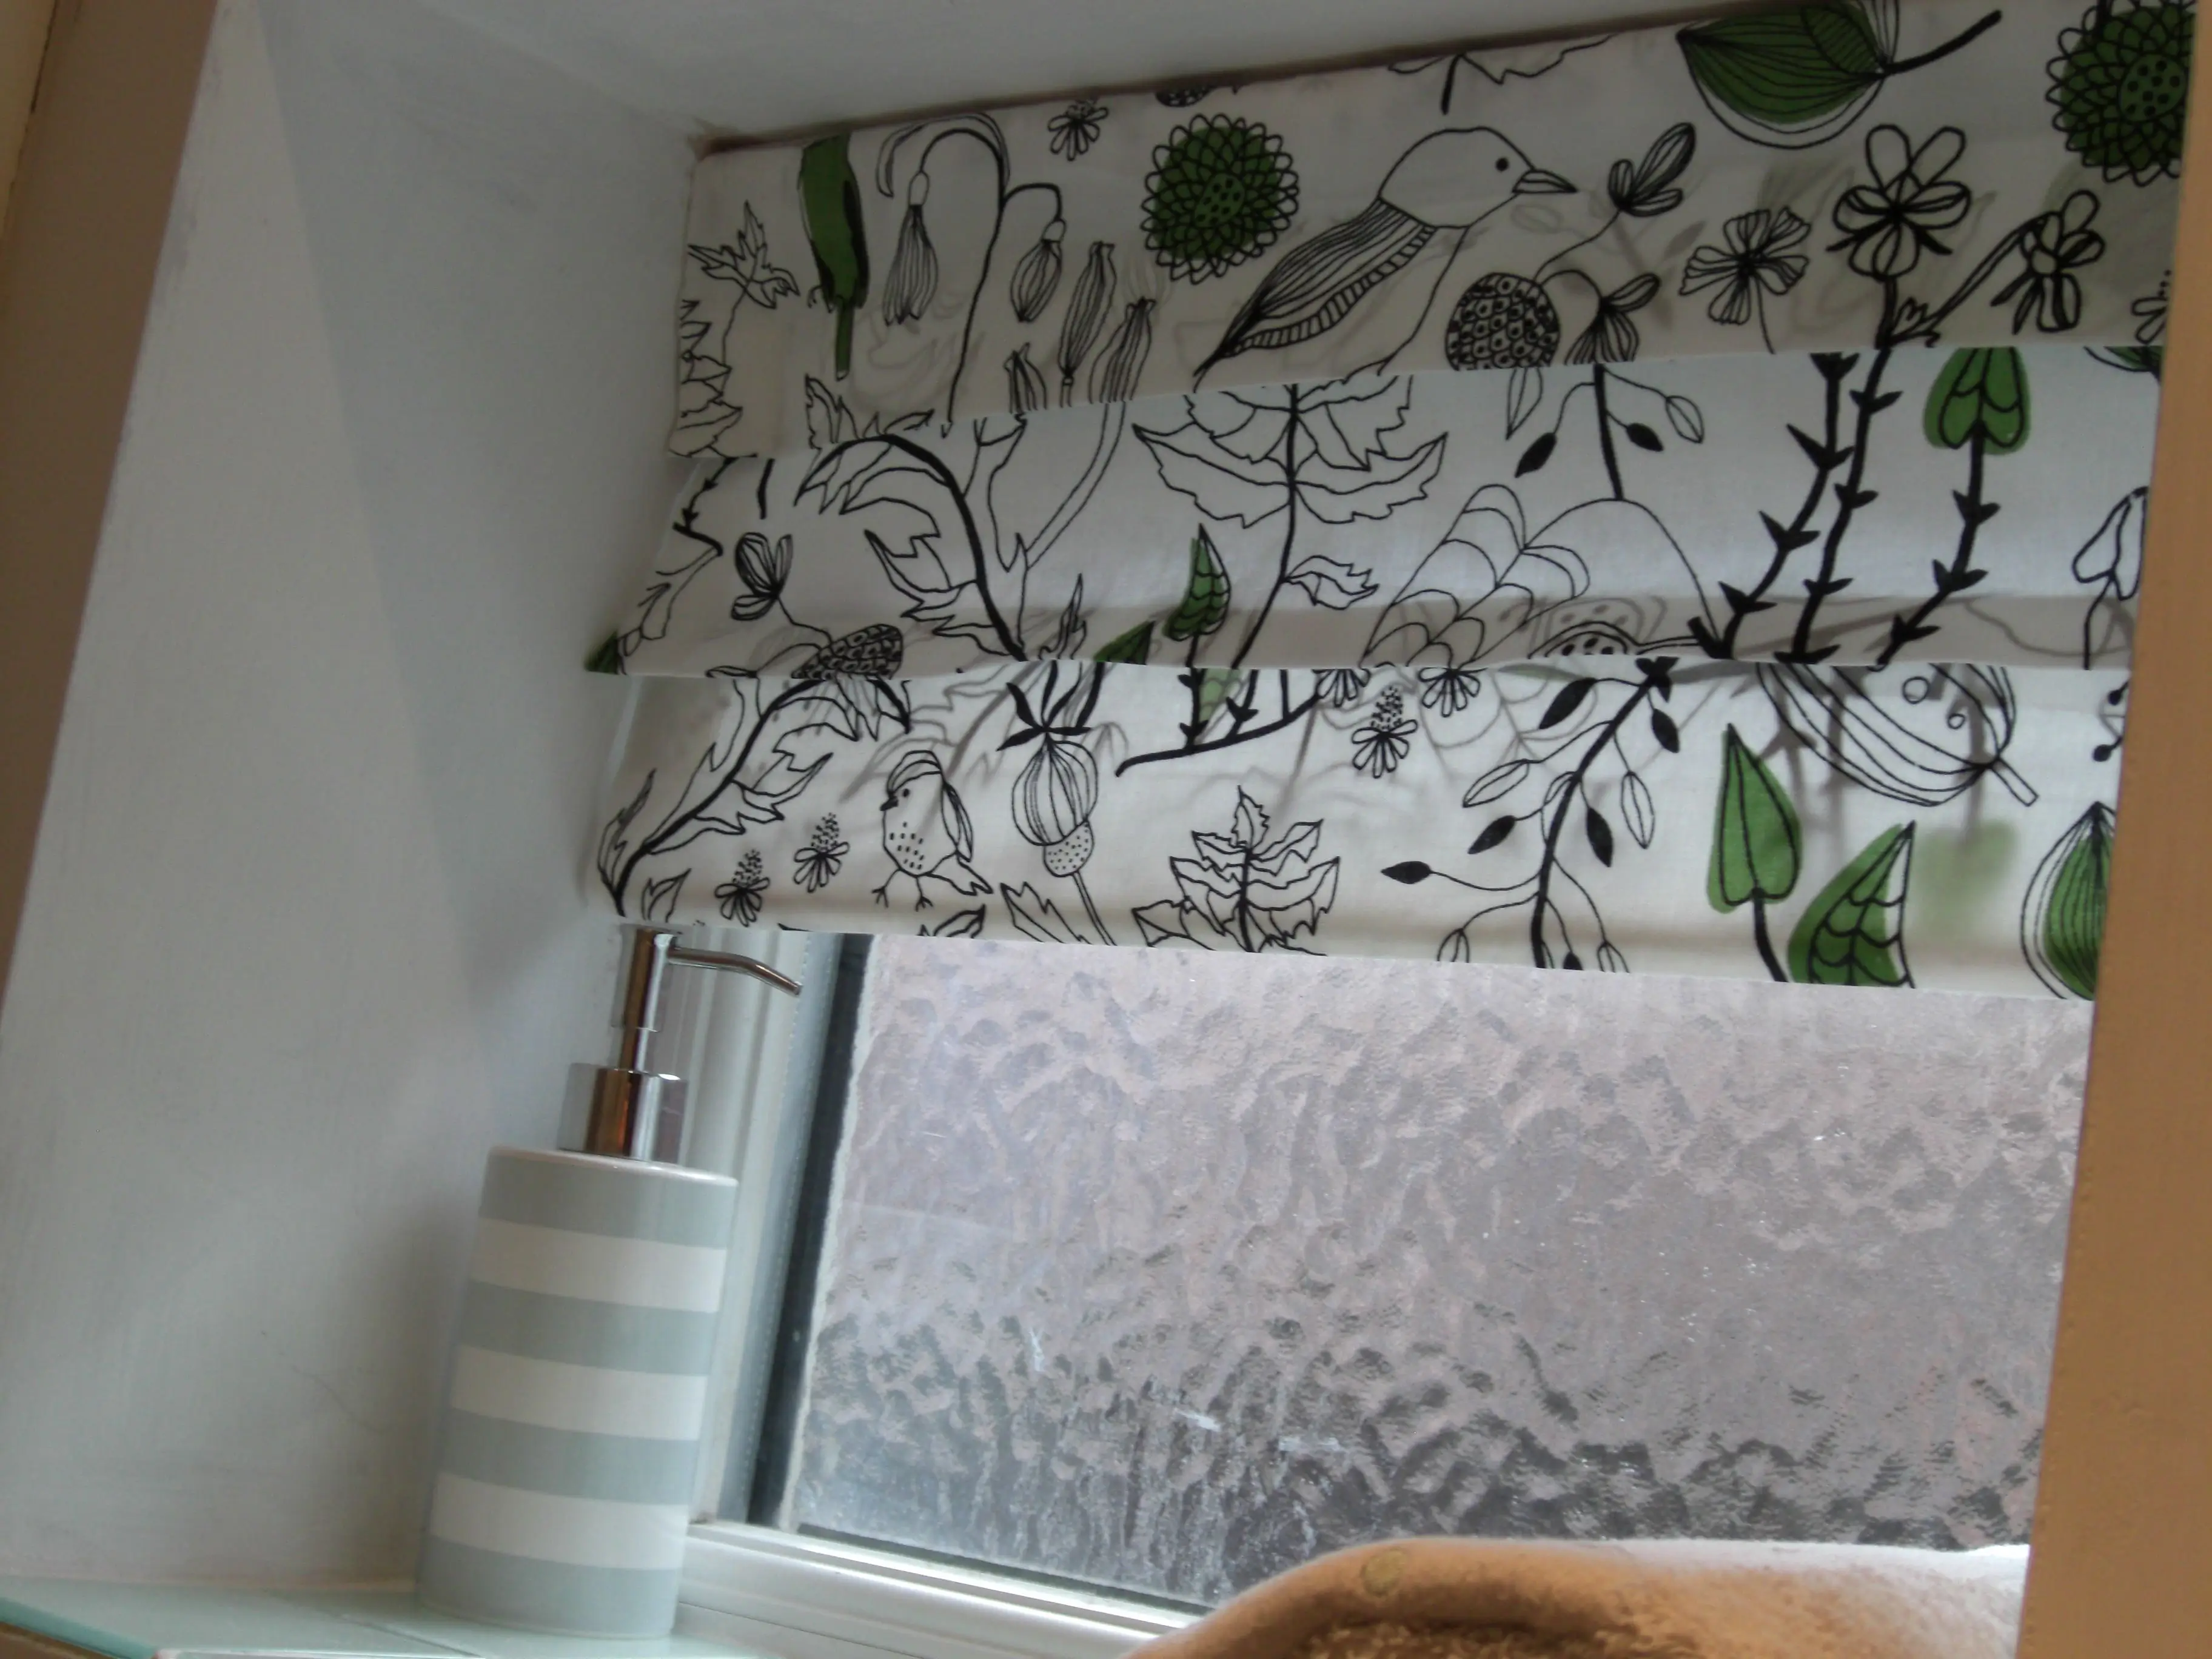
source: Pinterest.com
If you’re not confident with a needle and thread, no-sew fabric blinds offer a simple alternative. To make no-sew fabric blinds, you’ll need fabric of your choice, fabric glue, and tension rods or hardware for installation. Start by measuring and cutting the fabric to fit your window, leaving a few extra inches on each side for hemming. Use fabric glue to create hems along the edges of the fabric, then fold and press them in place. Once the glue is dry, hang the fabric blinds using tension rods or install them with hardware. No-sew fabric blinds are a quick and easy way to add custom window treatments to your home.
6. Woven Wood Shades:
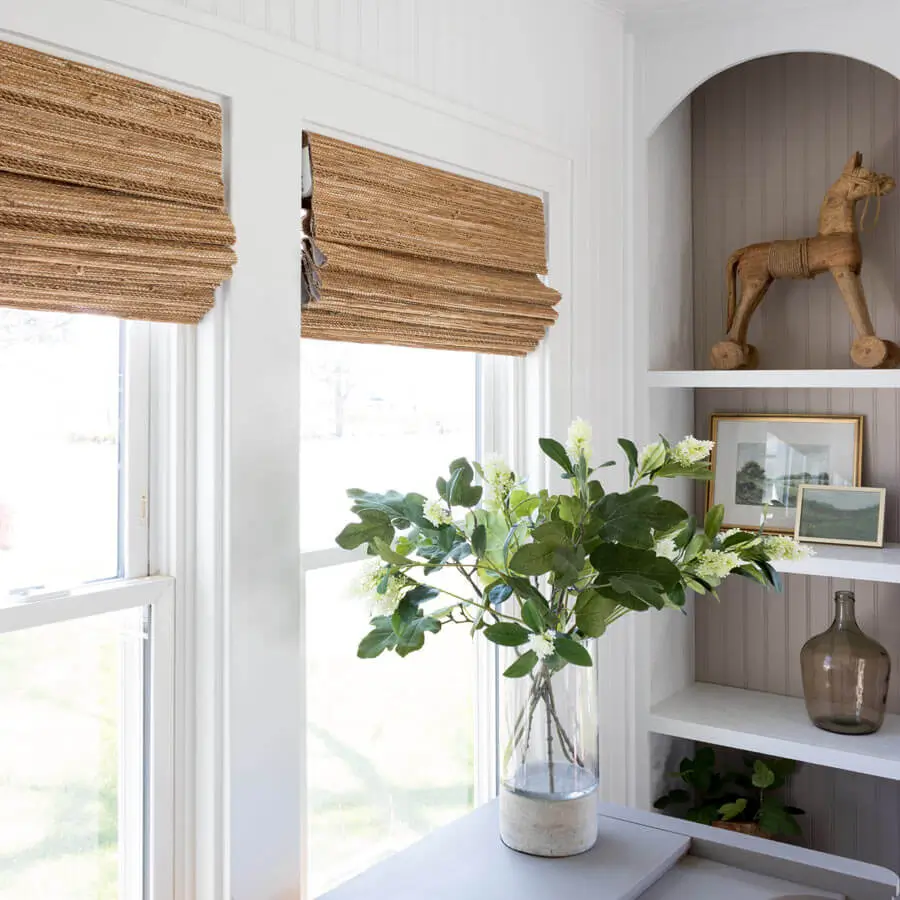
source: selectblinds.com
Woven wood shades add a rustic and organic touch to any room, bringing warmth and texture to your windows. To create your own woven wood shades, you’ll need bamboo or rattan reeds, twine or string, and basic hardware for installation. Start by cutting the reeds to the desired length, then weave them together to form the shade. Secure the reeds in place with twine or string, leaving gaps between them to allow light to filter through. Finish by installing the woven wood shade according to the manufacturer’s instructions, and enjoy the natural beauty of your DIY creation.
7. Fabric Panel Blinds:
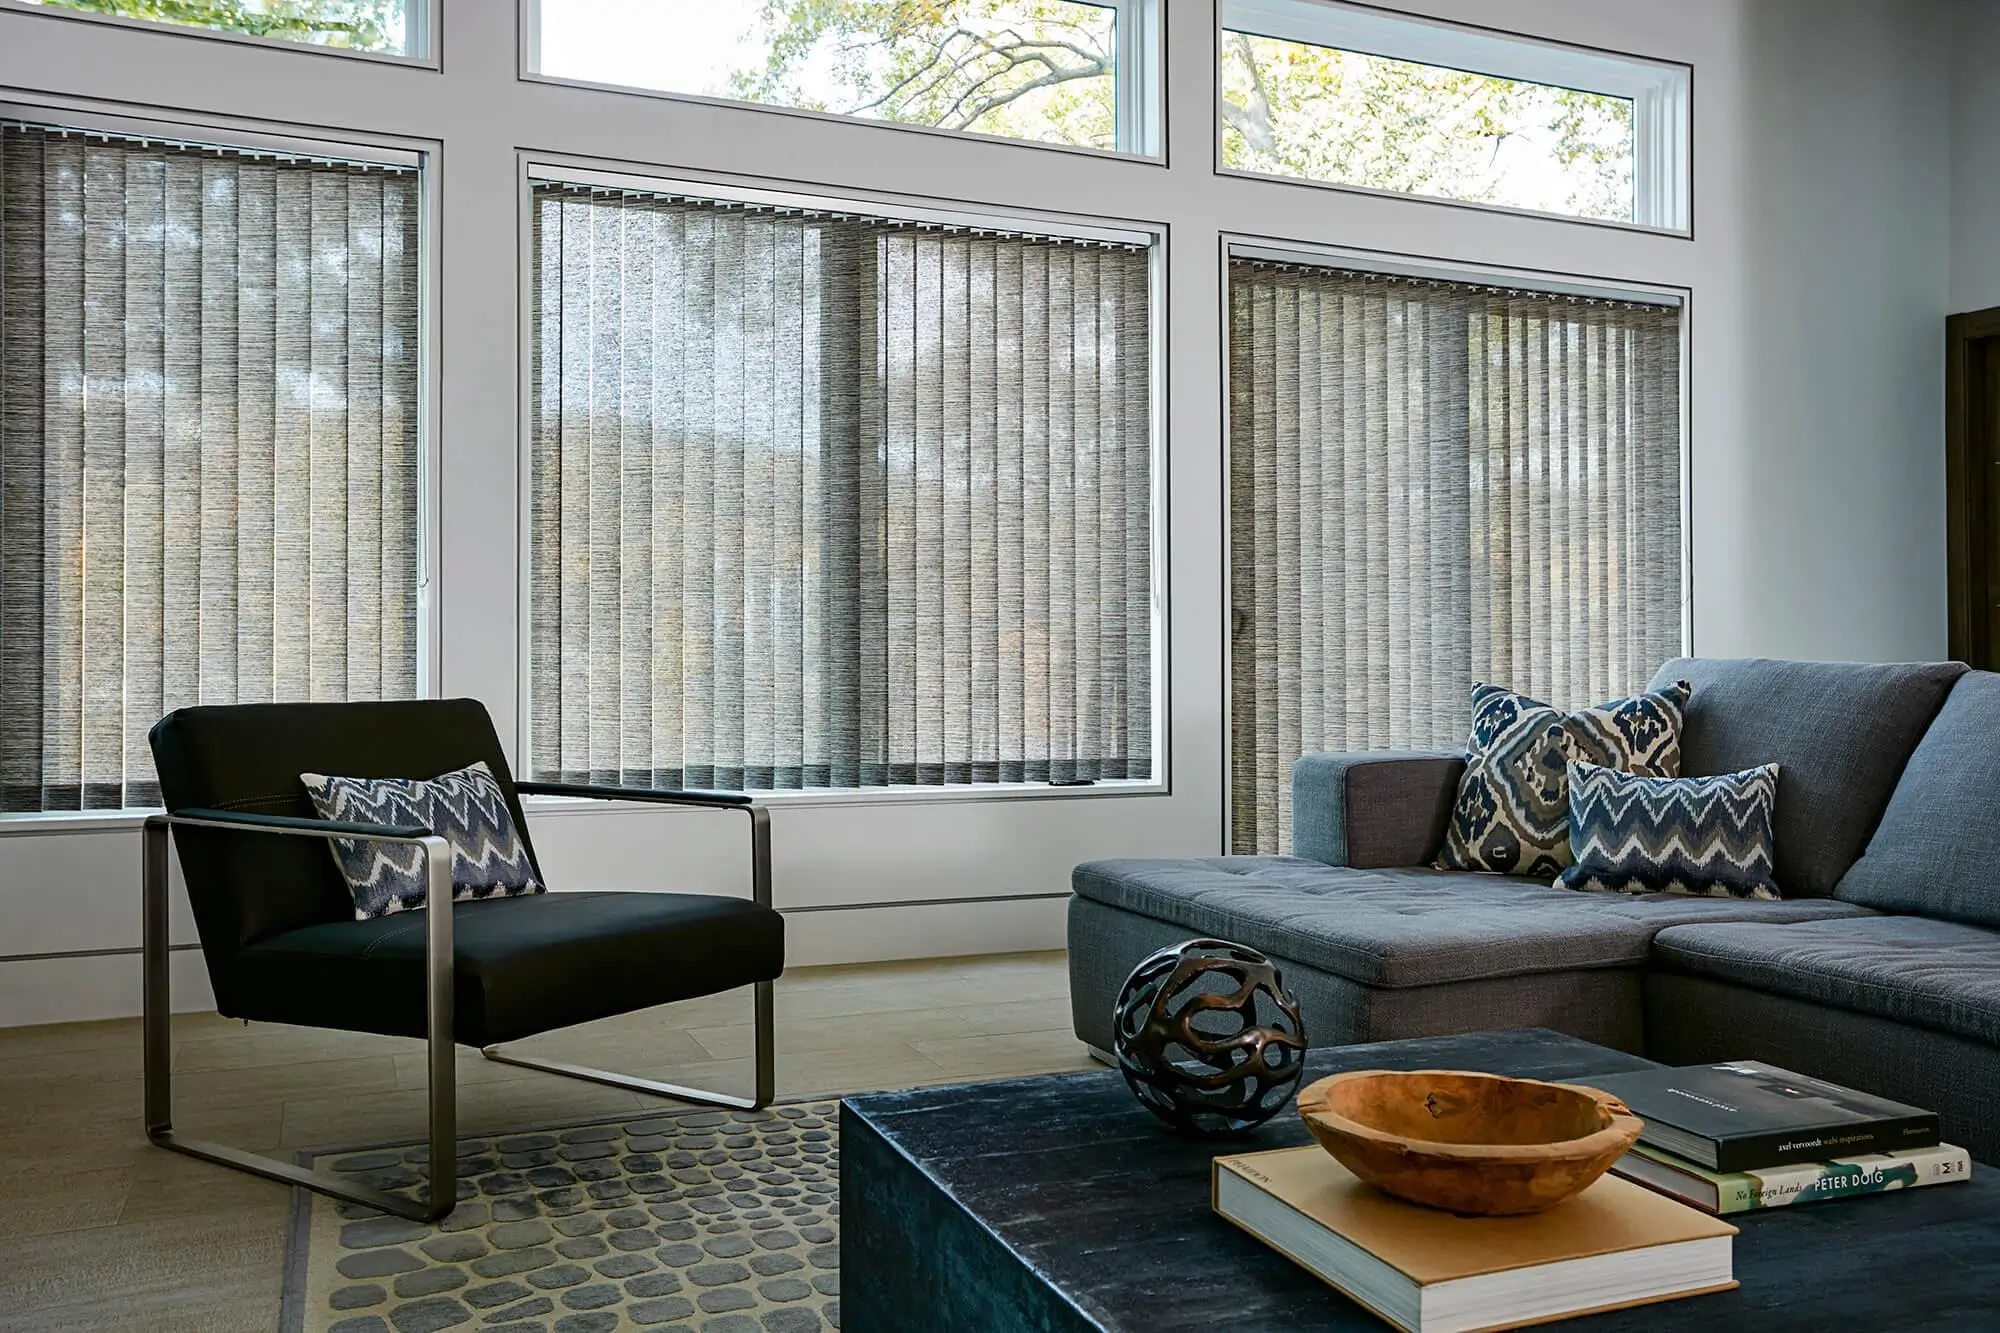
source: blindstogo.com
Fabric panel blinds offer a modern and streamlined alternative to traditional blinds, perfect for covering large windows or sliding glass doors. To make fabric panel blinds, you’ll need fabric of your choice, fusible interfacing, and basic sewing supplies. Start by measuring and cutting the fabric into panels to fit your window. Apply fusible interfacing to the back of the fabric panels to add structure and stability. Then, sew the fabric panels together along the edges to create a cohesive window treatment. Fabric panel blinds are versatile and customizable, allowing you to mix and match fabrics to suit your style.
8. Vintage Sheet Curtains:
source: pinterest.com
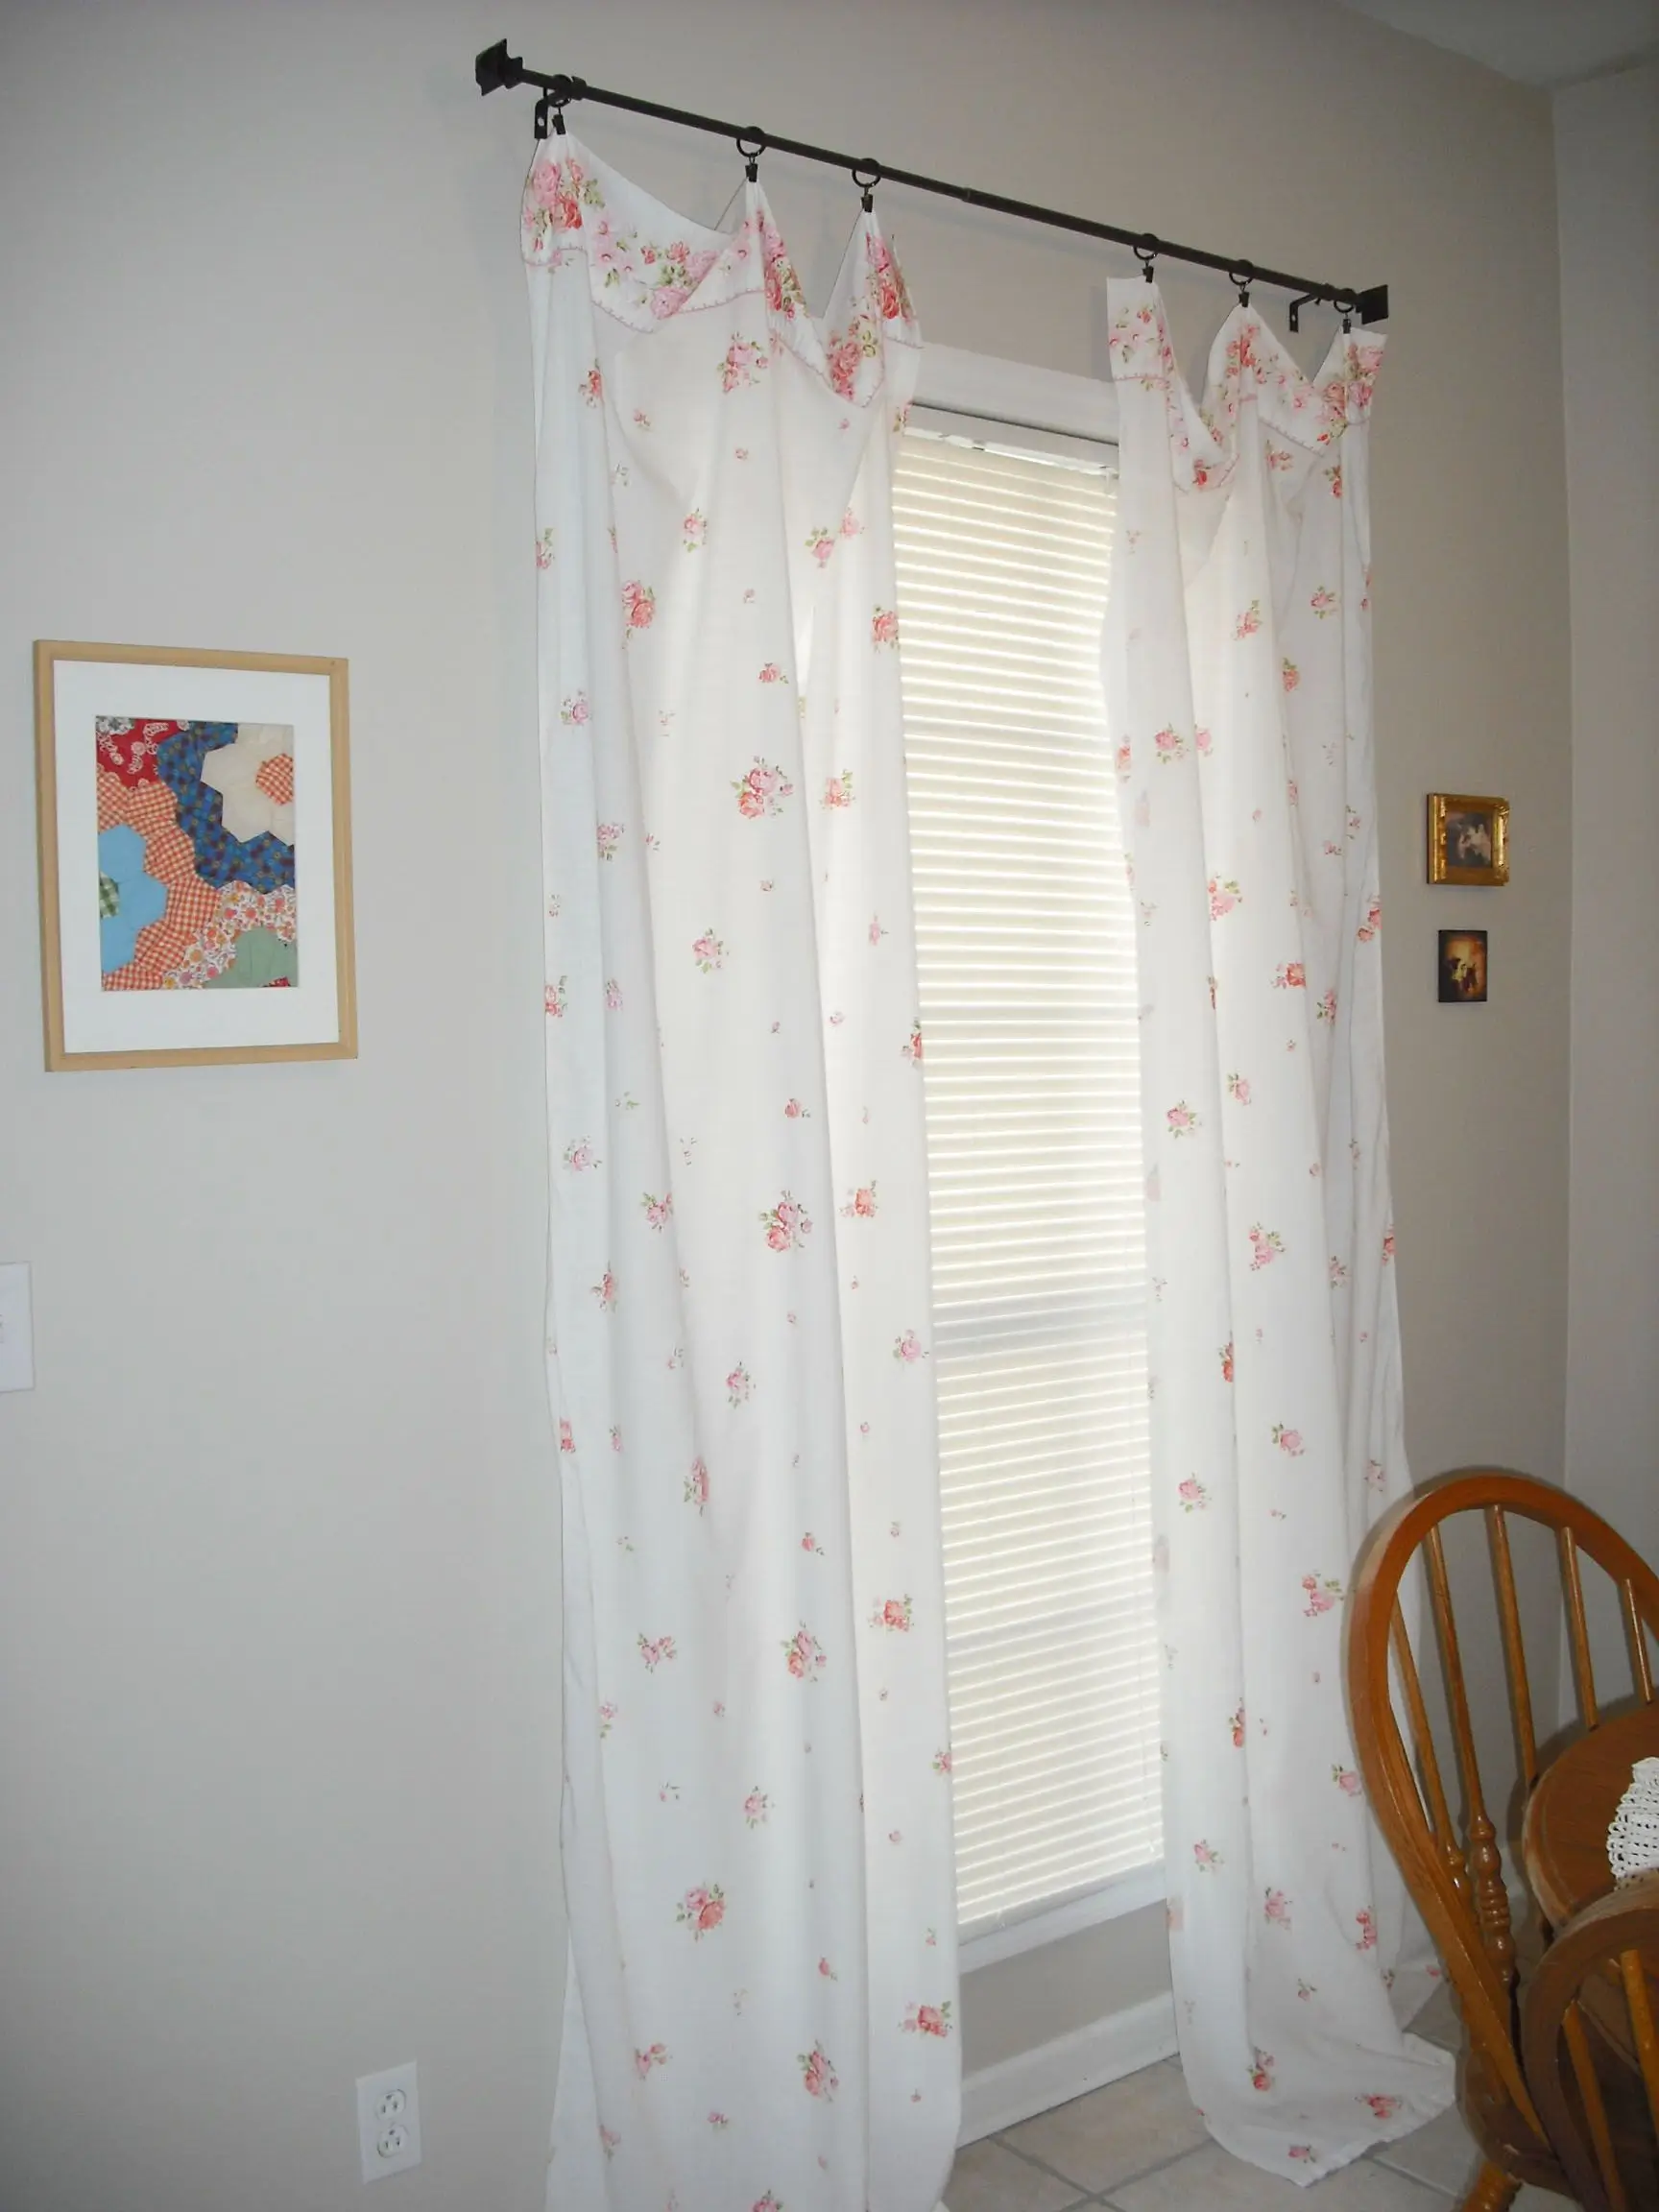
Give old bed sheets new life as custom window curtains with this budget-friendly DIY project. To make vintage sheet curtains, you’ll need vintage bed sheets, curtain clips or rings, and a curtain rod. Start by washing and ironing the vintage bed sheets to remove any wrinkles or stains. Then, fold and clip the sheets to the curtain rings or clips, leaving enough fabric to create pleats or gathers. Hang the curtains on a curtain rod and adjust the gathers to achieve your desired look. Vintage sheet curtains add a charming and eclectic touch to any room, perfect for adding personality to your windows.
9. Upcycled Fabric Blinds:
source: gotohomerepair.com
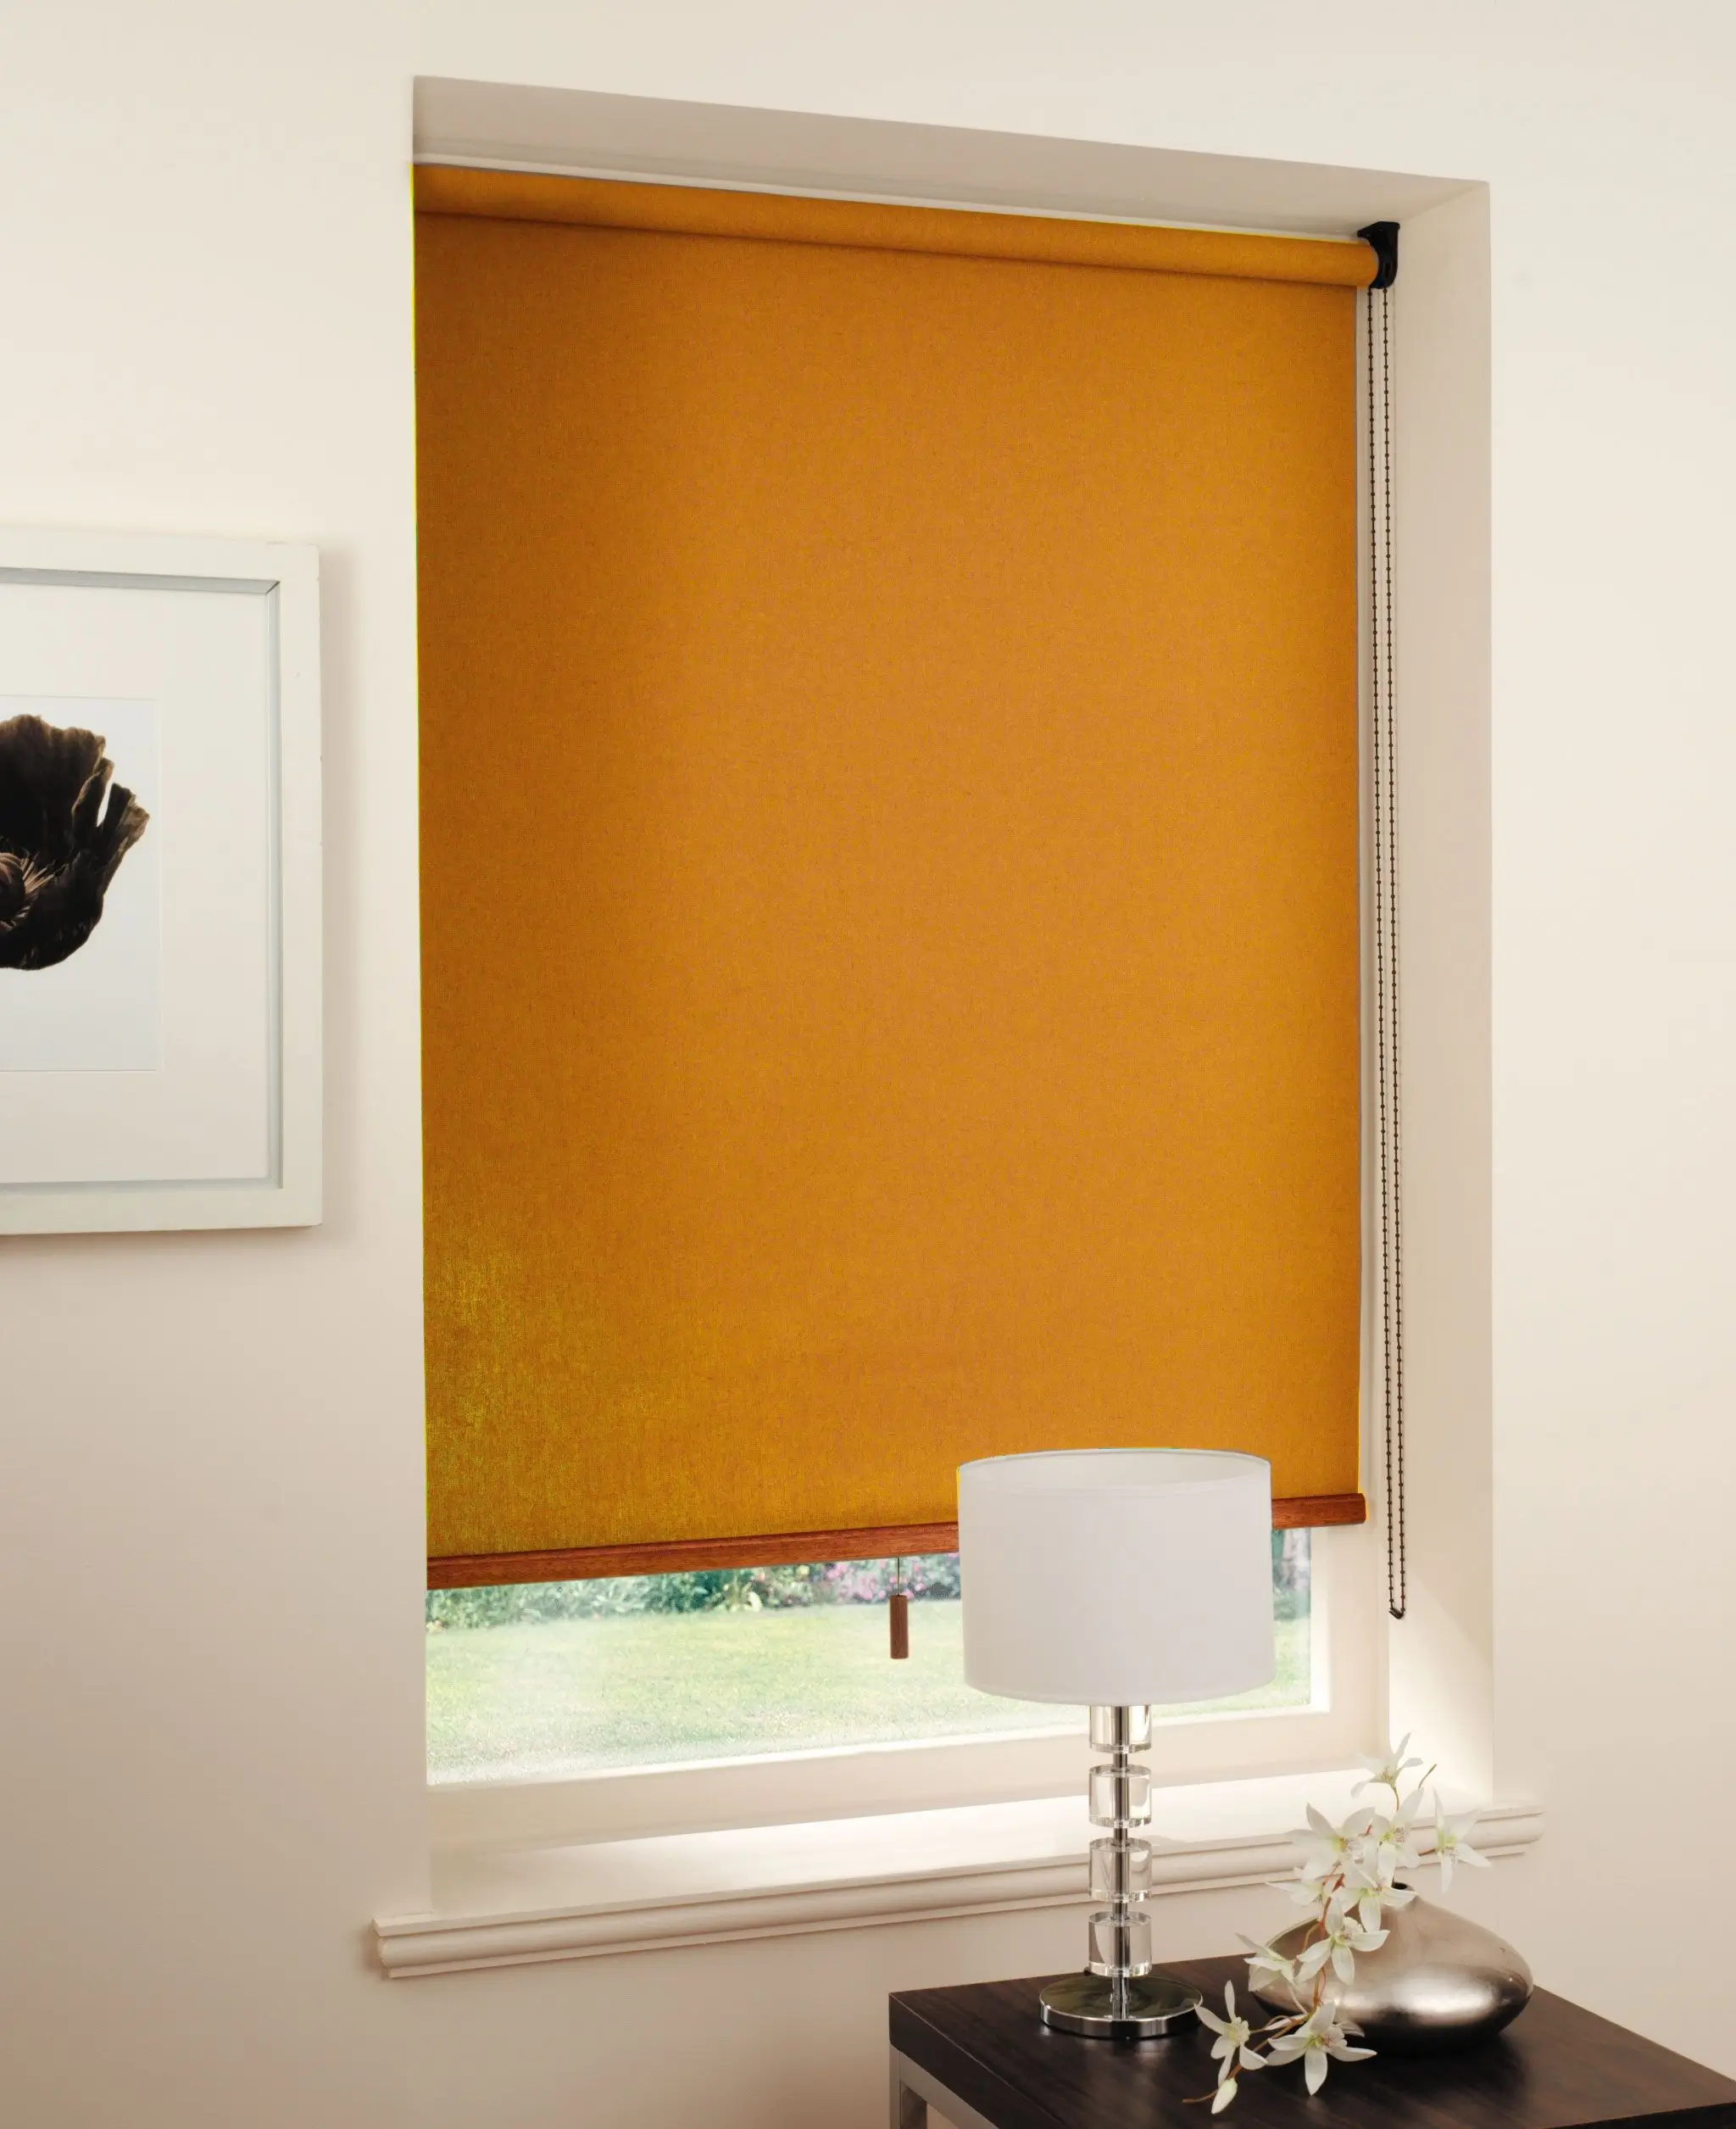
Reduce waste and add style to your windows with upcycled fabric blinds made from old clothing or fabric scraps. To make upcycled fabric blinds, you’ll need fabric of your choice, a roller shade kit, and basic sewing supplies. Start by measuring and cutting the fabric to fit the roller shade, then attach it using fabric glue or sewing it in place. Upcycled fabric blinds offer a sustainable and unique window treatment solution, allowing you to repurpose old textiles in a creative way.
10. Customized Vinyl Blinds:
source: blindstogo.com
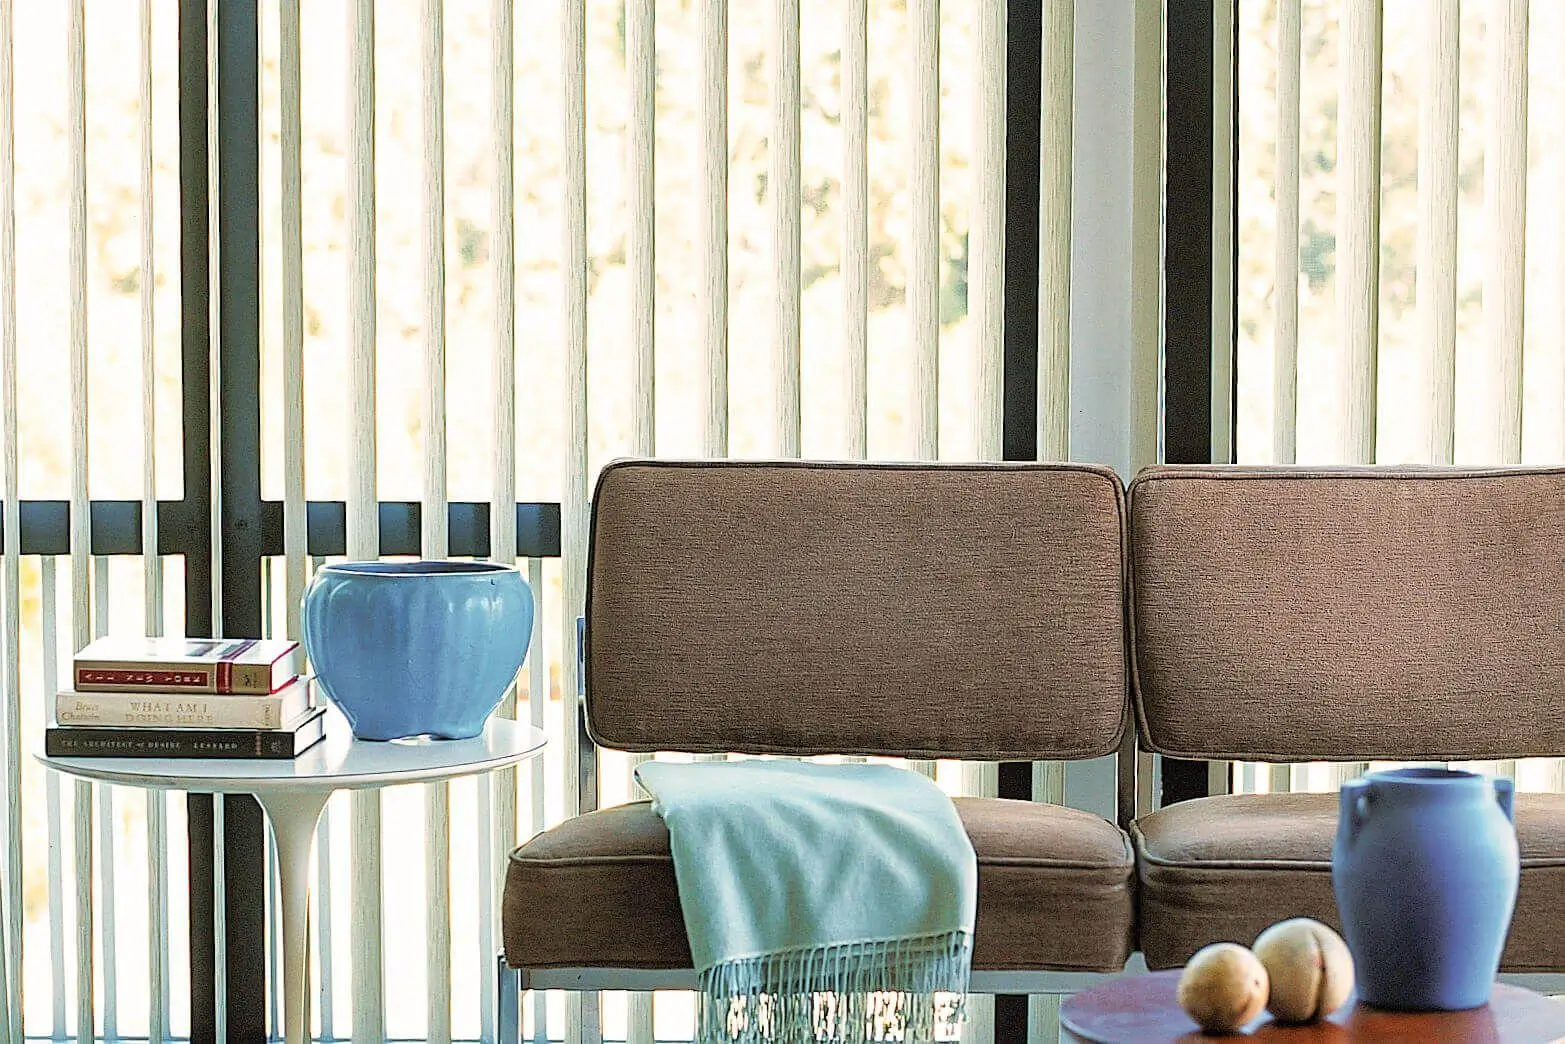
Transform plain vinyl blinds into custom window treatments with a few simple embellishments. To customize vinyl blinds, you’ll need vinyl blinds, fabric or ribbon trim, and fabric glue or double-sided tape. Start by measuring and cutting the fabric or ribbon trim to fit the edges of the blinds. Attach the trim to the blinds using fabric glue or double-sided tape, pressing firmly to ensure a secure bond. Customized vinyl blinds add a touch of elegance and sophistication to any room, with endless possibilities for personalization.
Conclusion:
Elevating your windows with DIY custom blinds is a rewarding and creative endeavor that allows you to personalize your home while saving money. Whether you prefer fabric roller shades, bamboo roman shades, or painted mini blinds, there’s a DIY custom blind idea to suit every style and budget. Get inspired by these 10 creative ideas and transform your windows into works of art that reflect your unique taste and personality.

