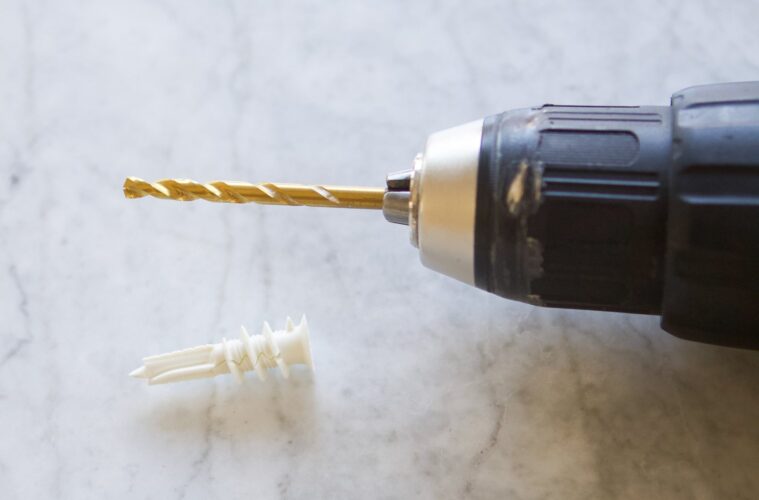
Wall anchors are devices designed to provide structural support when hanging items on the walls. It helps to fortify the connection between your belongings and the wall. Without proper anchoring, heavy items can fall, leading to potential damage. There are various types of wall anchors that each suit different wall surfaces and loads. The process of installing the wall anchors can be confusing, but we will help you with the step-by-step process of installing them.
Let us delve into understanding the intricacies of wall anchoring and the process of installing it without any hassle.
Assessing the Wall Material
The first step to installing the wall anchor is inspecting the wall. Whether it is drywall, concrete, brick, or plaster, each wall has its composition that can influence the anchor placement. It helps to assess if the weight of the item can be securely hung.
Choosing the Right Wall Anchor
source: pinterest.com
It is essential to choose the right type of anchor for safety and stability purposes. Various types of wall anchors cater to distinct needs and loads. Here, we have listed the common types of wall anchors.
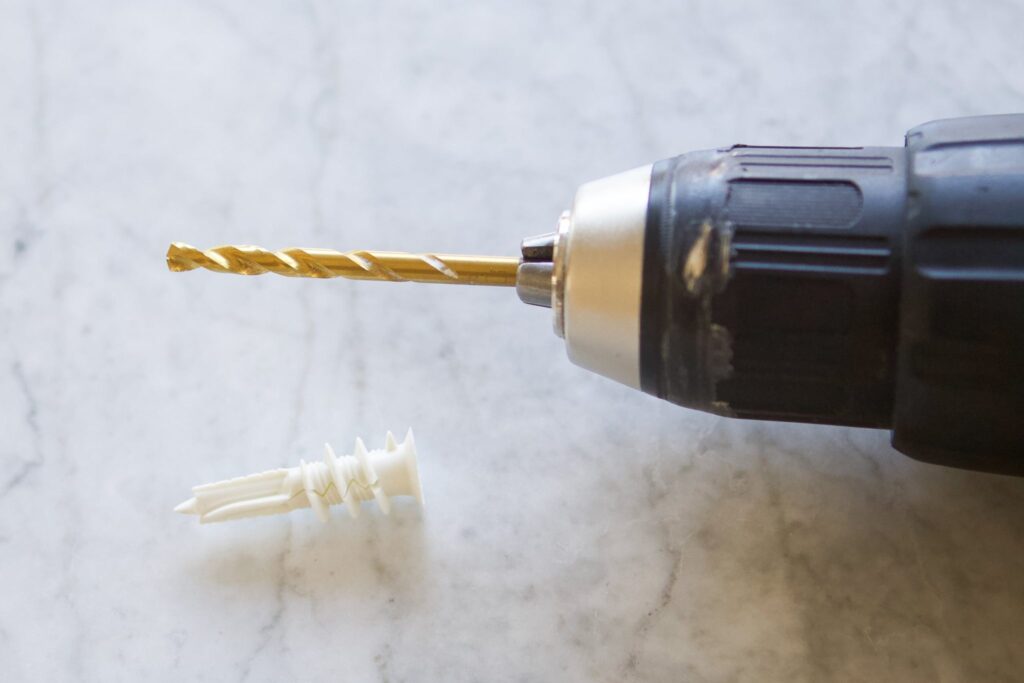
- Plastic Expansion Anchors: Plastic expansion anchors are generally used to secure items in the drywall. It is ideal for lightweight applications. These anchors are user-friendly and often come with screws tailored to their size.
- Toggle Bolts: Toggle bolts are used for heavier-load applications so that they can provide substantial support. It consists of a spring-loaded mechanism that anchors itself securely behind the wall. It is generally used for hanging bookshelves and large mirrors.
- Screw-In Anchors: Screw-in anchors are a simple-to-use solution. These anchors do not require pre-drilling. They are efficient for quick and hassle-free installations. It is suitable for medium-weight applications.
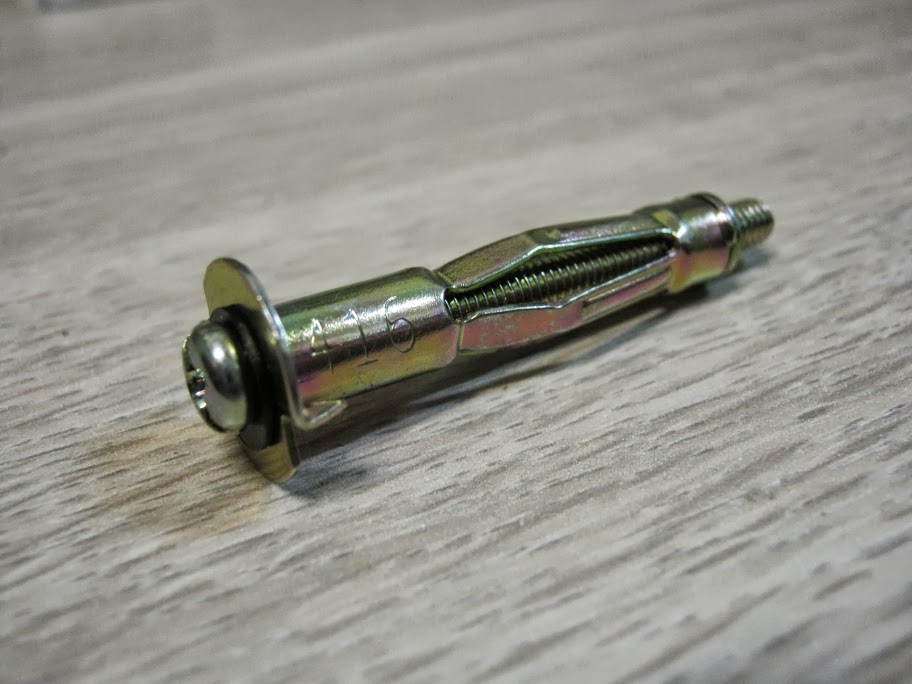
- Hollow Wall Anchors: These anchors are specifically designed for hollow walls. It consists of a screw that expands a metal sleeve when tightened. Hollow wall anchors can accommodate various weights and are suitable for a range of items.
- Anchor Bolts: Anchor bolts are commonly used in masonry and concrete walls. It provides robust support for heavy-duty installations. These anchors require drilling and are typically paired with a nut and washer for stability.
Gathering Tools and Materials
Then, the necessary tools and materials are gathered to begin the installation process. A power drill, screwdriver, pencil, level, anchors, and screws are some of the important tools. This process helps to prevent delays and enhance efficiency.
Marking the Installation Points
source: pinterest.com
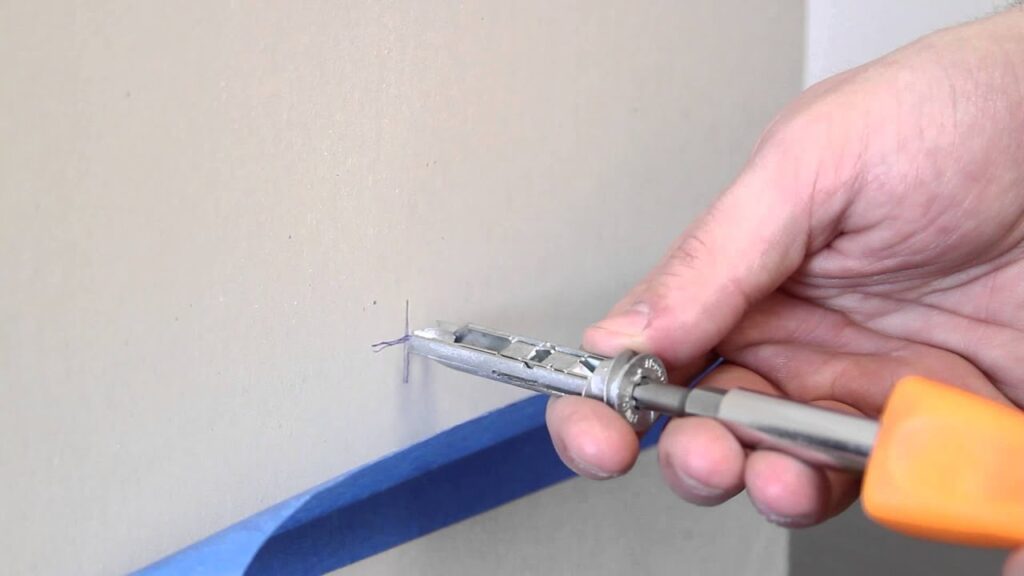
The selected installation area is then marked with specific points. Levels are used to ensure straight and accurately aligned markings. Once it matches the required measurements, the anchors are ready to be installed in the walls.
Drilling Holes
The marked points are drilled into the walls to create space for the anchors to stay. It is drilled in a controlled manner to match the length of the selected wall anchor. Then, any dirt or debris is removed from the drilled holes.
Inserting the Wall Anchors
The wall anchors are gently inserted into the drilled holes. The alignment and snug fit of the wall anchors are ensured. For anchors that require tapping, a hammer is used to achieve the desired fit. The insertion is done without compromising the integrity of the anchor or the wall.
Securing the Anchors
source: pinterest.com
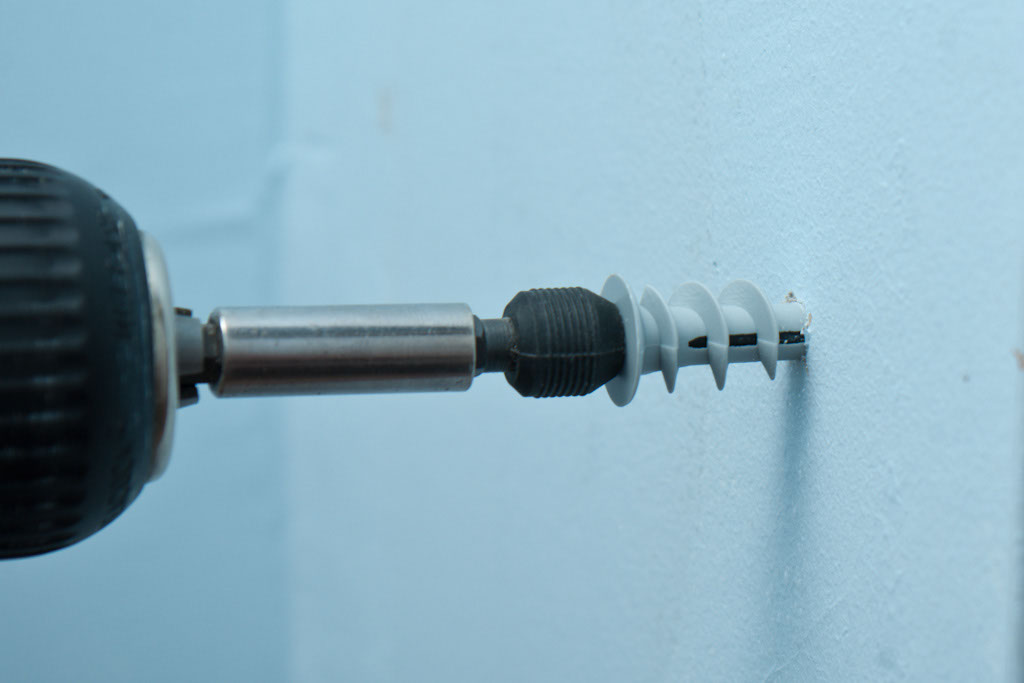
Once the wall anchors have been inserted, specific screws are used to secure the anchors in their place. The screws are tightened firmly with controlled force to achieve optimal stability. Here, too much pressure can cause damage to the wall, and too little pressure can compromise safety.
Testing the Stability
Then, a comprehensive stability test is conducted to test the wall anchors. It is either done by gently applying pressure or by placing a small load. The wall anchors are checked for any signs of wobbling or instability. If any instability is observed, the necessary adjustments are made. Otherwise, the wall anchors are now ready to use.
Cleaning
After the wall anchors have been successfully installed, they are cleaned and wiped down. It is to ensure a tidy finish on the wall.
Common Mistakes to Avoid While Inserting Wall Anchors
Wall anchors are like the foundation for your valuable items to be hung on the wall. Its effectiveness depends on the installation process. So, it is necessary to be aware of mistakes that might occur during the process. Here, we have listed some of them.
source: pinterest.com
- Neglecting Wall Material: Failing to understand and consider the specific material of the wall can lead to improper anchor selection. It can affect the holding capacity of the wall anchors. It is important to assess if the walls are made of drywall, concrete, or brick. This practice helps to choose the right anchor that aligns with the wall’s characteristics.
- Choosing Incorrect Anchor: Choosing an anchor with insufficient load capacity can compromise stability. It can risk the items falling from the wall. It is important to match the anchor type with the weight of the object being hung.
- Skipping Marking of the Points: Neglecting to mark holes can damage the wall and anchor. There is also the risk of misalignment of the wall anchors. It is always suggested to use a level and mark the points to facilitate smooth anchor insertion.
- Overlooking Anchor Orientation: Inserting the anchor without paying attention to its orientation can lead to instability. It should not be ignored. The orientation issue must be fixed immediately.
- Uneven Load Distribution: Concentrating the load on a single anchor instead of distributing it can lead to uneven stress. The wall anchors can be unstable and fall. So, use multiple anchors for heavier items and distribute the load evenly.
- Using Worn-out Anchors: Using anchors that show signs of wear or damage can compromise support. It is necessary to inspect anchors before use. Always discard damaged anchors to avoid the risk of instability.
- Not Testing Stability: Failing to conduct a stability test after installation can result in overlooking potential issues. It is important to gently test the stability by applying pressure. This practice ensures the anchors hold securely.
Tips to Maintain Wall Anchors after Installation
- Periodically inspect the wall anchors and look for any signs of damage.
- Re-evaluate the stability of wall-mounted items and check the load capacity over time.
- Avoid overloading the wall anchors and distribute weight evenly across multiple anchors.
- Retighten any loose screws if you notice them getting loose over time.
- Address any issues, like holes or cracks in the wall, promptly to maintain the stability of the anchor.
- Upgrade anchors with a higher load capacity if you plan to hang heavier items.
- Maintain records of the installation, like the type of anchors used, installation date, and load capacity, for future reference and modifications.
- Monitor for signs of rust or corrosion in areas prone to moisture, and if needed, switch to corrosion-resistant anchors.
Conclusion
Wall anchors play a crucial role in adding aesthetic value to your walls. They ensure that your belongings stay exactly where you want them to be. The wall anchors must be installed properly to avoid any potential damage. For simple wall anchors, you can do it yourself, but for complex and heavy-load wall anchors, always seek professional help. With the right knowledge, tools, and practices, you can secure your belongings to the walls and transform your living space.

