Ah, the weathered deck. Once a source of pride and joy, it now sits neglected, looking worn and tired. But fear not! With a little love and some elbow grease, you can bring your deck back to life and reclaim its former glory.
For knowing how to restore your weathered deck, you should know all the tips and tricks to master the technique. However, to make it even easier, we can help you achieve your dream weathered deck.
In this comprehensive guide, we will walk you through the step-by-step process of reviving your weathered deck, ensuring it becomes the envy of the neighborhood once again.
Guide To Restoring Weathered Decks

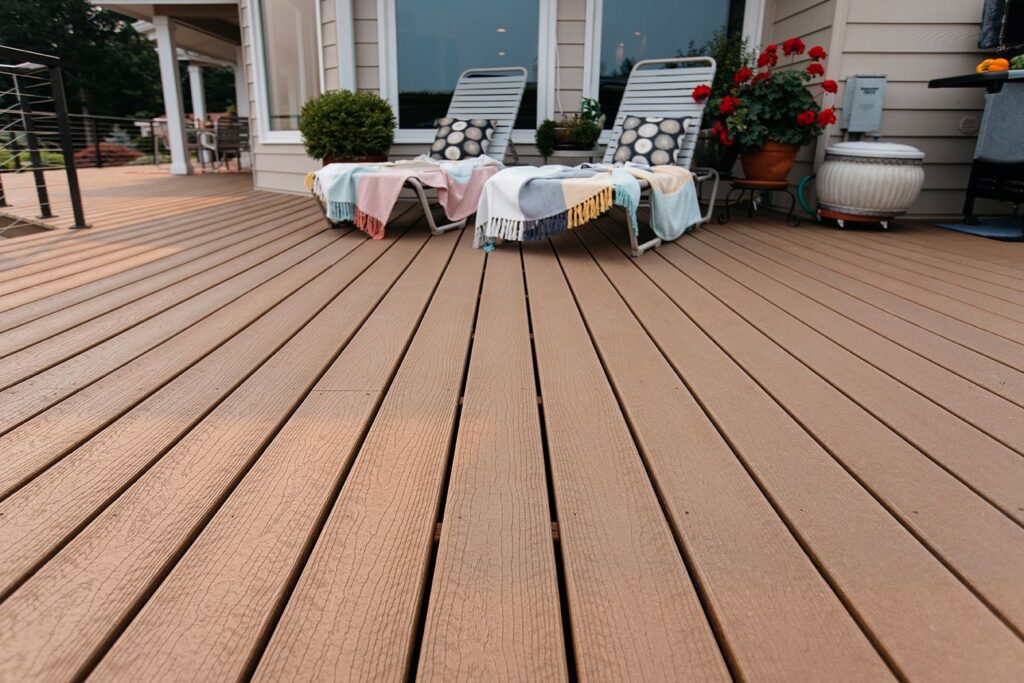
source: pinterest.com
Without further ado, let’s jump right into the only guide for decks you’ll require this summer!
Assess the Damage
Before diving into the restoration process, take a moment to assess the damage. Inspect the deck for any loose boards, nails, or splintered wood.
Look out for areas with mold or mildew growth as well. Identifying these issues early on will help you plan your restoration effectively.
Clean it Up
The next step is to give your deck a thorough cleaning. Start by removing any furniture, planters, or debris that may have accumulated over time. Then, sweep away loose dirt and leaves.
For a deeper clean, use a power washer or a deck cleaner to remove ingrained dirt and grime. Be sure to follow the manufacturer’s instructions and use the appropriate pressure settings to avoid damaging the wood.
Repair and Replace

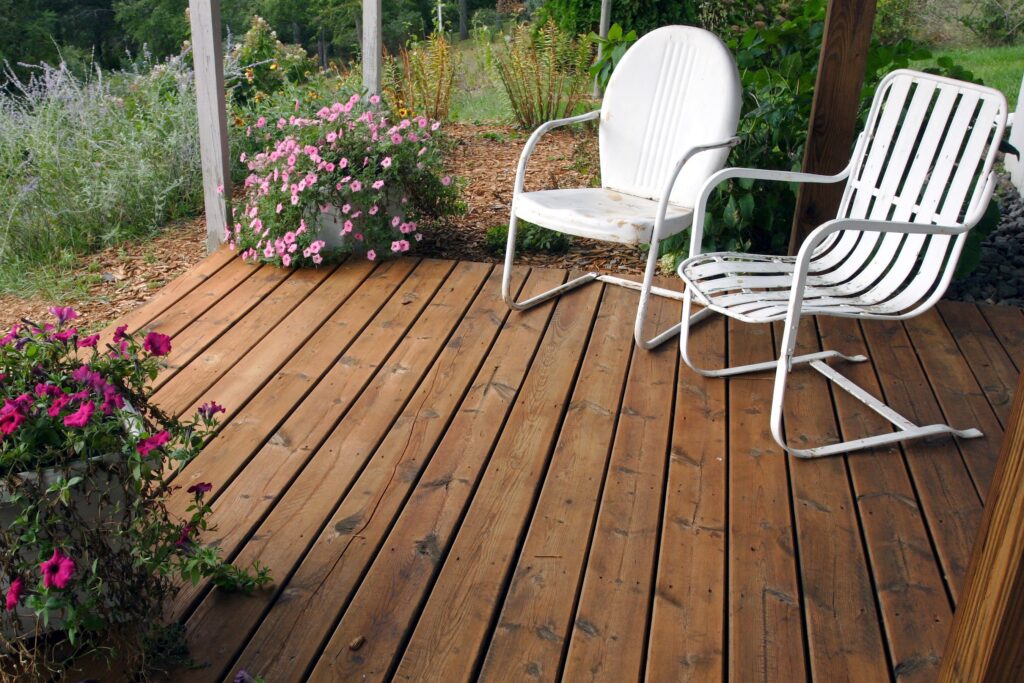
source: pinterest.com
Now that your deck is clean, it’s time to address those damaged areas. Replace any loose or rotting boards, and tighten any loose screws or nails. Sand down splintered wood to make the surface safe and smooth.
If you come across any mold or mildew, treat it with a deck cleaner or a mildew remover. Taking care of these repairs will ensure your deck is sturdy and safe for years to come.
Choose the Right Finish
Once your deck is clean and repaired, it’s time to decide on the finish. The finish not only enhances the aesthetic appeal but also protects the wood from future damage caused by the elements.
Consider the look you want to achieve and the level of protection your deck needs. Don’t forget to pick a finish that is specifically designed for outdoor use.
Apply the Finish
Before applying the finish, make sure the weather is dry and the forecast is clear for a couple of days. Start by applying the finish to a small, inconspicuous area to test the color and absorption.
Once satisfied, work your way across the entire deck, following the manufacturer’s instructions for application techniques and drying times. A brush, roller, or sprayer can be used depending on the type of finish chosen.
Take your time and ensure even coverage for a professional-looking result.
Maintain Regularly

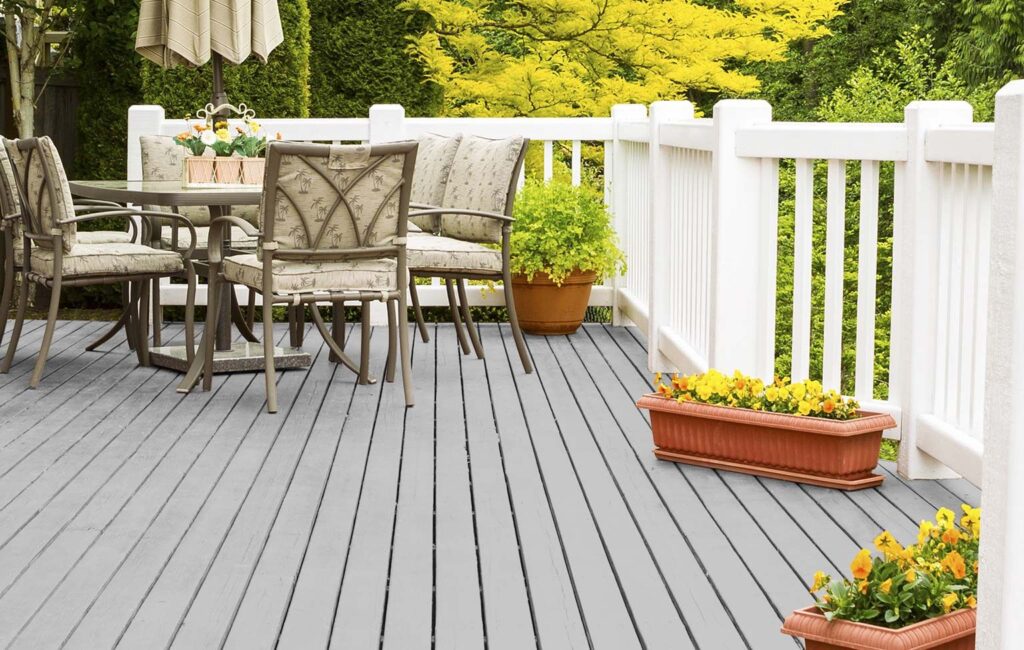
source: pinterest.com
Congratulations! Your deck is now restored and looking fabulous. To keep it in top shape, regular maintenance is key. Sweep away debris regularly and clean up any spills promptly.
Consider applying a fresh coat of finish every few years to protect the wood and maintain its appearance. Regular inspections will help you catch any minor issues before they become major headaches.
Choosing the Right Tools for Deck Restoration
Having the right tools for deck restoration is essential for achieving optimal results and making the process more efficient. Each tool serves a specific purpose and helps you address different aspects of deck restoration. Here are the key tools you’ll need:
Power washer: A power washer is invaluable for deep cleaning your deck and removing ingrained dirt, algae, or moss.
Hammer and pry bar: These tools are essential for repairing or replacing loose boards, nails, or fasteners. They allow you to secure the deck’s structure effectively.
Sander: A sander helps smooth out splintered wood and create a uniform surface, ensuring a seamless finish after applying stains or sealants.
Paintbrush or roller: Depending on the type of finish you choose, a paintbrush or roller is needed for applying stains, sealants, or paints evenly across the deck surface.
Safety equipment: Remember to prioritize your safety by wearing safety glasses, gloves, and a dust mask when using power tools or working with chemicals.
Transforming Your Deck into an Outdoor Entertainment Area

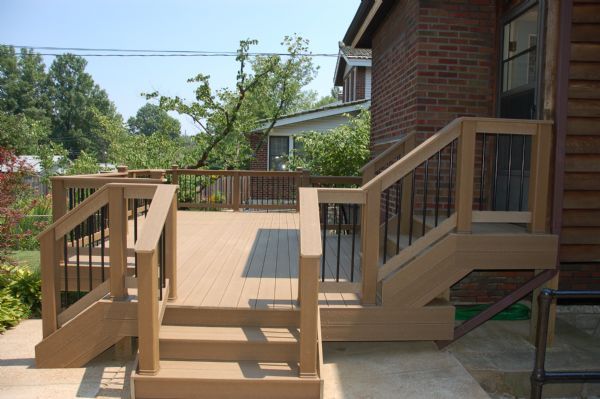
source: pinterest.com
With a little creativity and some thoughtful design choices, you can turn your deck into an inviting space that combines functionality, comfort, and style. Here are some ideas to help you transform your deck into the ultimate outdoor entertainment area:
Comfortable seating: Invest in comfortable and stylish outdoor furniture that can accommodate your guests. Consider options like sectional sofas, lounge chairs, and dining sets that are designed to withstand the elements while providing a cozy seating experience.
Dining area: Create a dedicated dining space on your deck by adding a table and chairs. This will allow you to enjoy outdoor meals and entertain guests with al fresco dining experiences. Consider adding an umbrella or a pergola for shade during sunny days.
Outdoor kitchen or grill station: Elevate your deck’s entertainment potential by incorporating an outdoor kitchen or grill station. Install a built-in grill, countertop space, and storage cabinets for all your cooking needs. This way, you can prepare meals and entertain guests without constantly having to go inside.
Ambient lighting: Set the mood and create a warm and inviting atmosphere by incorporating ambient lighting. Hang string lights, place lanterns or torches strategically, or install solar-powered deck lights. This will add a touch of magic and allow you to enjoy your deck even after the sun goes down.
Potted plants and greenery: Add a touch of nature and visual appeal to your deck by incorporating potted plants and greenery. Choose plants that thrive in outdoor environments and complement your deck’s aesthetic. Consider using planters of varying sizes and heights to create a dynamic and visually pleasing display.
Privacy and shade solutions: Ensure that your deck offers both privacy and shade. Use outdoor curtains, decorative privacy screens, or plant tall shrubs or climbing vines around the perimeter. Consider installing a retractable awning or a pergola with adjustable slats that can provide shade when needed.
Final Word
Reviving your weathered deck requires effort and commitment, but the results are well worth it. Not only will you have a beautiful outdoor space to enjoy with family and friends, but you’ll also increase the lifespan of your deck.
So roll up your sleeves, put on some music, and get ready to transform your weathered deck into a stunning oasis. Happy restoration!


