\Are you tired of the same old, dull look of your wood floors? Well, fret not, my friend, because I have just the solution for you! Staining wood floors can be a game-changer when it comes to revitalizing your space and adding a touch of elegance. In this guide, we’ll delve into the wonderful world of wood floor staining and explore everything you need to know to achieve stunning results. For more guidance you can visit pages of Allfloors Trade Centre.
Why Stain Your Wood Floors?
source: pinterest.com
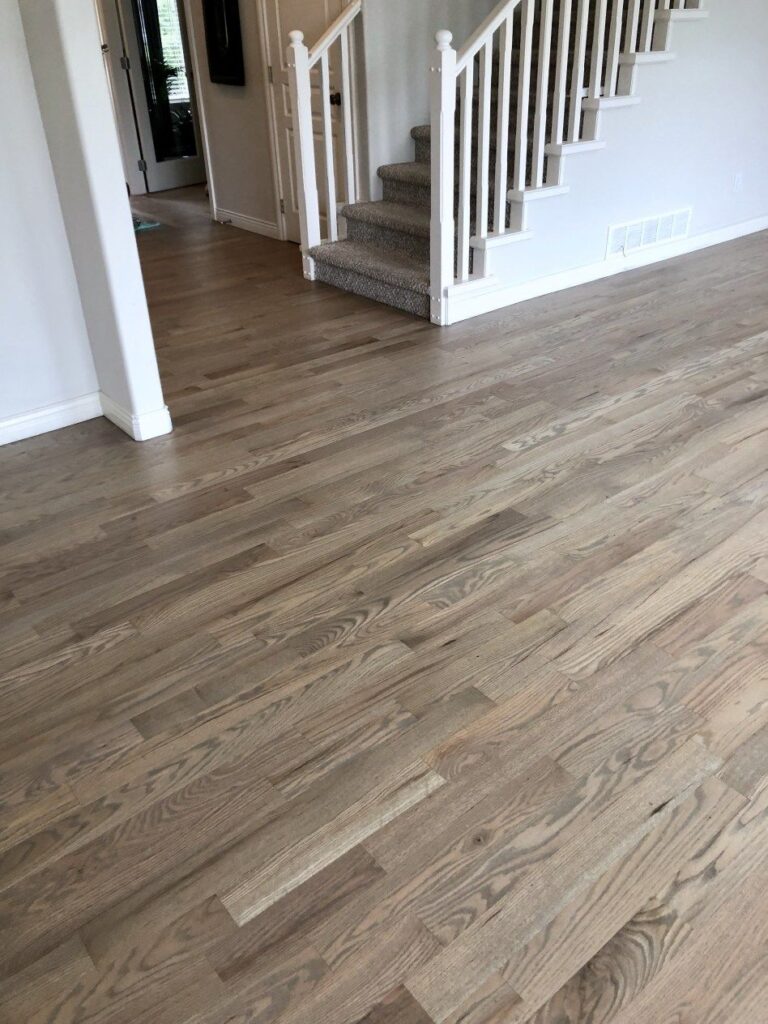
Picture this: you step into a room with beautifully stained wood floors that exude warmth and charm. It immediately sets the tone and creates a welcoming ambiance. Staining your wood floors not only enhances their natural beauty but also provides protection against wear and tear. It’s like giving your floors a makeover while preserving their integrity. With the help of refinishing services, you can transform your worn-out floors into stunning masterpieces, reviving their aesthetic appeal and ensuring their durability for years to come.
Choosing the Right Stain
Just as each wood species has its unique characteristics, they also react differently to stains. Some species, like oak or mahogany, take stain well and produce rich, deep colors. On the other hand, lighter woods, such as pine or maple, may require additional preparation or special techniques to achieve the desired results. Take the time to research and choose a stain that complements your wood species.
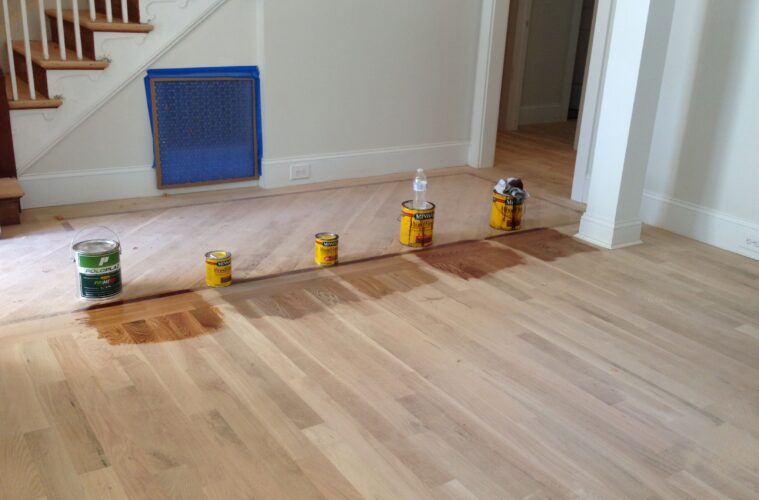
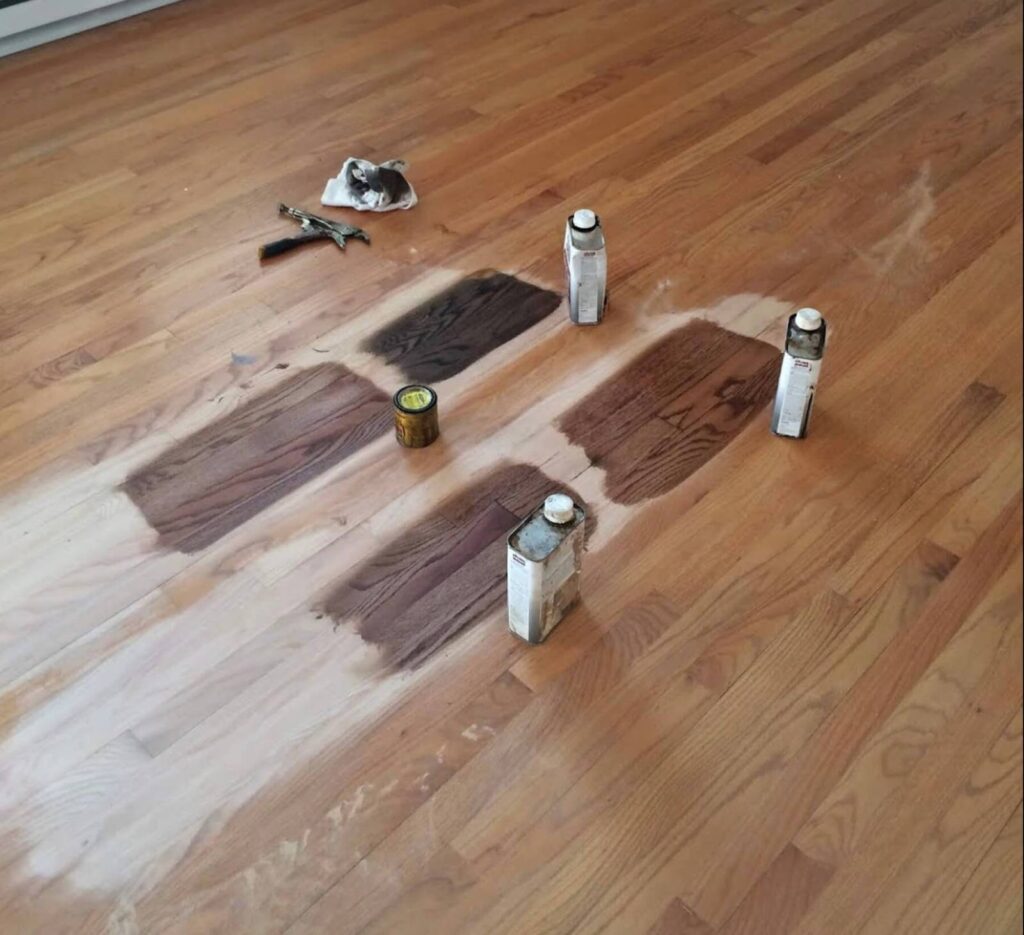
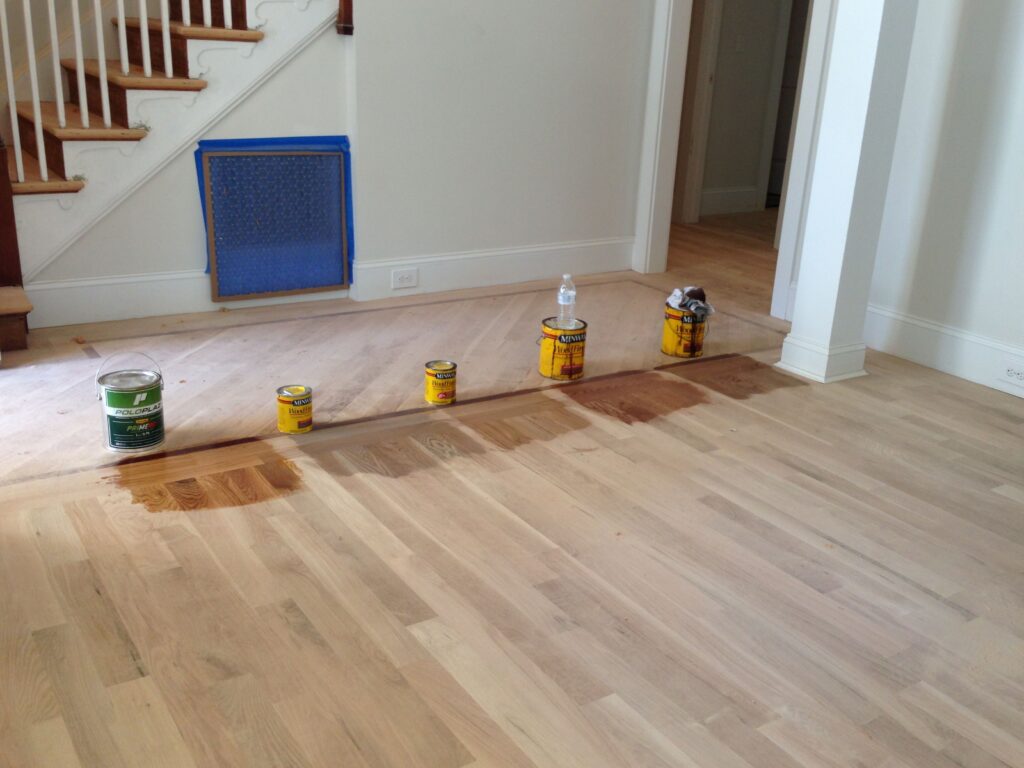
Before diving headfirst into staining your entire floor, it’s crucial to test the stain on a small, inconspicuous area. This allows you to see how the color interacts with your wood and ensures you’re happy with the outcome. Remember, staining is a one-way street, so it’s better to be safe than sorry!
Preparing Your Floors
Sanding
source: pinterest.com
To achieve a smooth and even surface, sanding is key. Start by removing any existing finish or stain with a coarse-grit sandpaper. Gradually work your way up to finer grits to eliminate scratches and imperfections. Sanding not only creates a clean canvas for the stain but also opens up the wood pores, allowing for better absorption.
Cleaning
Once you’ve finished sanding, it’s essential to remove all dust and debris from the surface. Use a vacuum cleaner or a tack cloth to ensure a spotless floor. Any residual particles can affect the final result, so take your time with this step.
Applying the Stain
Gather Your Supplies
Before you embark on your staining journey, gather all the necessary supplies. You’ll need a stain of your choice, a high-quality brush or applicator, lint-free cloths, and protective gear such as gloves and goggles.
Start with a Small Section
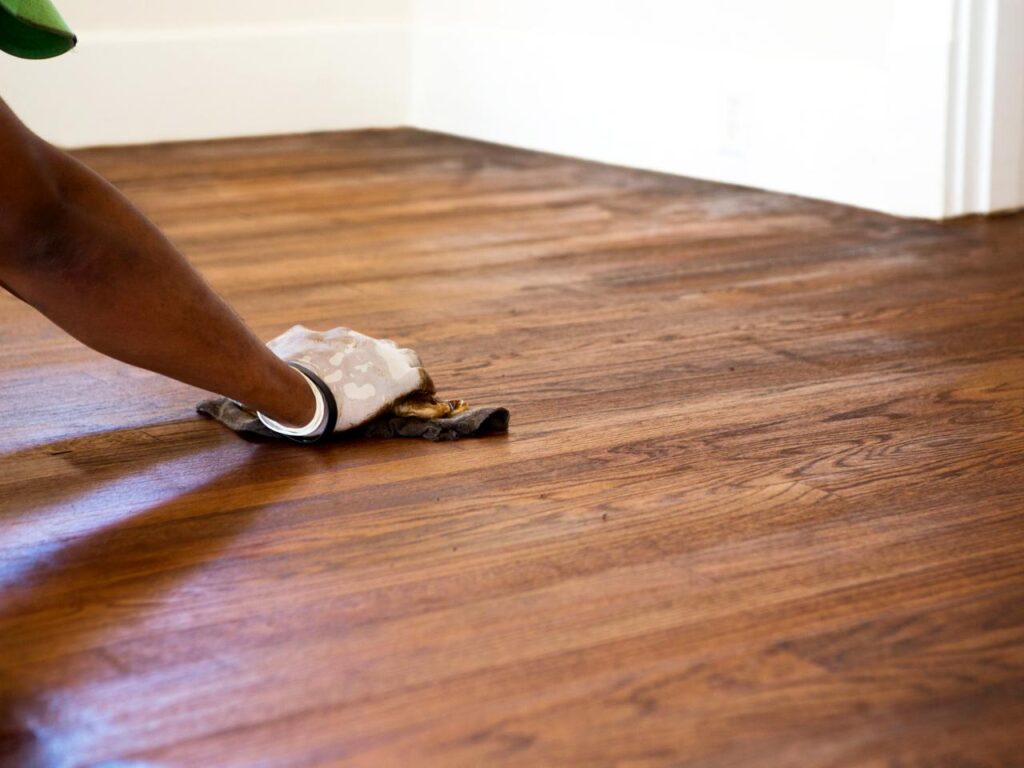
Pour a small amount of stain into a paint tray and begin applying it to a small section of your floor. Work your way across the room, using long, even strokes that follow the wood grain. Make sure to maintain a wet edge to avoid visible lines or blotches.
Tips and Tricks for a Successful Stain Job
source: pinterest.com
Work in Proper Ventilation
Staining wood floors can be a smelly affair, with fumes wafting through the air. Ensure that you have proper ventilation in the room by opening windows or using fans. This will help dissipate the odor and make the process more pleasant.
Apply Sealant
Once the stain has dried, protect your newly-stained wood floors by applying a sealant. This step adds an extra layer of durability and helps to preserve the color and finish. Choose a sealant specifically designed for wood floors and follow the manufacturer’s instructions for application.
Regular Maintenance
To keep your stained wood floors looking their best, it’s essential to practice regular maintenance. Sweep or vacuum regularly to remove dirt and debris that can scratch the surface. Use a damp mop or a specially formulated wood floor cleaner for periodic cleaning. Avoid harsh chemicals or abrasive cleaners, as they can damage the stain.
Summary
source: pinterest.com
Staining wood floors is a fantastic way to breathe new life into your space. By following the steps outlined in this guide, you can transform dull, worn-out floors into stunning focal points that elevate the overall aesthetic of your home. Remember to choose the right stain for your wood species, prepare your floors meticulously, and apply the stain with care. With a little patience and creativity, you’ll achieve breathtaking results that will leave your guests in awe. So, go ahead and unleash your inner artist as you embark on the journey of staining your wood floors. Happy staining!

