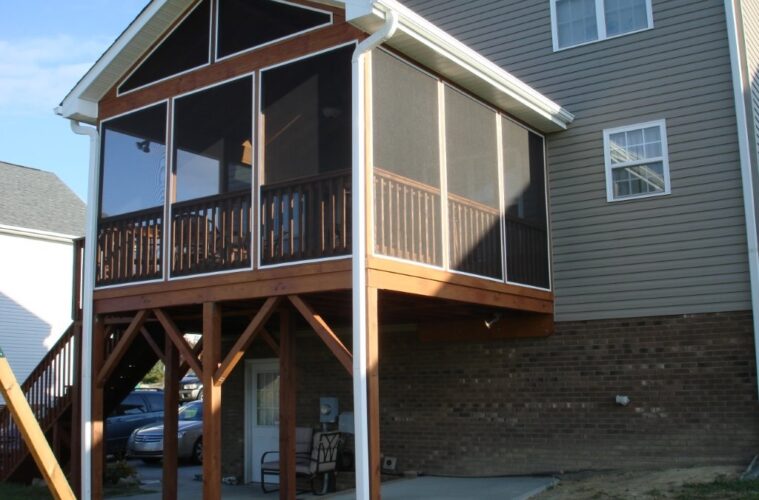
If I ask you what do you mean by deck? You would probably say that it is nothing but just some boards of lumber nailed in your lawn or backyard or in any other empty place. So let me confirm it with you; you are wrong. It is much more than that; it is an outdoor area of home where your family and friends can sit in a group and perform some entertaining activities or relaxing in style year – around. According to me a deck is a place where you can celebrate occasions and connect together. This trend of outdoor space living is heading to a higher level with the aspect to make family living better; it is the best way to invest in a property and to create a space which you and your homies are looking for.
Having a deck in your backyard is still a dream for many; furthermore you have had just thought about it, or at some points recruited some friends and family members to help you out with heavy lifting at some particular time. But this time, here, in The Architecture Designs, you are going to research it, plan on it, and obviously the main thing you are going to learn about how to frame your deck?
source: js2builders.com
Before we move further on the same, I would like to share with you something about this deck, these points and instructions must be kept at first.
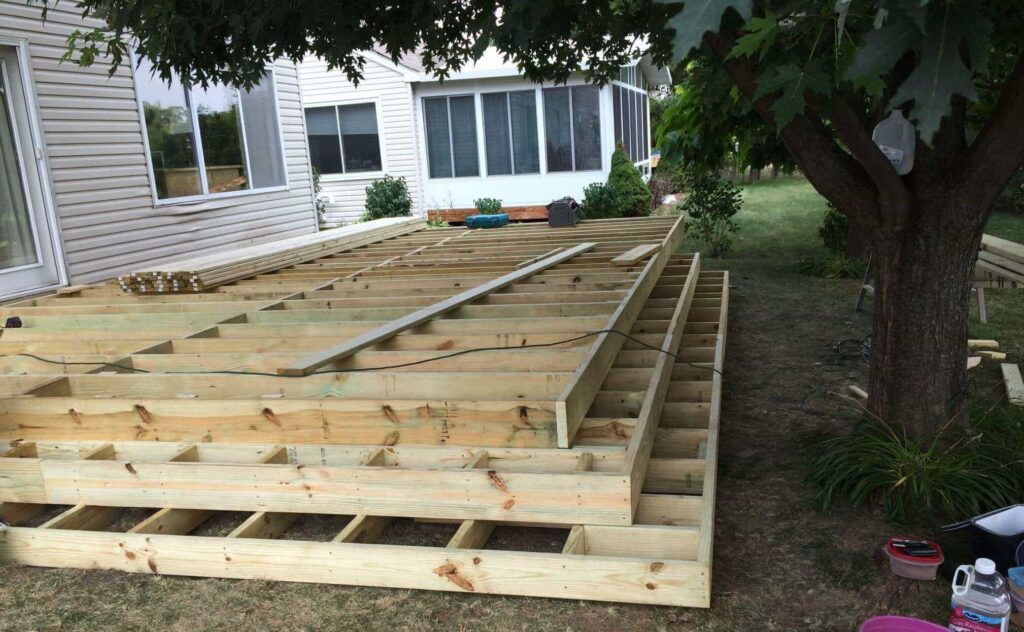
Framing your deck must run along with the sides of the house and must be attached one side of the framework of the house. The minimum height of the frame of the deck must be 30 inches high as it is the perfect measure which triggers the permit requirements of any types of communities. Intentionally if you keep the height of the deck below 30 inches then you would not be able to add safety measurements like railings and balusters. If you are very concise about the safety then do keep this statement as your first requirement. For more information you can even contact your local permitting department from there you can get the additional codes too for framing your deck.
After then when you are done with the codes and have selected every kind of safety measurement. The second thing about which you have to be choosy is the constructing material and the required tools.
Tools and materials required
source: pinterest.com
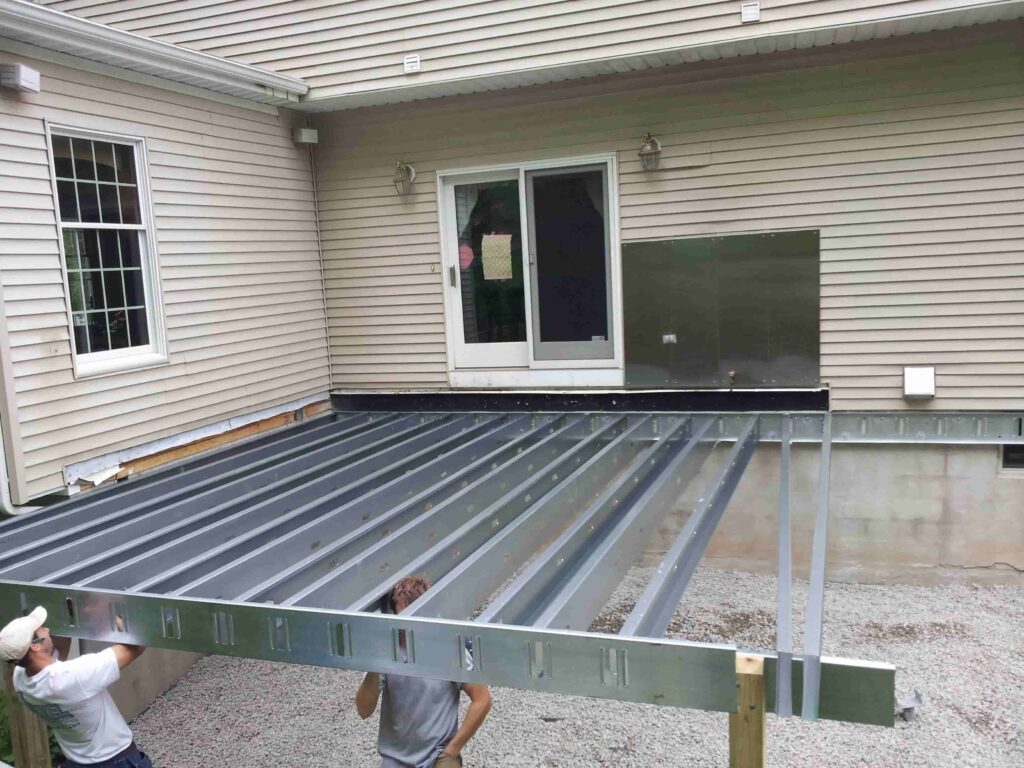
The best material to be used is pressure – treated lumber as it is inexpensive and readily available, yellow pine and hem – fir are the most popular materials for making decks. You could even prefer on cedar and redwoods too. Nowadays people are switching wood with steel and iron just with the aspect to achieve utmost strength and durability. But it makes the combination with your yard unfamiliar, thus, use pressure – treated lumber.
Tools
- Drill and its connection
- Bubble level
- Pencil
- Circular saw
- Hammer
- Chisel
- Wrench set
- 1 – inch auger bit
Materials
- Two-by-ten pressure treated boards (for the ledger board and joists)
- Six-by-six pressure treated lumber (for the support posts)
- Galvanized metal flashing
- 3/8-inch by 4-inch galvanized lag screws and washers
- Cardboard cylindrical concrete post hole forms
- Ready-mix concrete
- Galvanized metal post base
- 1/2-inch by 3-inch galvanized anchor J-bolts or 1/2-inch by 3-inch zinc plated steel hex nut head sleeve anchors for masonry
- Column caps
- 2-inch by 10-inch galvanized steel joist hangers
- 1 1/2-inch galvanized steel structural connector screws
Surveying and locating
source: prettypassive.com
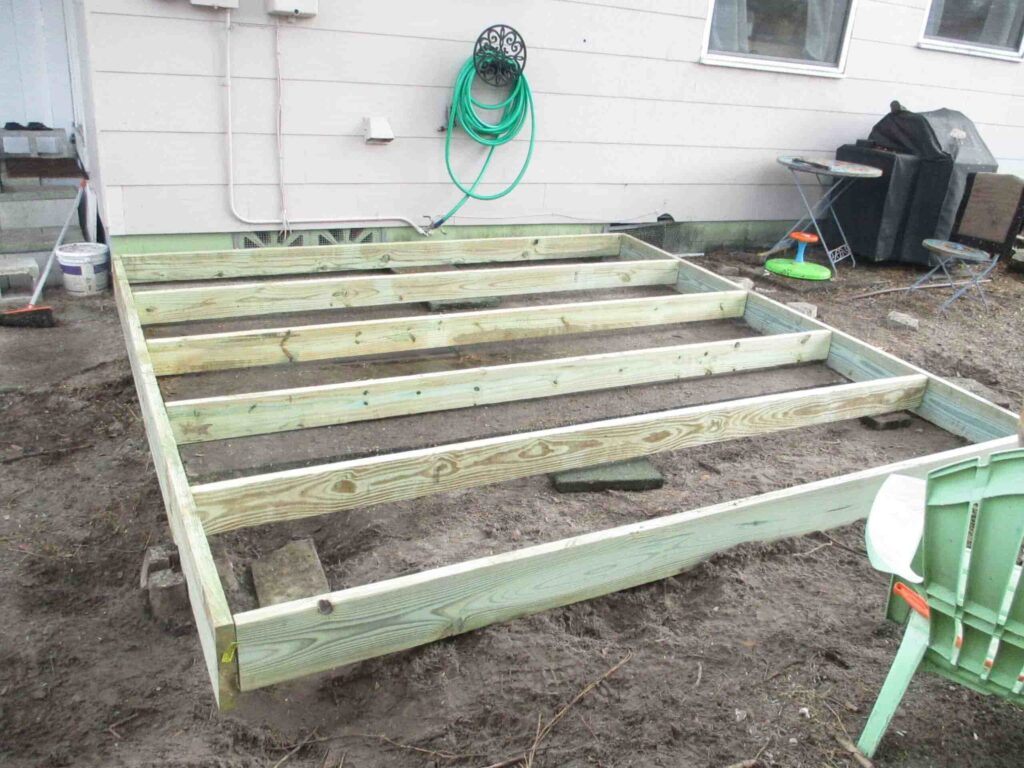
The very first step to be taken while constructing the frame for deck is surveying. As your home sides may be appropriate or may not be, for that purpose take a survey of your side to see if your deck can fit in that or not. If it fits in then start locating and positioning it by making an overall plan of your home in a sheet. If it is not setting fit with the sides then you have to perform another step for that; it is termed as “removing the house sidings”.
Remove the house sidings
For getting a vulnerable strength for your deck, you need to attach horizontal ledger board of size to-by-ten that must attach the side of the house accordingly; doing so will help in taking the advantage of the strength of one of the four sides of the house which will make a perfect deck framing. To make it so you have to convert ledger into lumber and also you have to achieve a perfect siding. Be sure that lumber is not vertical.
Cut the siding which matches the size of the ledger board; join the ledger vertically with the house header joist. Your interior framing will rest on this joist. Ledger board must be positioned 1 inch below the level from the top to prevent rain leaking in the house interior.
For cutting take a pencil make the sections on the sidings, ensure ledger level with bubble level. Use a circular saw for cutting major parts, while for minor parts use a chisel and hammer, also tap the cut lines.
Attaching the ledger board
source: homedepot.com
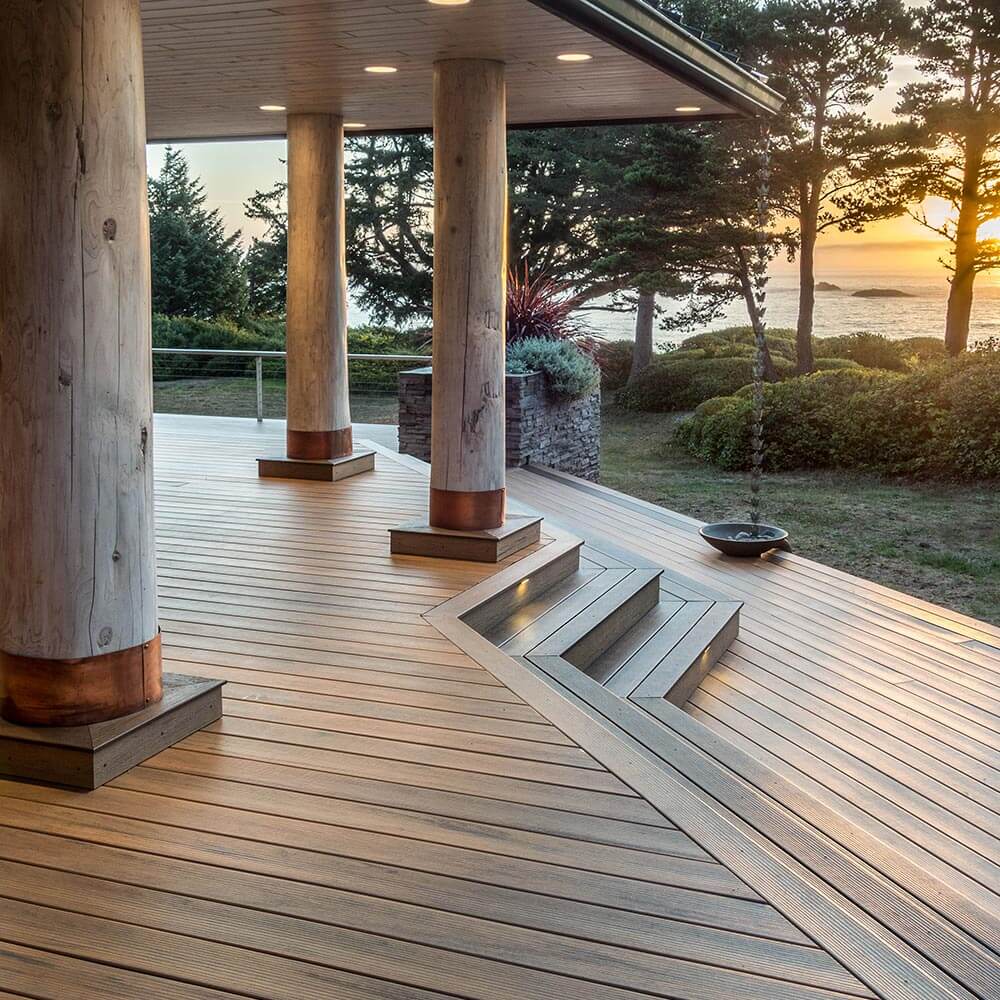
Make metal flashing of the length similar to the ledger board, first fit the flashing on the side and place it underneath to the siding. Now, start drilling ¼ inch holes at every 2 feet, take help of someone to hold it in place, then with the help of ratchet wrench drive 4 inch lag screws and washers at every pilot hole and sink it below the surface of the board. Do not screw everything tightly at first otherwise if the ledger didn’t sit perfectly then you have to repeat the whole process, thus screw it tightly after only when you are totally satisfied.
Install the deck support post footings
It is obvious that a vertical support is must for every deck to hold. This support can be easily achieved by supporting it with masonry footings; it will keep the deck connected directly with the ground which will make it independent of the ground movement.
Make tubes from cement; it must be extended far enough so that it reaches the area of frost line. After that dig holes for the tubes, allowing some rise to it, just with the aspect to elevate tubes above the grade.
For creating footing posts, construct the metal bases at the top of the footings, you can even embedded a J bolt into the concrete while it is still soft or you can even screw it when it is bit hardened. But what if the concrete hardened completely? Don’t worry, use ½ inch by 3 inch steel sleeve anchors to fix it then.
Install the deck support beam
source: plandsg.com
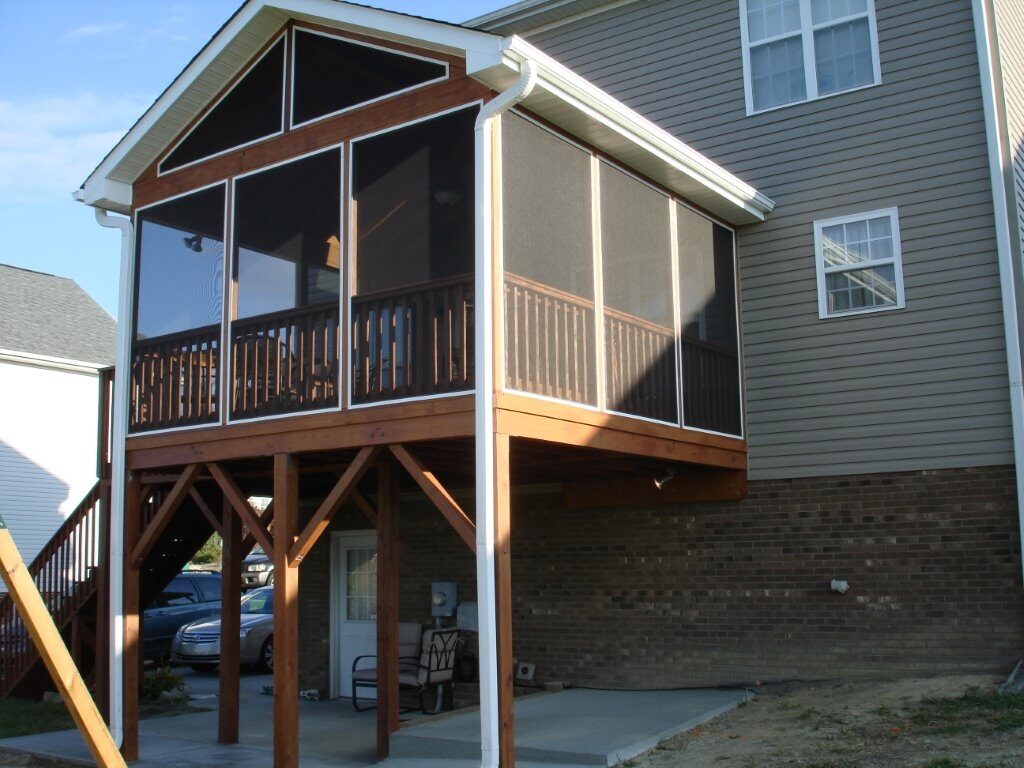
Once when you are done with the footings for your deck, now you have to focus on beam supports of the deck, at this instance rush on to your hardware tools and start providing steel column caps at the top of support posts. It must be parallel to the ledger board and be aware of this step. To make the process easy and faster what you can do is? At first double up two-by-tens one will be the support and the other one will be used to make the deck.
Attach the joists
Attachment of the joists must be done precisely as they are the main components to build any of the structures, not just only deck framing. Here joists are nothing but the two-by-tens that are acting as the outer perimeter of our deck framing. You need to cut those two joists in a way that they extend 1 foot away from support beams; you’ll get two outside joists now. Attach those joists with the ledger board of the deck with help of joist hangers. Lastly, join the header joists with the two outside joists we created, use only joist hangers to connect them all.
Hang the deck joists
The final step to framing the deck is hanging the deck joists, the spacing is dependent on the factors of your project like weight load, material load, etc. and type of the flooring you used to prepare your deck. This step includes the support of the joists at the time when joists will rest on ledger boards. All you need to do is, attach joist hangers with the help of 1 ½ inch galvanized anchor connector screws. Make the deck joist to the length; use 1 ½ inch screws to attach the joists on the hanger, attach in a way that it can slide into joist hangers.
To frame your homemade deck use the method and instructions mentioned above, framing the deck is not a big task but yes somehow you need a bit knowledge of this field before you start. It would be a good experience for you while making a DIY deck at home. Also, after performing this activity you can even come to know about the requirements of your home improvement.

