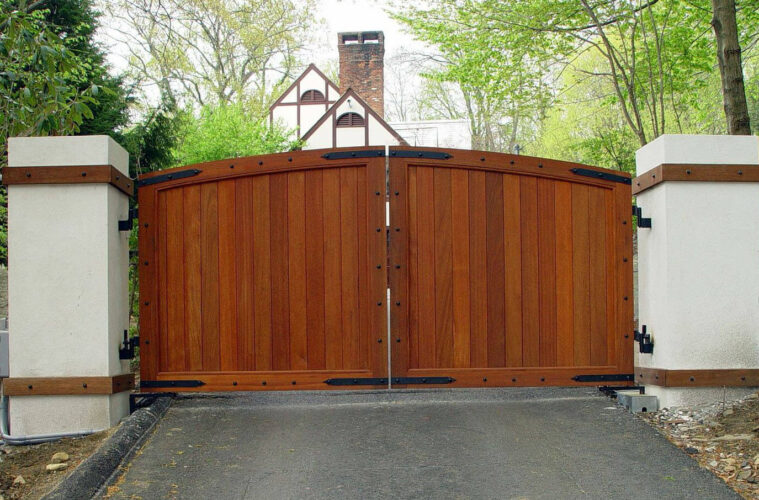
For achieving a happy home to sustain we have to achieve better safety and security. Without security and safety, you can’t say your living place is better to sustain and live, as crime and incidents has increased. To achieve safety and security the first thing which comes to mind is fencing and doors. Basically doors are the entrance of the home, which provides us safety from unwanted persons; we let them in those peoples who are known by us while we keep unknowns / strangers outside. But if we talk about yards and other places of our homes likewise parking, garden, lawn, etc. we usually don’t keep doors over there, moreover some of us think that there is no need of safety in such areas, but let me tell you overall safety is one of the components leading us to proper way of living. Thus places like this must also have safety and security, which we add using fencing or doors most often.

Looking for a door for your yard along with the fence, then have a look! Here, in The Architecture Designs, you’ll love to have a wooden door in your yard especially when it is made by you itself. Are you curious to know about how to build a wooden gate for your yard? Then follow the steps given below.
Practically the size of wooden gate for yard is between 40 – 45 inches, these types of gates are different then every other gate, they are easy to construct, and it has very low expense cost rather than the other gates. All you need is a tongue and cedar wood that’s it and you can ensure your privacy and security using this, moreover the height of the gate must be as appropriate that no one can peek in through those slits and pieces of boards. To add strength to you construction go with cross bracing, cross bracing is a process used in construction to increase the support of diagonal beams, not only it will add a good strength even it will increase the durability and resistance towards earthquakes, thus it is important to achieve utmost safety and security of the doors. It is easy to use; you can cut it, measure it, and attach it without any kind of difficulty. Also it is less expensive. We use wood because it mixes properly with the nature of the yard without giving a messy and boring look. Now, let us have a look at the tools and materials you need to make a wooden gate for your yard.
Tools and materials
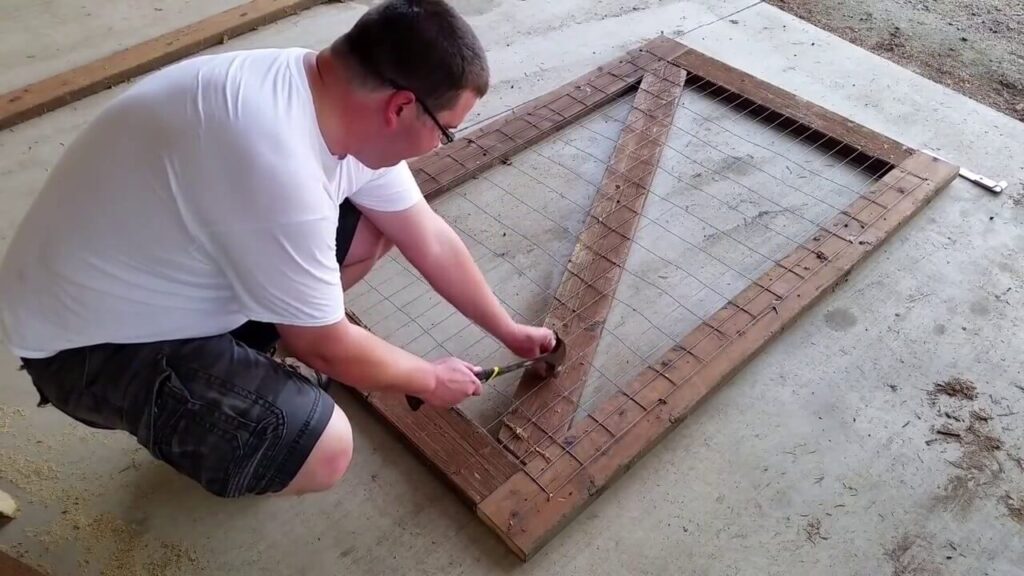
12 cedar tongue and groove boards: The size of the cedar tongue and groove boards you require to make door for your yard is ¼ – inch * 3 ½ – inch * 92 inch cedar planks.
3 or 4 cedar boards: As per your requirement, select the no of cedar boards you are going to use, size of cedar boards: ¼ – inch * 6 – inch * 96 – inch.
3 hinges: Be choosy about the color, choose whatever will suit the environment, it will help you incoming up with better outcome, size: 10 – 15 inches.
2 Barrel bolts: To attach the wooden gate with the fencing you have.
Latch
Electric miter saw / Normal saw
Cordless drill
Pencil
Hammer
Glue
Some nails and bolts: Make sure that the nails and bolts you use must be galvanized properly, so that it won’t get rusted out while rain.
Have a look at step by step processes to build up a wooden gate for your yard.
Step 1: Accurate measurements
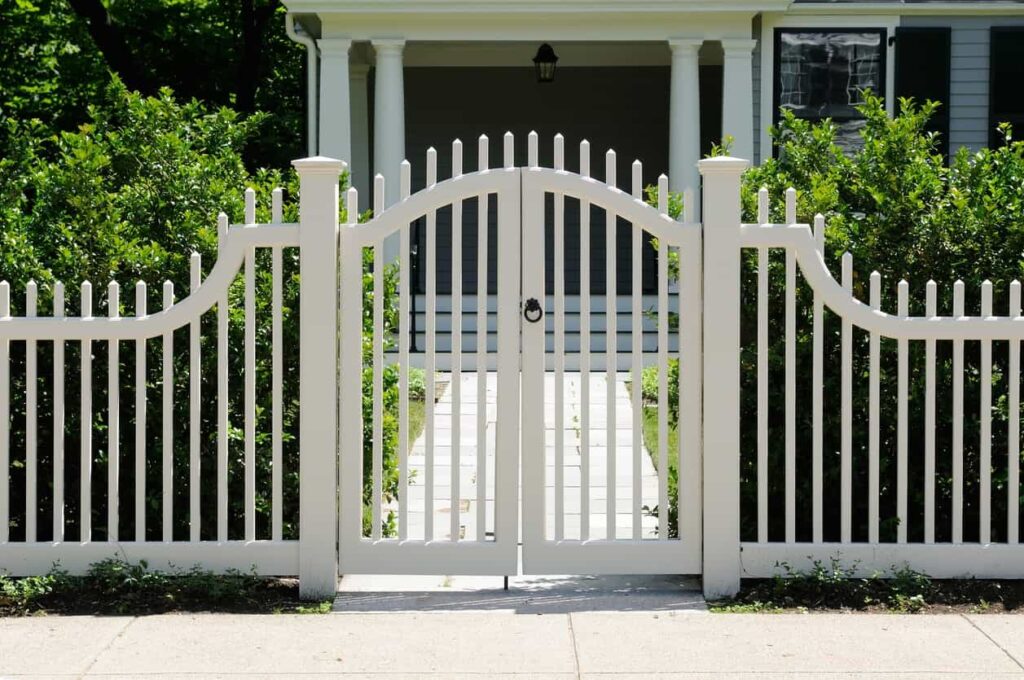
Pre decide the height, width, and length of your door, as you have to be precise about the placement, thus visit your yard, take a small survey and select the place where you will place your door and make sure that the place satisfies the length, width, and height of the gate. And then do the pre – preparation about where you are going to apply the fence, as if you don’t have a perfect plan for the fence then it will interrupt the place where the gate is about to be built.
Step 2: Cutting
Cutting of tongue and groove boards must be done precisely as they are the main components for making the gate, do cut the tongue and doors in between size of 35 – 40 inches just with the aspect to make a perfect gate, you can scale up the width and length then after adding some more boards as per your requirements. Make sure that you won’t rise up the height more than 6.5 feet as it will look awkward and will not sit appropriately with the comparison of your yard.
Cut horizontal cedar board braces with the help of a measuring tape, cut them out in three segments each measuring around 42 inches from 6 – inch – wide cedar board, use an electric miter saw tool to cut the materials.
At last cut two poles from wood of 6 – inch cedar boards, as those poles are the connecting members between the gate and fence.
Step 3: Dig and Fix
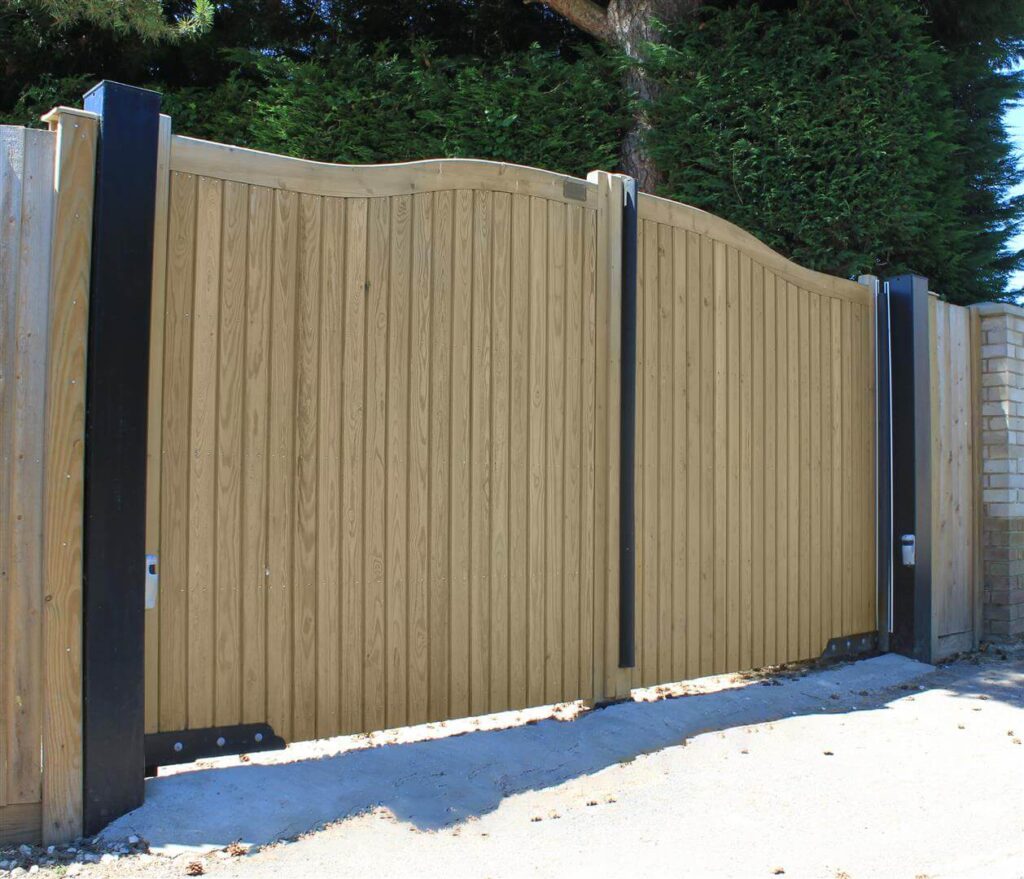
Once you are done with cutting and measuring, here is the main step or you can say the foundation step of constructing the gate. All you need to do is just dig two deep holes of about 2 – 3 feet, put the wooden poles in those holes and pour them out with cement. Once it gets fixed up, clean the extra material and match it with the surface then. Now the support to build up a gate is ready.
Step 4: Nailing
Your cutting and measuring materials need to form in a way that it makes up a gate, so finally we are going to attach them now with the help of nails and bolts. Take the tongues and groove boards and nail them out in a proper manner, after that attach horizontal cedar boards with them precisely so that you get ready with your both the parts of door, if you want a single opening door then do follow the steps accordingly.
You can add some of the other materials you have in hand to create design or to add style to your gate. Do not overlap much boards one across the other it will make your gate look messy and you will feel it useless. Make it flat and do clear with the edges of the gate. When you are done with nailing up your gate it is the time to attach it with the poles you have kept for the support of your gate.
Step 5: Barrel bolt fitting
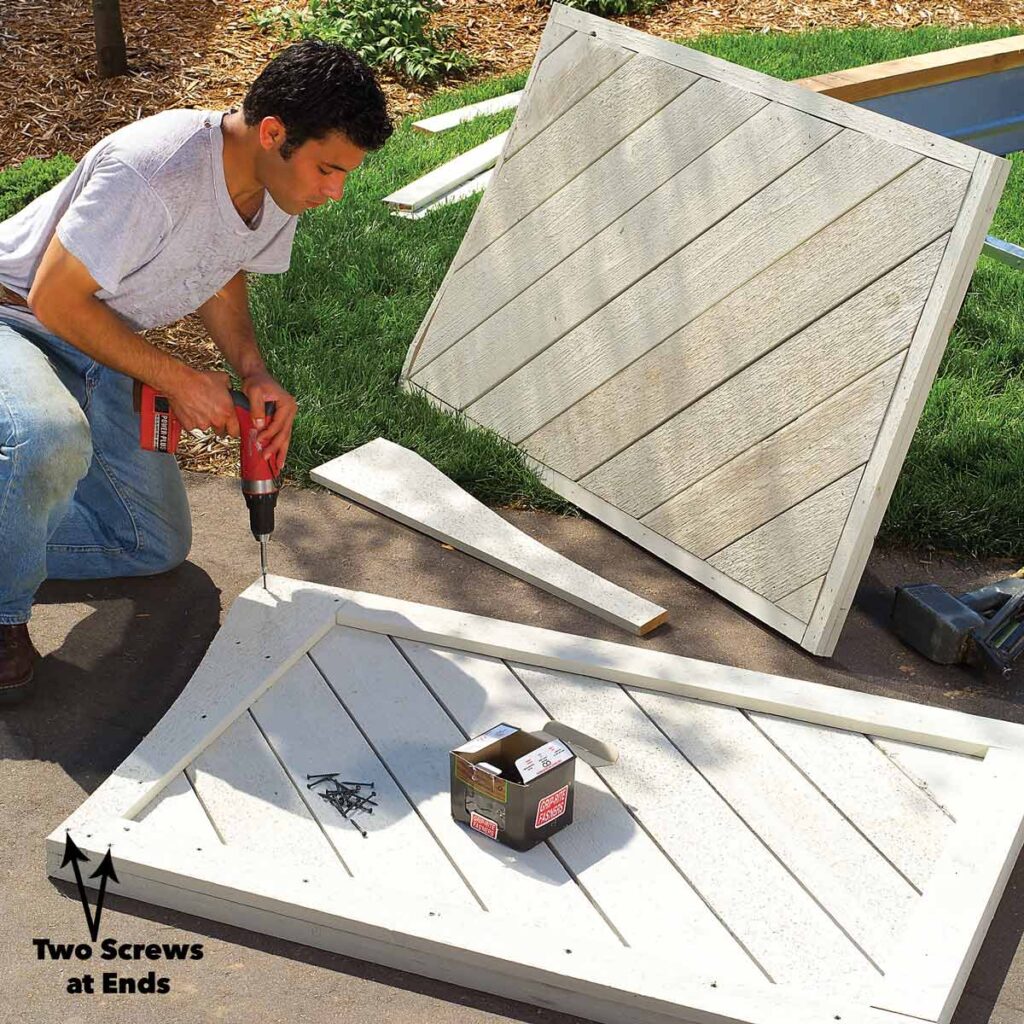
If you are making two sides opening the door then you would be in requirement of 4 – 6 barrel bolts and if you are making one side opening the gate then 2 – 3 are sufficient. Those bolts are used to attach your project with the poles; all you need to do is measure and mark the point with the help of a pencil, the points must be at the places where it can hold the gate without devastating it and can bear the load weight of the gate. After that take a drill, create holes as per the structure of your gate accordingly with the pole, take some bolts and nuts and join the gate with the pole, here you are ready with your wooden yard gate.
Step 6: Final mounting
The last step for making a wooden gate for your yard is final mounting. When you are done with barrel bolt fitting after that you will notice that there are many things missing which are to be attached yet, they are nothing but hinges and latches, attach hinges and latches precisely to your gate as they are the other main components for making gates, hinges must get connected with barrel bolts to provide them a rotating platform, and at last fix the latch hardware. As it is the last needed component for making your gate safer. Better the latch, better the accessibility of your gate and better the security and safety you’ll get, you can even use a smart latch. After you are done with all these things, at last make a pathway for your fencing, so that it does not get tangled up with your door.
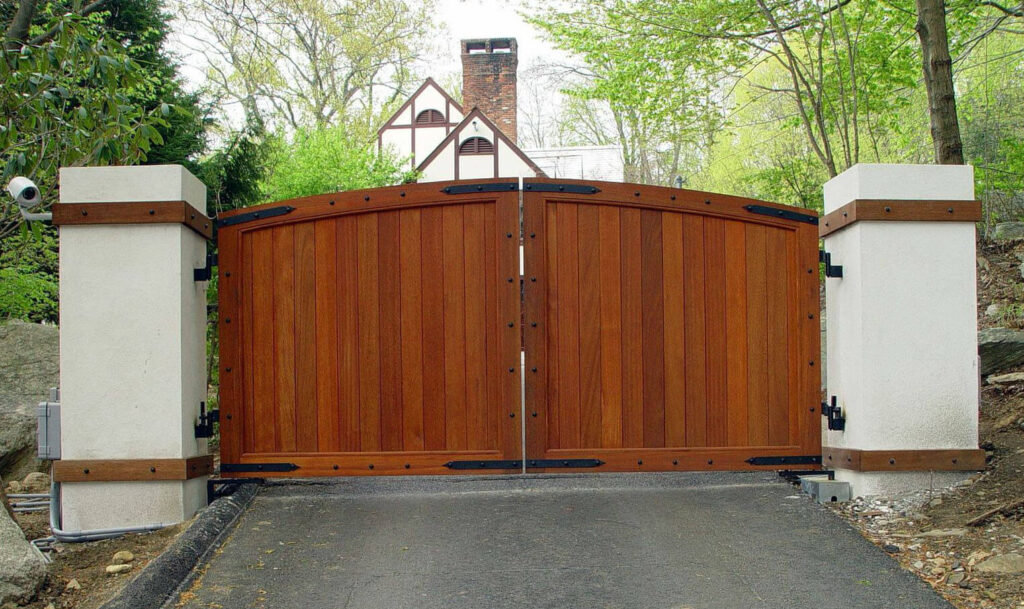
Following those steps in a proper manner with having proper equipment in hand will help you a lot in making the gate for your yard. You can even do those steps to construct a normal door for your home entryway. If you don’t need a wooden gate then you can even switch to Iron Gate, they are the easiest to install. All you need is iron frames, hinges, latches and barrel bolts. Just bring them and install using some of the above steps. But by my side I would like to suggest wooden gate for yard as they mix matches with nature perfectly while Iron Gate does not mix matches perfectly. Make your yard a safer place with help of cedar wood gates.

