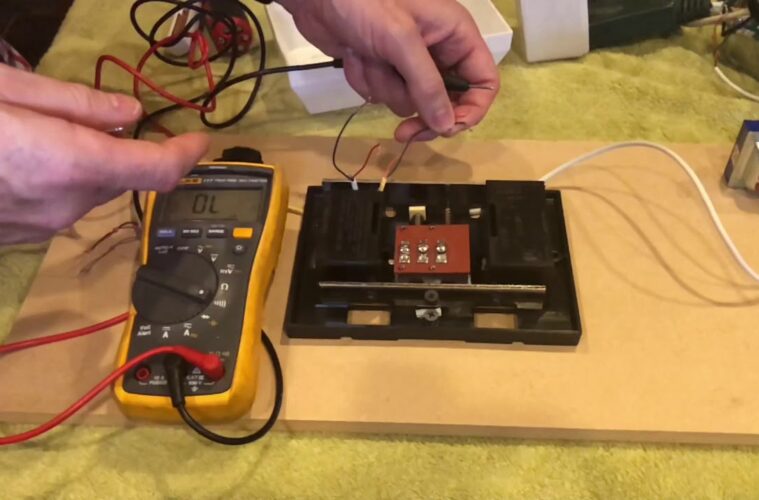
Doorbells are necessary elements of the house because you cannot keep the front door open for the whole day. For security and privacy, these days, there is not a single house that lacks a doorbell.
Today, we will share with you how to wire a doorbell transformer without taking the help of a professional! After this, you will be able to do this on your own!
Step by Step Process of Wiring a Doorbell Transformer
Don’t waste money on calling professionals anymore! Check out the step by step process on wiring a doorbell transformer at home!
Step 1: Removing the Electrical Junction Box
source: thefamilyhandyman.com
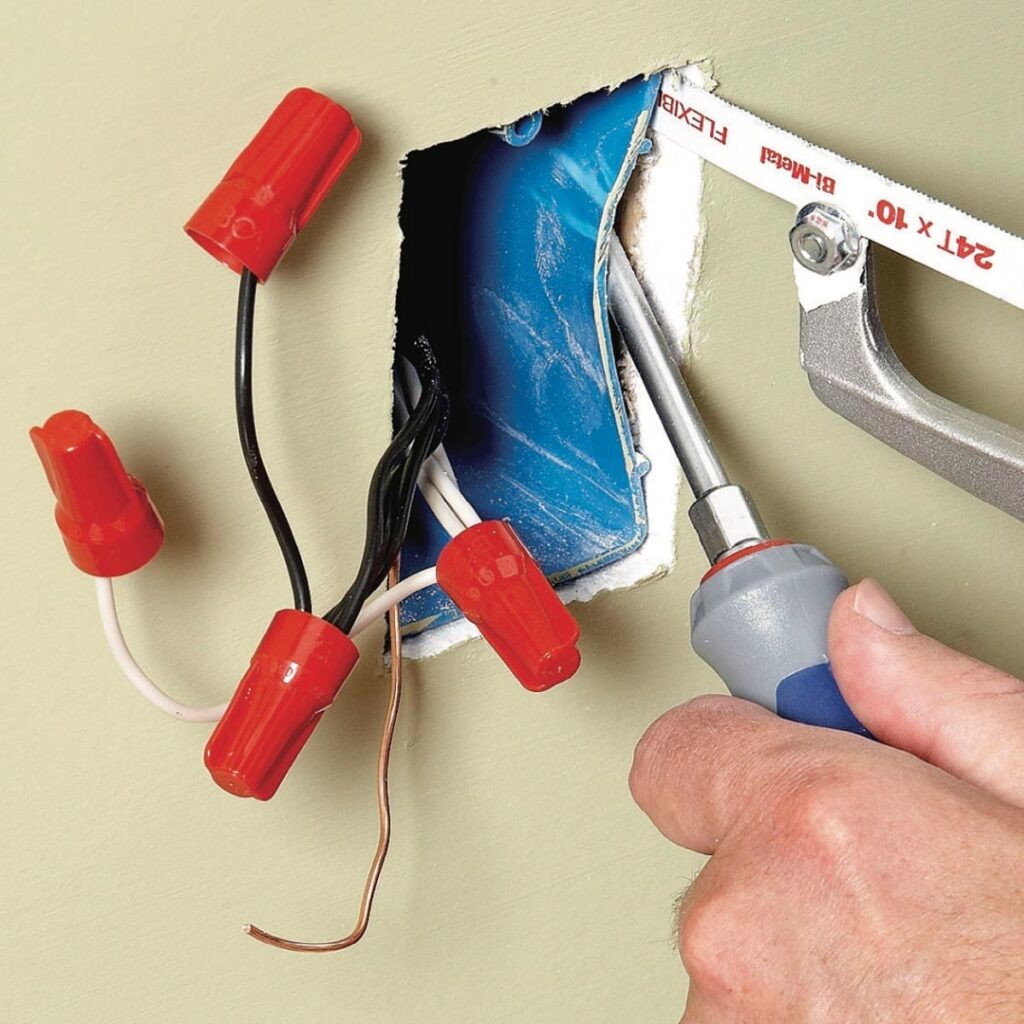
Check the electrical junction box cover. Take it off first. Now, add the power supply wires to this box. You must go through the right hole to do this. Take the transformer first. Keep it in its opening. Make sure that it is by the side of the electrical junction box.
You might need a bolt here. Take the help of a wrench to get it ready. If you need a screw, you can take a screwdriver for this purpose. All you need to do is fasten the transformer so that it stays in its place properly secured.
Step 2: Attaching the Wires
Now that you are done with the electrical junction box, you have to move towards the wires. Here, you have to work with both the power supply wires of the transformer and the power supply wires of your house.
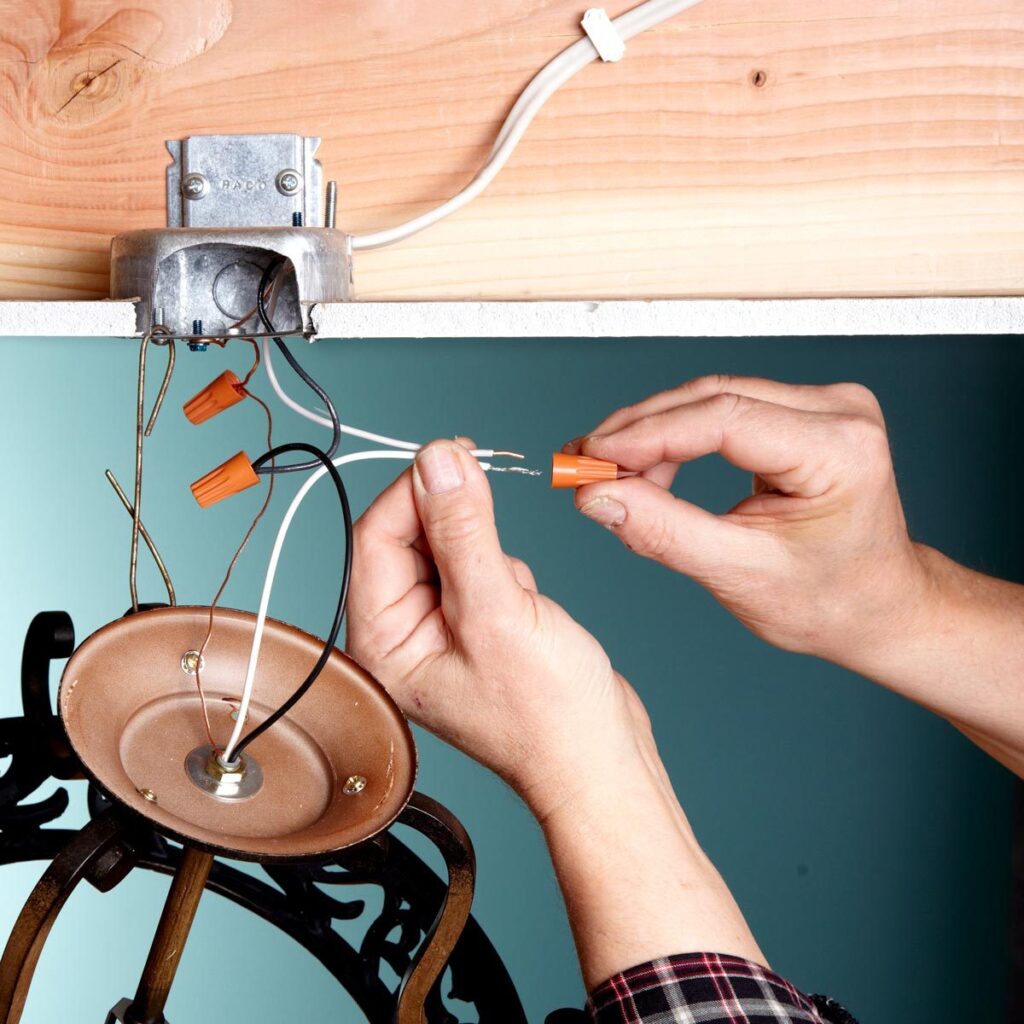
This can be a bit difficult if you are new but you can make the whole work easy! Take a look at the wires and you will see that some wires are of the same color. All you have to do is match the colors.
Go for brown with brown, white with white, black with black and green with green. Add them up by twisting both the wires together. This will secure the wire together. After twisting the wires, get your hands on the wire caps and twist them so that you can keep them in place.
Make sure you are doing it exactly on the connection. For more security, we always recommend you to get electrical tape and protect the wires and wire caps in this position.
Step 3: Moving the Electrical Junction Box
source: familyhandyman.com
After this previous process, you have to move your hand to the electrical junction box once again.
Replace the cover now. You can snap the electrical junction box cover again to its place. You can also tighten it again with the help of a screwdriver.
Step 4: Attaching the Buttons and Wires
You are almost done with installing the doorbell camera. You have to add the push button of the doorbell to the screw terminals.
Also, here, adding the chime wires to the screw terminals is also required. After you have taken the old system out, you will see that the system’s button along with the chime wires are left there taped securely.
All you need to do is get the wires required and wrap them all around the corresponding screw terminals. For tightening them, use a screwdriver.
Step 5: Attaching the Exterior Wires
After you have attached the buttons and wires, you have to check the push button. First of all, you have to search for the exterior wires.
There are two different wires that you have taped to the outer wall. After getting them, you have to replace them. On the back part of the new doorbell push button place, you will see screws.
Replace them under these screws. Get a screwdriver just like before and secure the screws so that the wires stay stable in a place!
Step 6: Placing the Push Button
source: wayfair.com
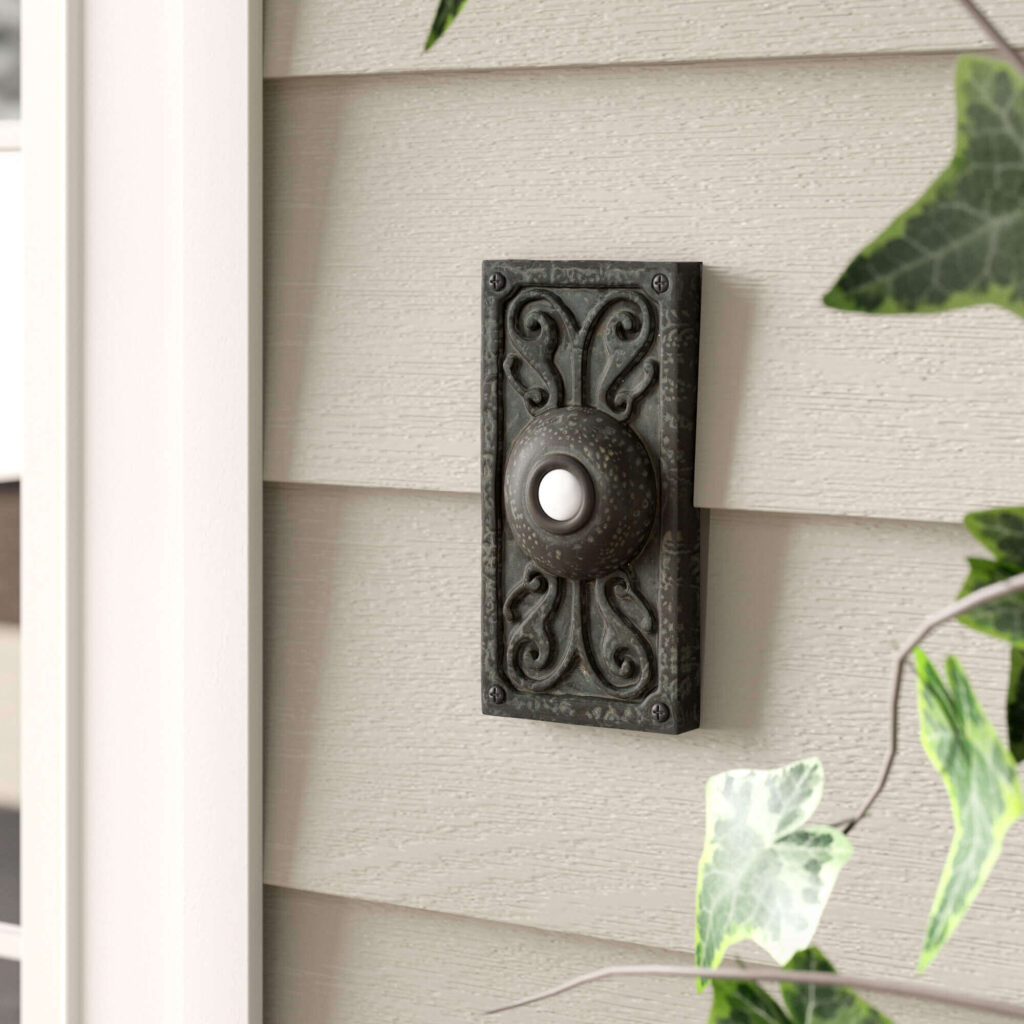
Here, you have to place the push button on the wall so that you can use it! All you need to do is push the button in its right place on the outer wall of your house.
Ensure that you are gentle with the pushing work because it might break or get loosen. Conversely, you have to be very serious about the exposed wires. Exposed wires can cause fire and damage.
So, certify that you have not kept any wire exposed. Again, take a screwdriver to screw it and keep it secure.
Step 7: Placing the Cover
In some cases, the doorbell push buttons can come with a cover to cover it up. Not all the doorbells come with this.
However, if you have such kind of the doorbell cover,. You can take the doorbell push cover and place it on the push button place.
After placing it, you can attach it following the manufacture guideline. Some cover requires screwing or bolting and some can easily get attached without any extra screws.
Step 8: Threading the Chime Wires
It is time you need to go through the doorbell chime and install it properly. here are several types of doorbell chimes available in the market and also you can checkout on this site.
Here, we will only talk about the basic kind of chime which is very popular. First, you have to locate the doorbell chime wires. Once you find them you must untape the wires. Be soft and gentle while doing this.
There will be holes and you have to thread the wires through them. Take it to the back of the shime.
Make sure you do not damage the labels that are already there. After you are done, tape them in the chime. This is temporary taping so that you do not end up losing them.
Step 9: Secure the Chime
source: pocket-lint.com
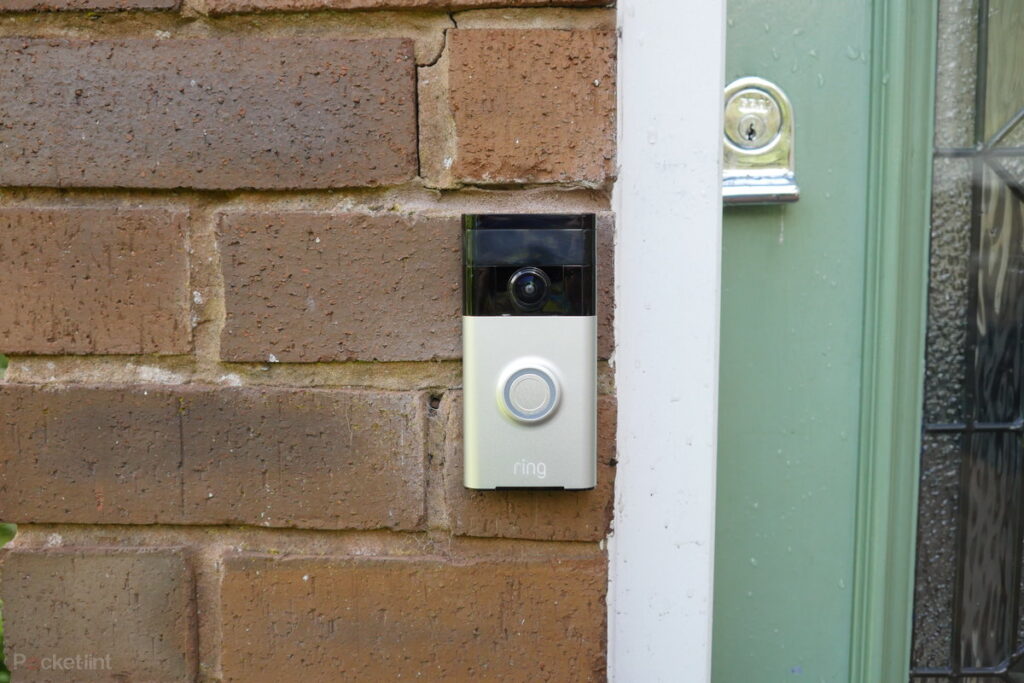
Now you can easily take the chime and place it on the wall. If you are using the same branded chime that you have used before, the previous screw holes will work for you.
But if it is not the case, you can try to drill new holes! For this, you will need a power drill. After marking the right place, you have to put the right and left screws on their positions on the chime. Now, you can drill the chime into the house’s wall and fit the screws there!
Step 10: Adding Wires to the Chime Terminals
After this, go through the labels. As you have made these, you have to check if they are in their right condition or not.
Now, take the wires and place them on their corresponding terminals. You have to go one by one. After you have placed them all in their exact place, you can take the help of a screwdriver to tighten and secure them to their place.
Step 11: Covering it Up
If you were here to learn how to wire a doorbell transformer, you probably know the proper method by now.
You are almost done with the whole process of wiring it. Now, you have to cover the chime for safety. Take the cover of the chime and position it on the chime carefully.
With the help of the screw, you have to fasten the cover in that place. Different manufacturers have a different method of fastening the cover, follow what your manufacturer company says!
Step 12: Testing the Doorbell
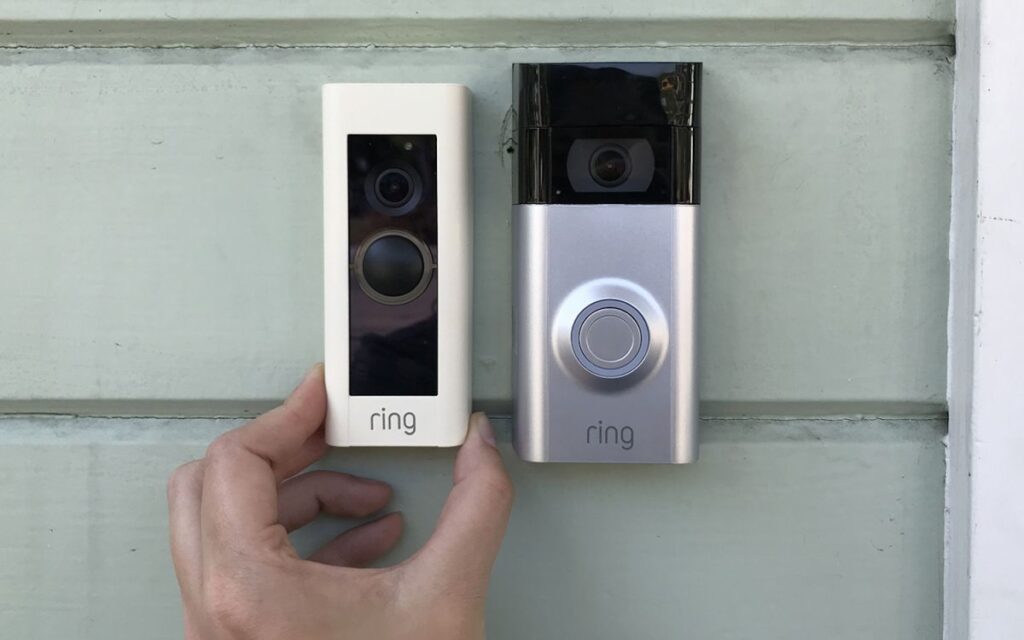
So, congratulations, you have done wiring the doorbell and installing it! Now, you can easily test the doorbell and see if it is working or not.
For this, first, ensure that all the components of the doorbell are placed in the righteous manner. Also, check the connection.
Check the circuit breaker and turn it on, If required, turn the power supply on again. With the tip of your finger, press the push button of your doorbell.
If the connections are properly done, the doorbell will range and you will hear the chime loud! If you do not listen to the bell, you can open it up again and check what’s the problem!
Wrap Up
If you were confused about how to wire a doorbell transformer, congrats, you already know it now! All you need to do is complete the whole process carefully!
Don’t forget to write to us about how you wire it up. Also, which doorbell transformer worked best for you till now? Comment below!

