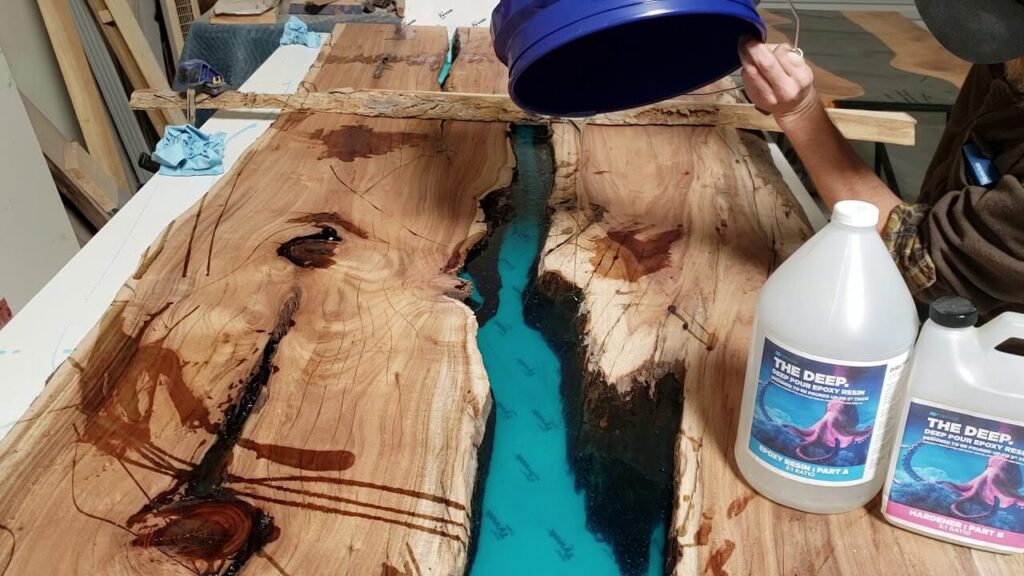
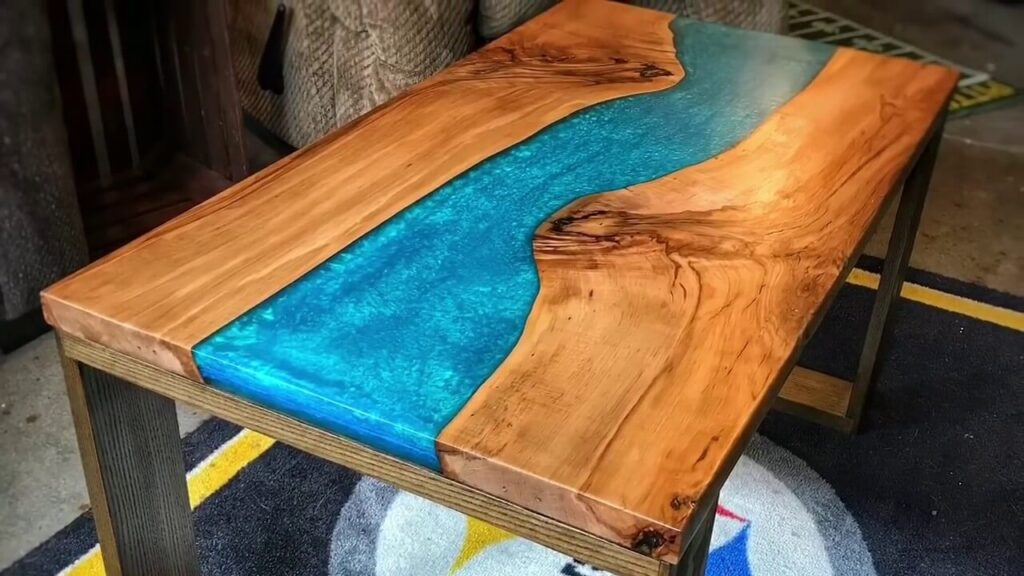
Working with deep pour epoxy resin gives you the flexibility to create extremely cool and unique projects. But epoxy isn’t for the faint of heart. It’s important that you follow the directions carefully, have all the correct supplies, and combine the chemical mixtures correctly so that you don’t throw all your money down the drain. But when epoxy is done right, you can create stunning and unique pieces that don’t break the bank.
We’ll walk through five tips and tricks to make sure that your deep pour epoxy resin project makes the cut and lives up to your expectations.
Tip One – Get a Quality Deep Pour Epoxy

source: youtube.com
It might sound cliche, but the biggest impact that you can have on your project is making sure that you purchase the right product. Deep pour epoxy resins have many different characteristics, needs, use-cases, and quality of the product. When searching for the right type of deep pour epoxy it’s important that you find a brand that fits your project, for example, it can pour as deep as you need.
In addition to finding an epoxy that suits your project, you’ll want to make sure you’re purchasing a high-quality brand. Be sure to check that the deep pour epoxy you’re researching is made in the U.S.A., is UV resistant, FDA approved and has no harmful VOCs or odors.
Tip Two – Supplies
Armed with the right epoxy, it’s easy to jump right in without thinking ahead. But your supplies are a crucial part of your success. Without the proper molds, mixing attachments for your drill, and even PPE such as goggles and gloves, you can run into an array of issues. Do your research and understand exactly what you need to get your project done, the right way, and have everything prepared beforehand as once you start mixing the epoxy, there is limited time to do other stuff.
Tip Three – Temperature

source: deckwise.com
Since epoxy resin is a chemical mixture, the temperature you are pouring in will have an impact on those chemical compounds. And if you’re in an environment that is too hot or too cold, your epoxy will not perform the way intended and will end up ruining your project. Read the directions carefully to understand the temperature needed for your deep pour epoxy — most have an ideal environment temperature of 75 degrees Fahrenheit. The same goes for humidity, an environment that is too humid may cause problems. Humidity should be below 85% in all cases but ideally, it should be between 50% and 60%.
Tip Four – Coloring
Adding color to your deep pour epoxy resin project is what makes it stand out and gives it that unique touch. But just purchasing any coloring product can end up forcing you to scrap your entire resin mixture – which can end up costing you top dollar.
When searching for the right color for your deep pour epoxy resin, find a brand that is made specifically for your deep pour epoxy resin. Cheap powders or dyes might seem like a quick way to get the job done, but with a less than perfect coloring in your pour, it can make your project look cheap.
Mica powder is perfect for coloring epoxy but as always, pay attention to the brand and reviews. It’s also a good idea to test out your coloring with small samples of your mixture first rather than mixing the whole resin at once. This will allow you to figure out the proper amount of mica powder you’ll need to color your project and test it out! That way you’re not ruining a whole batch if you end up with a color that isn’t perfect.
Tip Five – Air Bubbles

source: liquidglassepoxyresin.com
Air bubbles are common and are a part of every deep pour epoxy resin project. But that doesn’t mean that you can’t reduce them and entirely remove them. Removing air bubbles starts with the way you pour. By pouring your mixture as close to your mold or project as possible, you’re allowing less air to mix into your project, thus reducing air bubbles.
However, it’s almost impossible to not have a few in your project especially if you are just starting out with deep pour epoxy projects. Over time you will get a hold of it and will have fewer bubbles so do not get frustrated if at first, it is not perfect. You can minimize air bubbles by paying attention that once you have finished your pour, you can take a small blow torch and lightly go over your surface and areas with air bubbles. This should take the air out and seal up those spaces!


