Packing for a move can be tricky and time-consuming, most especially when packing the small fragile cooking appliances. From the silverware, glasses, and plates to the pots, air fryers, and blenders, you want to be careful as possible to avoid damaging these valuable utensils. For this reason, understanding how to pack small kitchen appliances and getting the necessary supplies for the move before hiring professional packers and movers to transfer your belongings.
What Supplies Would You Need for the Move?
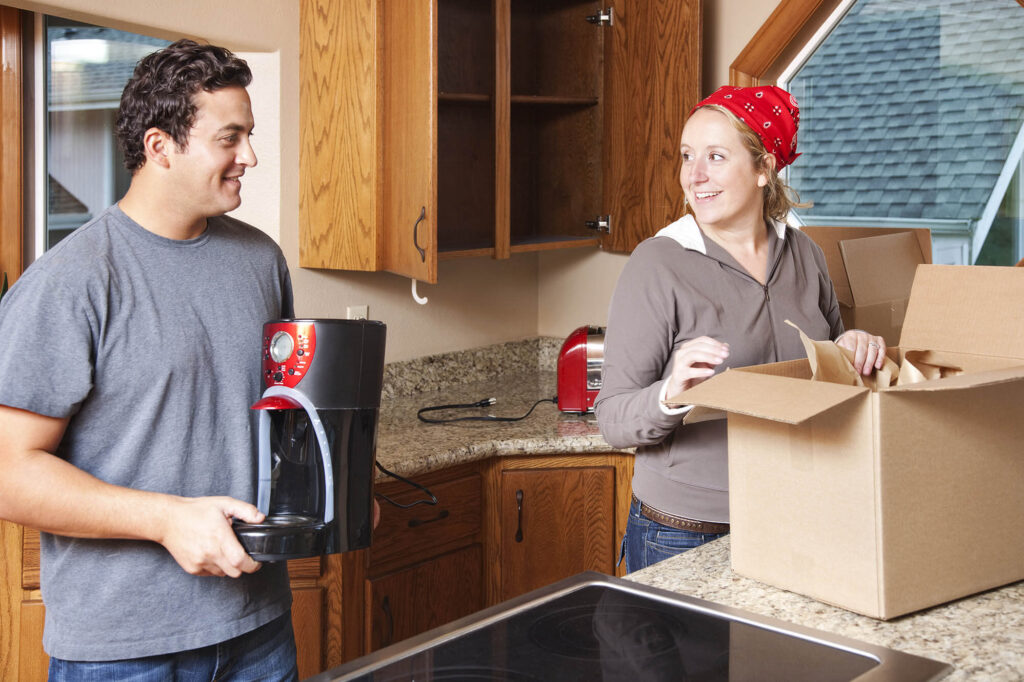
source: aaamoversinc.com
While cooking utensils do demand special care, you don’t need any special supplies or items to keep them in one piece. However, you would want to ensure that every moving supply you have is a-plenty and quite sturdy to safely hold your kitchen gears. Some packing supplies may include:
Boxes: it is usually ideal to pack small utensils in the original boxes they come in. But, if you can’t find them, you want to try getting a close-fitting box like that of the initial one.
Packing Paper: Also known as wrapping paper, it comes in handy for wrapping the kitchen equipment and filling up gaps in the box. This way, you avoid damaging any breakable and valuable kitchen wear. If you cannot source for a wrapping paper, a dish towel also works the same way.
Packing Tape: This acts as a protective shield as it keeps the wrapping and cartons sealed.
Twist Ties: where you can’t access your packing tape, a twist tie also works as a safety cord to keep the wrapped boxes in place.
Permanent Marker: You most likely have a marker to label each item from your closet. However, keeping a permanent marker at hand will help you easily label each small fragile appliance.
Steps to Pack Your Kitchen Appliances
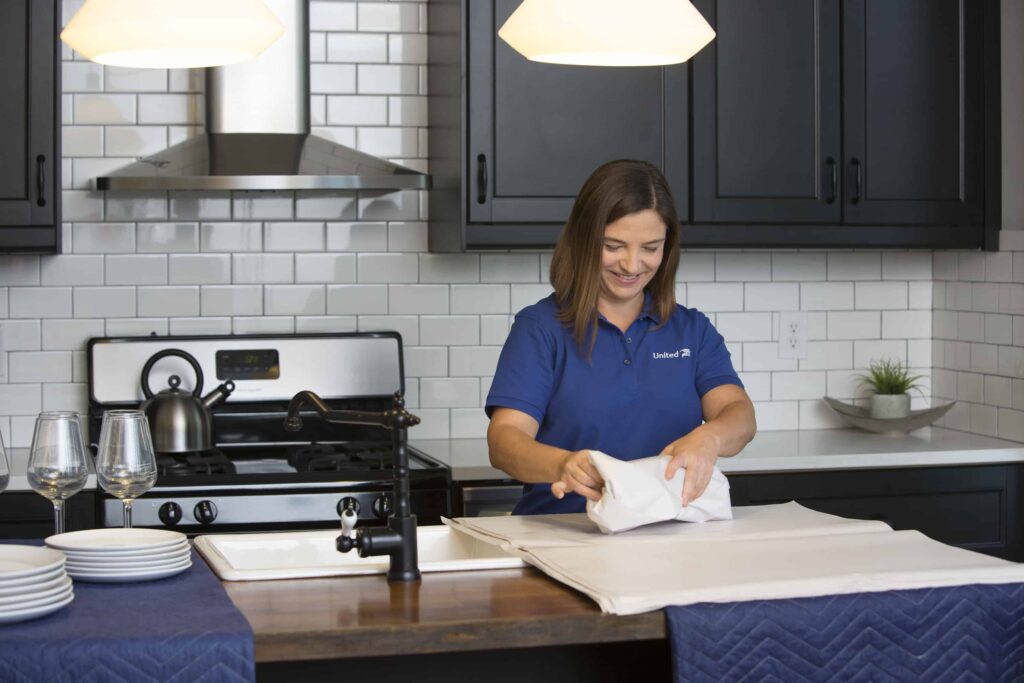
source: unitedvanlines.com
Wondering how to safely box your toasters, blenders, oven, pressure cookers, air fryers, pots, plates, rice cookers, coffee makers, and other kitchen wears? Irrespective of the type of appliance you want to box up for your move, there’s always a less time-consuming technique to follow. Consider the following:
Clean, Dry, and Dismantle the Appliances
Before packing your kitchen utensils, you want to thoroughly wipe them clean. Stocking up volumes of wet stainless-steel plates and pots can potentially damage the steel material. So, before boxing them up, make sure to wipe every inch of the utensils with a dry towel to rid them of grease, water, crumbs, and debris. Then, proceed to dry them. Also, make sure to dismantle them before a quick wrap, as storing them whole can also damage your cooking wears.
Remove the Lax and Loose-Fitting Parts
source: vivialplatform.net
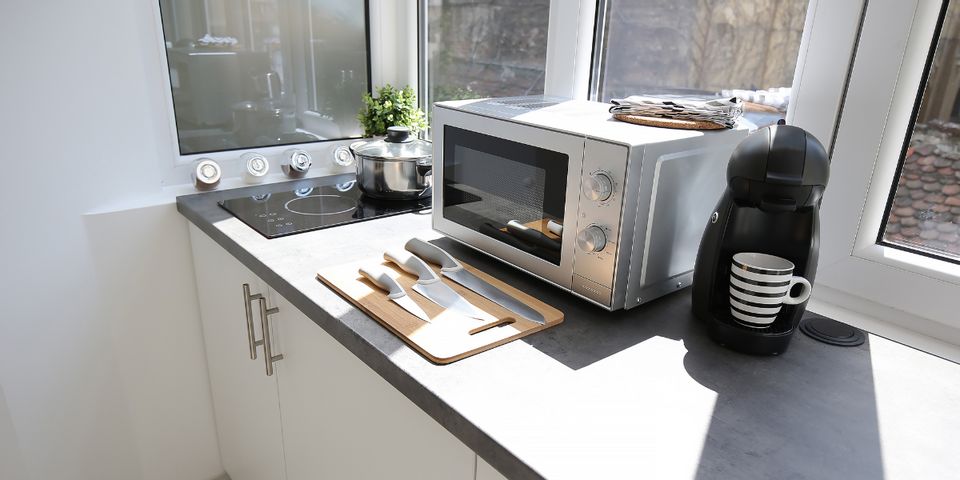
After cleaning up and dismantling essential components on your kitchen equipment, the next step you want to consider is detaching all loose parts that are fragile and can easily damage. For instance, if you have a microwave, you want to remove the glass tray inside it, as it can easily break when moving through the bumpy highway. Then, wrap the separated parts together with the item they come with to avoid having to look through several boxes. If these items come with a reassembling manual, it’s better to take them along. Alternatively, make sure to take a video or keep a note on the disassembling process to help put each piece properly when necessary.
Choose a Close-Fitting Box to Store Small Kitchen Wears
source: globalmovingllc.com
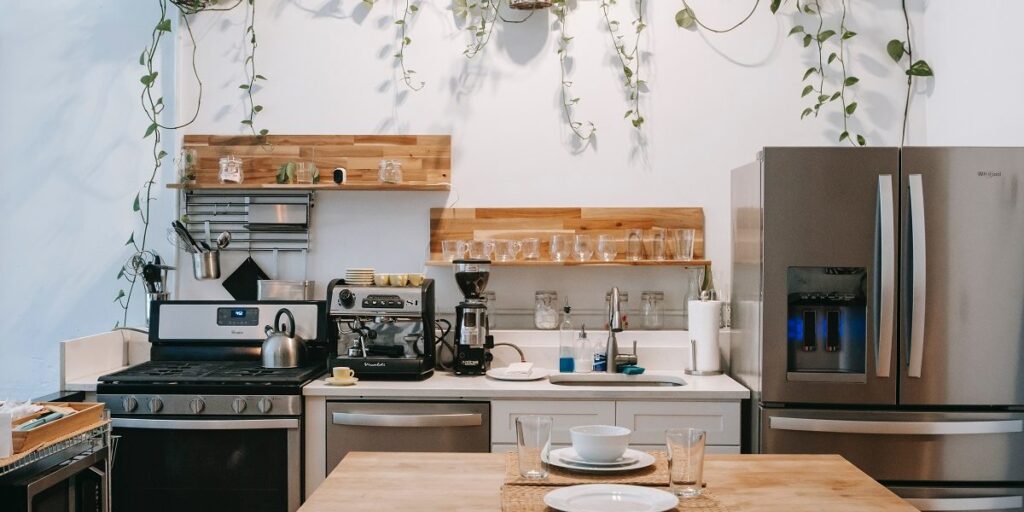
Here’s the fact, putting a small appliance in an oversized carton or loading up the box with multiple appliances, due to larger box sizes will leave you stressed out when unpacking. What’s more, it’s never guaranteed that your fragile items will remain intact. While it would be great to use the appliance’s original boxing, you can easily find an appropriate box of almost the same size that would sit conveniently for your cooking appliance. Then, secure the bottom folds with packing tape.
Pad the Box with a Wrapping Paper
Lining the box with packing paper will ensure that your appliances are safe, as it absorbs some of the shocks from being jolted when moving or on a bumpy road. So, get some plain or crumpled wrapping paper and lay them on the bottom of the box and any spacing found in the box. Avoid using ink-stained packing paper, as it may leave part of the dried ink on your kitchen wears.
Wrap the Appliance
source: edsmoving.com
Prepare your appliances for being boxed up by first securing the box. Packing tapes are bound to dry out. So, if you are considering using the original boxing, you want to secure the bottom flaps with packing tape or twist ties for enhanced sturdiness.
Then, bundling them in at least three layers of wrapping should be the next step. A bubble wrap or foam would also work well to keep your fragile items safe. Then, secure the wrapped item with packing tape. If you’re considering keeping your appliances in storage for a long time, you want to keep an adhesive remover at hand as the packing tape can leave sticky layers on your appliances.
Place the Kitchen Wears in the Box
When you’ve draped your small kitchen appliances, gently lay them and other separate parts inside the box. If you find that you still have enough space for another appliance, follow the wrapping procedure before putting it in the box.
Box Them Up

source: res.cloudinary.com
Start loading all other wrapped kitchen appliances in the box. But, make sure to do this in an organized way to avoid mixing up each category.
Seal and Label Boxes
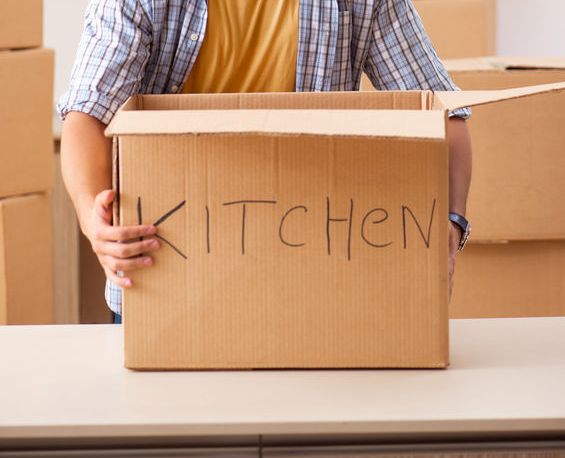
You never want to forget the particular item in a box or even risk the chances of them toppling over during the move. To avoid this, ensure that the box is rightly sealed with packing tape or twist ties. Then, get your permanent marker to label each of the boxed-up kitchen wear to know the precise content and avoid rummaging through every single box after unloading.


