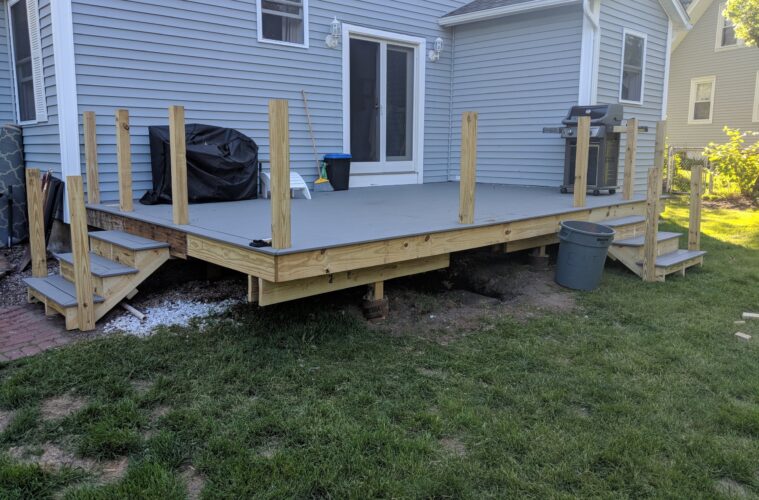
When you build your outside space with composite decking. What a lovely material for a composite deck! It improves the appearance of your outside space and boosts the value of your home. Composite wood decking, on the other hand, lacks scalloped edges and requires finishing elements to look excellent. What should we do with the composite decking’s scalloped ends?
Composite wood decking with scalloped ends can be installed in a variety of ways. However, many strategies have advantages and disadvantages that distinguish them from one another. To choose the best strategy, we must first determine what is truly going on.
A picture frame’s edge
source: pinterest.com
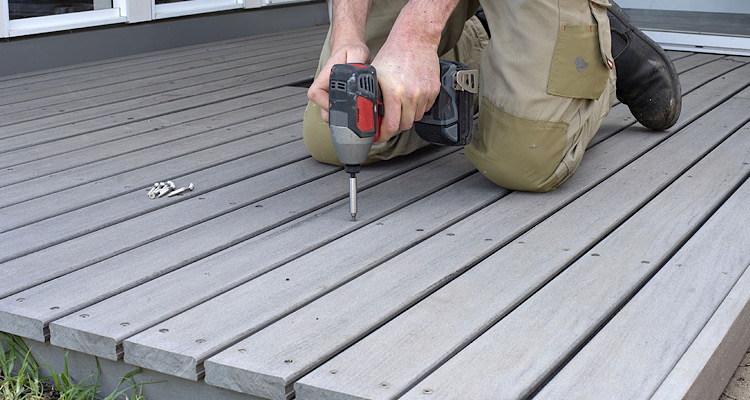
A deck with a picture frame border has one or more layers of boards surrounding the deck’s perimeter. The deck used as a border is usually parallel to the deck used in the middle. A frame is one of the most typical techniques to finish the ends of composite decking planks.
A picture frame border can be used for more than just concealing the end of an outdoor deck. You may, for example, improve the appearance of your outdoor deck. Whether you choose a frame with one, two, or three boards, it adds a polished, classy aspect to your composite wood deck. Furthermore, it can provide designers with more alternatives for how their designs appear. You can achieve a subtle design by utilizing boards of the same hue, or a dramatic look by using boards of various colors.
The most expensive aspect of a picture frame border is its pricing. An extra joist and blocking must be installed to the deck’s edge. This allows for extra decking to run perpendicular to the deck, allowing the ends to be buried.
Mitered cuts can make picture frame borders difficult to work with. If the mitered joints are not properly assembled. The mitered joints will then open up when the temperature changes and the board expands and shrinks, destroying the appearance of the outdoor composite deck.
Composite fascia board with raised edges
source: pinterest.com
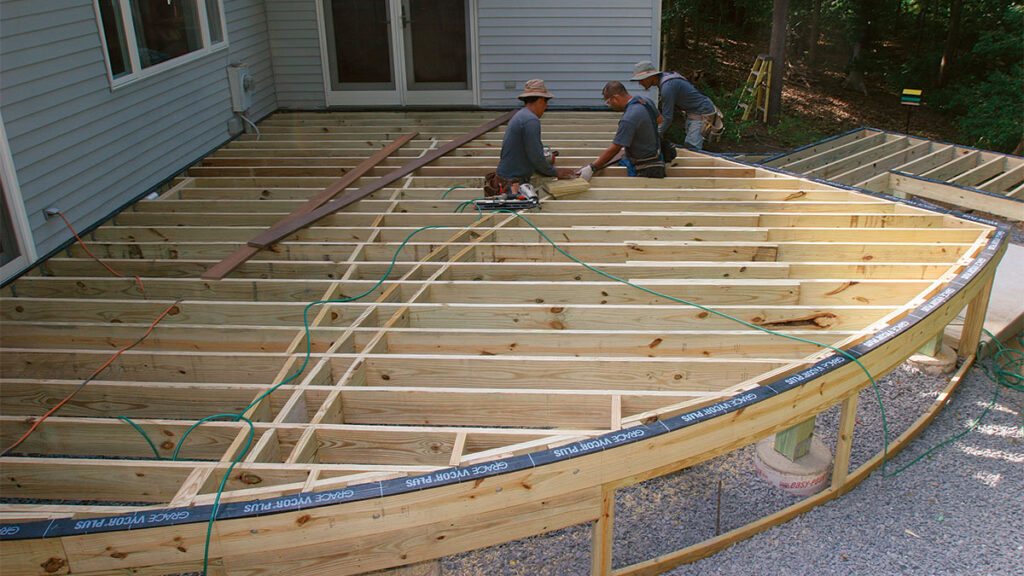
Lintels are also known as “edge joist covers” and “deck lintels.” It is typically used to cover the cutouts at the extremities of the deck frame and the board’s edge joists. Lintels are not difficult to install. During installation, the deck is placed on the deck and trimmed to fit against the edge joists. Simply place the composite fascia board flush with the top of the deck.
Lintels have a clear disadvantage. Place the trim board flush with the end joists, then cover it with the fascia board. Water is likely to become trapped between the fascia and the joists. If water sits on the deck, it will rust.
Even though a joist membrane reduces this risk, it is still a flaw in the design.
Paint the composite deck’s ends
The issue with composite wood decking ends is that they do not match the color of the decking. The composite decking is wrapped in the color of your choosing. The ends, on the other hand, are whatever color you have in your plastic bags and sawdust. Which can vary from board to board. The solution is to paint all of the ends the same color as the decking, as well as the polymer cap. Getting the composite decking ends to match the rest of the deck.
Painting traditional wood decks is a better approach to maintain them. However, painting does not work as well on composite decks. Because the colors will not match, painting the end of the deck may make it seem awful.
veneer cap glued on
source: pinterest.com
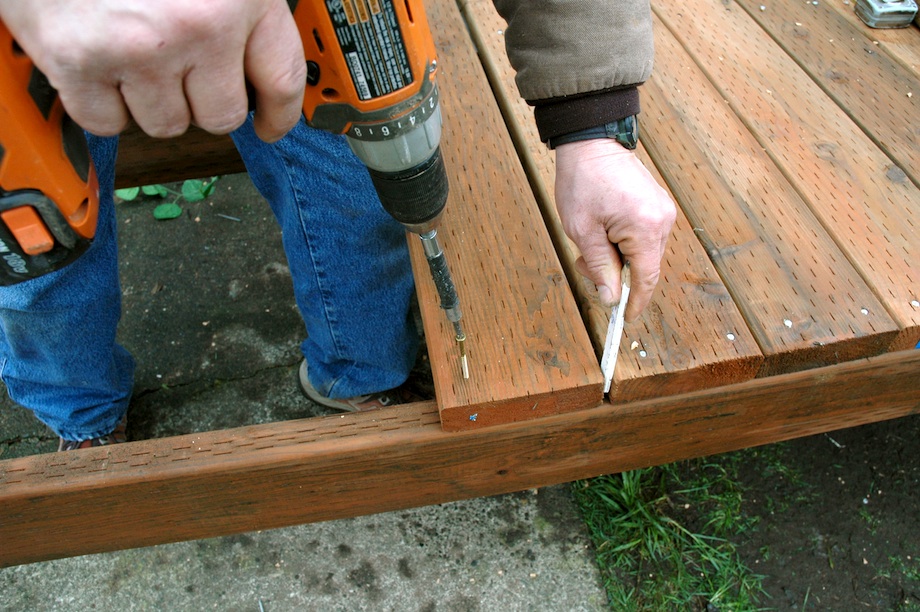
The decking boards finish like painting, but they take it to the next level. Apply a thin veneer to the cut end of the decking. The decking is the same color as the top, and it has the same texture and color pattern.
Veneer caps are difficult to come by. Although a veneer can be cut from trim, it requires a great deal of skill and extra work. Furthermore, great care must be given during installation since if the glue fails, the finish will fail as well. As a result, you must use contact glue, which only allows you to do it once.
Attach the end strips with screws
A combination of picture framing and veneer. Cut a composite deck board approximately an inch thick and screw it to the ends of the composite decking. To make the decking planks look neat and tidy, round the edges.
Without the extra substructure work required for picture framing the deck or the hassle of adding veneer at the ends of each deck board.
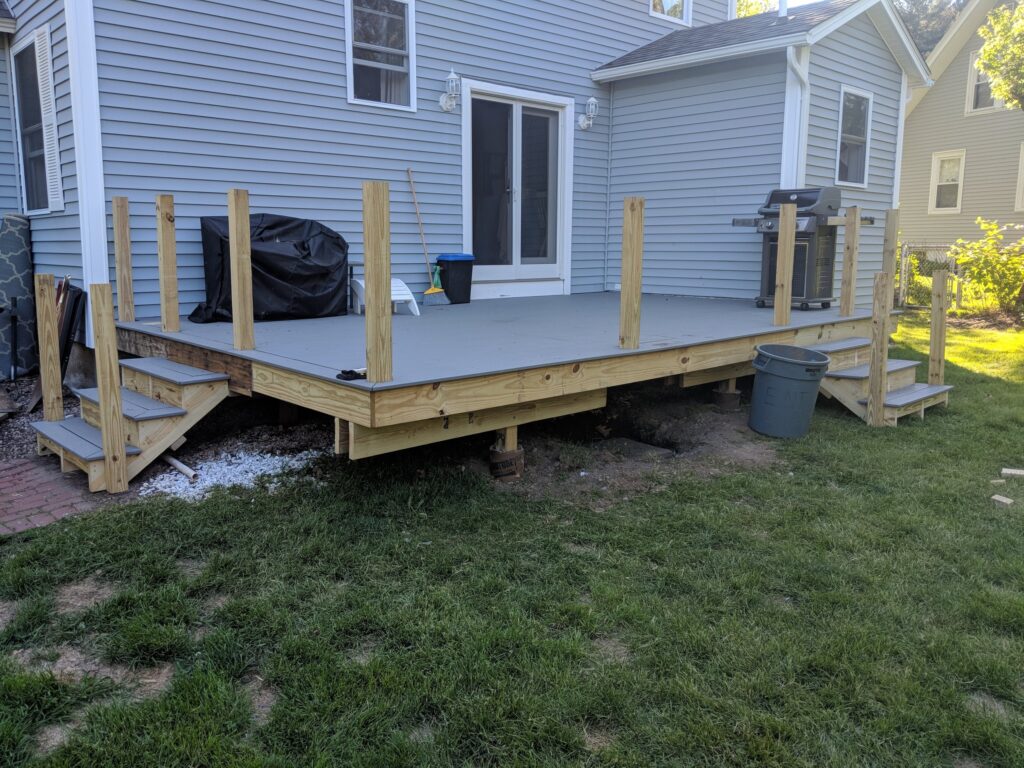
Stair nosing made of vinyl
source: pinterest.com
The interior of the house depicts an older method of finishing the ends of composite decking. To top it off, vinyl stair nosing is installed on the ends of the composite decking. Inside the house, similar vinyl stairs were utilized to finish the edge of the deck.
There is no need for additional framing, and the cost is a fraction of what framing a picture on a composite deck would be.
The conclusion of plastic board decking
Decking boards with hollow cylinders can only be finished in this manner. Small holes are tapped into the cylinders using a rubber mallet to connect the plastic end caps to the end of the deck board. Cover the holes on the ends of the decking planks with the same color plastic.
The picture frame border works well for the scalloped ends of composite decks most of the time. If you don’t have a lot of money, you can go with raised composite fascia board. So, these are the two finest methods for finishing the ends of composite decking.

