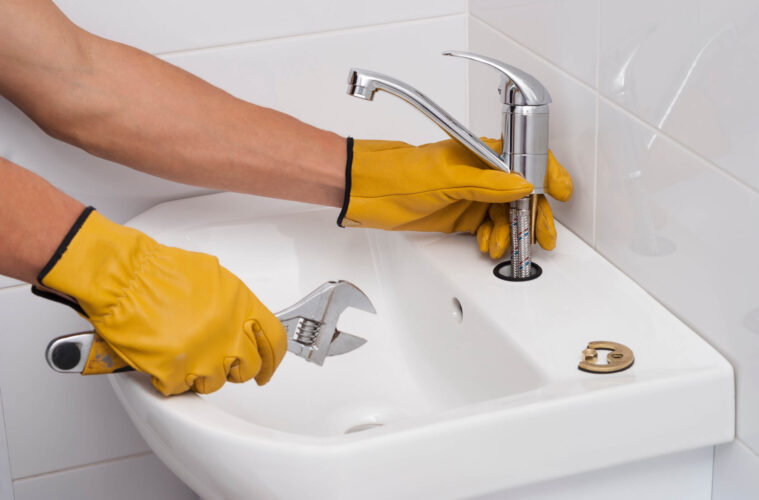
Water is included in one of the renewable sources, but slowly and gradually as the world is moving ahead with the increase in population and pollution; it seems like we are approaching a world without water. We are aware about the fact that the Earth’s surface is made up of 71% water and 29% land. Besides this 96.5% of the water surface is being covered by oceans while the remaining 3.5% is distributed amongst rivers, lakes, valleys, streams, etc. this is the only water which is portable and can be consumed by various humans and mammals on the Earth. Moreover about 2.5% is being used for various activities of humans and mammals like washing, industries, bathrooms, sewages, etc. Thus, the only water left for the consuming purposes like drinking is only and only 1%, that too includes ground water table, rain water table, etc. Also now we are running out of that 1% too because of the increase in population and pollution. Not only this it has been announced that in 2022 many cities would be having “BLACK DAY”; here “BLACK DAY” stands for the day when in that particular city there will be no water and everyone would be suffering from the biggest water crisis ever. What can we do to prevent such hazards? The very first step to be taken is saving water by unknown leakages occurring in the plumbing. According to a fact” A human cannot survive more than 8 – 21 days without water”.
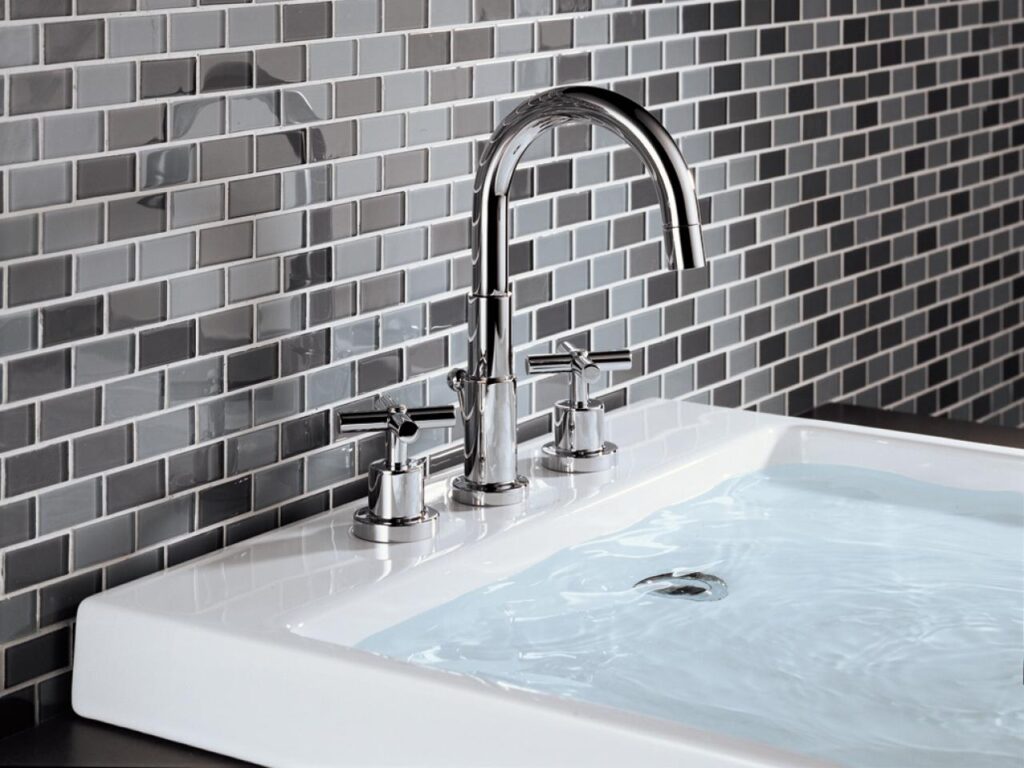
source: zeekplumbing.com
We all are fond of it; that water is the most basic requirement for one to sustain and habituate. But what if one of the pipes, valve or faucet gets damaged? It is rare and unexpected of sudden damage to your valve or faucet. It starts dripping and it makes you awake all night as the water get wasted, this is one of the reasons where almost in world every one wastes 1% of water by some leakage problems, but thinking about future makes us feel like, it is significant to save that 1% of water, as you know the only usable water for us are the rivers, lake and rain, remaining oceans and seas consist of salt, which is useless for us. So if you want to save water then you must quickly call a plumber or else you can know about this here, how you are going to fix a leaky faucet?
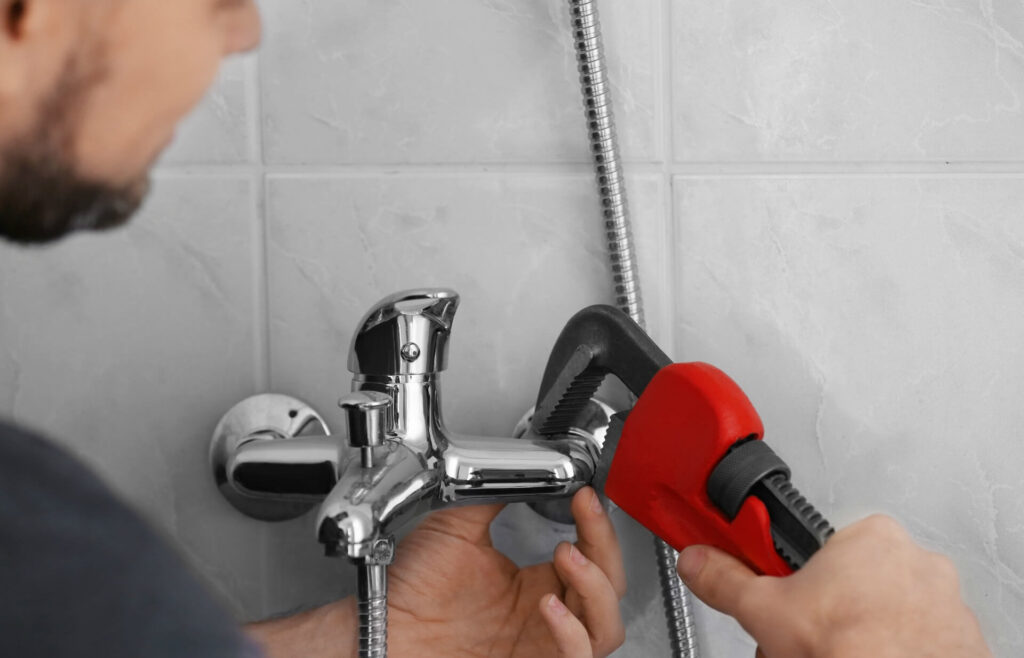
Why do faucets leak?
source: repository.com
Mechanism of faucet designs consists of various materials, if one of them gets misplaced or loses their property then the leak starts on, drip, drip. It consists of a stem, cartridge, rubber, washers, and seals. This mechanism works on controlling the flow of water coming through pipes. If one of the seals is not fixed in a proper manner then the leak starts, if washers and rubbers get loose then leak starts, and there are many more reasons behind leak; it creates infuriating and waste of water. Factors affecting seals and other equipment which misplace them or force them to lose their properties are corrosion and foreign material.
Factors affecting to faucet which makes it leak:
Mineral buildup occurs because of the large amount of dirt collected by the filters, as we know the water coming through may consist of many unknown materials and that clog up the seals and washers present in there, as an outcome it leads to leak.
Corrosion deforms inlet ports to a condition that seals and washers cannot fix properly, not only this it affects cartridge and inner stem, which blocks the water completely or sometimes it doesn’t block completely it makes leak and also decreases the flow of water when turned on. In such a situation don’t opt for repairing even I would like to advise you to opt to replace faucet.
Sometimes stem washers are dried out, thus it causes crack in it, which then normally leads to the leakage. At such conditions it is not repairable though you have to replace it. The same happens with cartridges sometimes because the rubber and neoprene seals get worn, at this instance you can opt for replacing the seal but it is better to replace the cartridge instead.
Let’s move further, here we’ll help you in fixing your leaky faucet with a step by step solution.
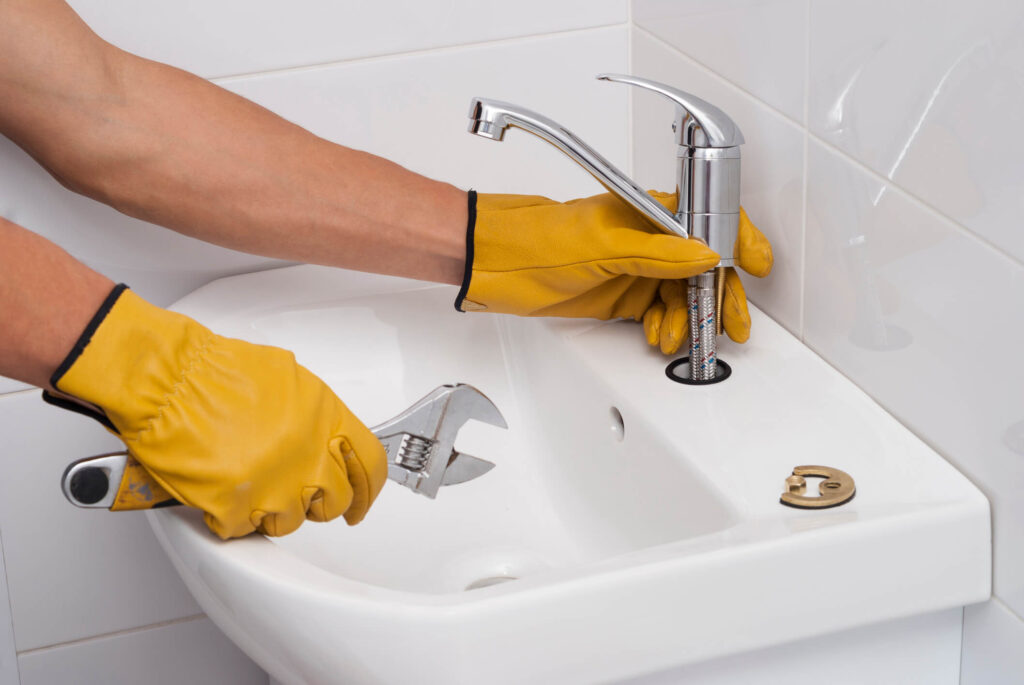
Step 1: Be ready with your tools and materials
source: familyhandyman.com
- Wrench( If you have adjustable wrench then good, otherwise keep some parts accordingly)
- Screwdrivers( Flathead and Phillips head)
- Washers
- Seals
- White vinegar or any semi – concentrated acid
- Faucet cartridge(If you are about to replace)
Step 2: Lock off the water
Whenever you are about to do anything related to water and plumbing; you must keep this step at first, usually what happens is when you are dismantling the mechanism, you’ll notice a sudden flood is coming, thus to avoid such situations lock off the water and make sure that the mechanism is now not having water in it. If somehow it gets skipped from your mind then be ready with shutoff valves to stop the sudden pressure coming from that point. Also keep in mind, sometimes shutoff valves are not given at that time you have to turn off the main water supply. Even after shutting off the water turn on the faucet to get it confirmed, for minor drainage keep a piece of cloth beneath it.
Step 3: Remove Handles
source: clevelandwater.com
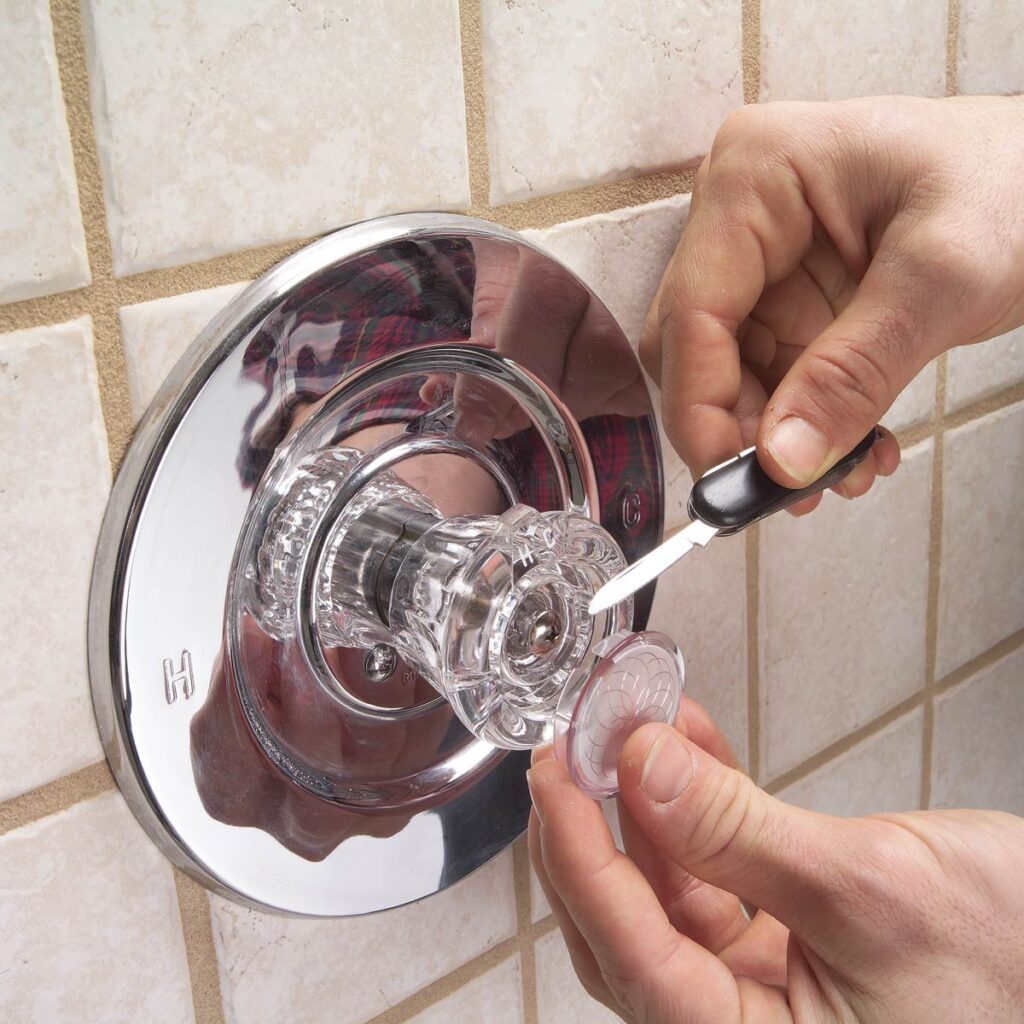
Dismantling of the handles differ and depends as per the mechanism, you would notice that in some mechanism flathead screwdriver will help you out, while in some you would require Phillips head screwdriver, after removing the caps off the handle; it will reveal the handle screws then, open them so to dismantle handle. After unscrewing them you just need to pull the handle out and that’s it.
There are some handles which are attached with hex setscrew; hex setscrew is mainly attached to make the mechanism much strengthened so that it does not leak and increase the durability. Be aware of those screws because sometimes the guy dismantling doesn’t notice that and then it leads to bending of the handle or even breaking. Thus, if it consists of hex setscrew then do loosen it for easy procedure of such a simple task. Corrosion blends out some screws which are not easy to remove; apply spray penetrating oil at that time, or you can use oil and grease.
Do put every part aside with their different places, so that you didn’t get confused while reinstalling it. Not only keeping them aside respectively will help you; you have to prepare a note too about reinstalling it otherwise if you miss any of the things while reinstalling then it is going to make the whole work messy again.
Step 4: Remove valve stem or cartridge
source: pinterest.com
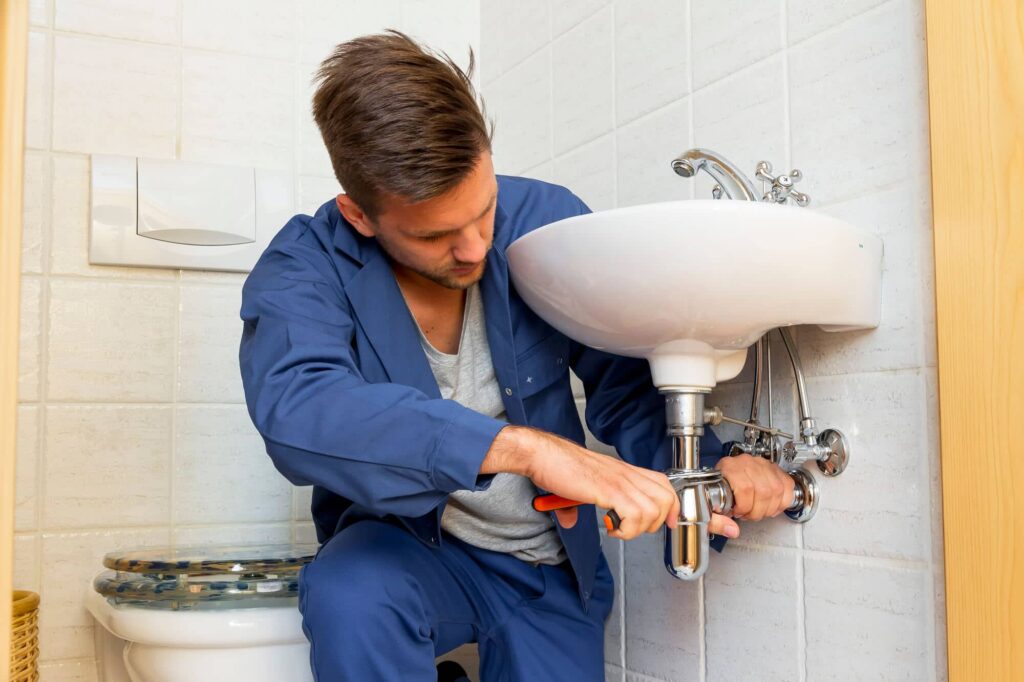
One can refer to it as the main body of the faucet, after dismantling the handle you will be able to have a look on valve stem or cartridge. Once you are done with the handle, then this part is must to be extracted, as discussed earlier the technique of extraction keeps varying as per the type of mechanism and different parts present in it. We found that sometimes hex setscrew is attached and without loosening it you cannot access anything in the same way cartridges consist of different types of brass, plastic, and collar nut mechanisms, all of them are to be treated in different manner to extract the cartridge properly.
Some brass stems get unscrewed only by unscrewing them from the valve body, while plastic stem assembly just needs a straight pull to get extracted. Though everyone would have some other trick to extract cartridge out; for that prefer on the manual, you don’t have a manual then don’t worry simply turn on online directions; there you can look up on the various cartridge removing methods.
Keep noting down each and everything while you are dismantling or removing the cartridge, just with the aspect of reinstalling.
Step 5: Inspecting
source: familyhandyman.com
After removing the cartridge and handle, inspect them carefully and look at the O-rings, rings, washers and seals which can be removed further so that you can clean them or service them properly, as these all equipments seal the spout and hold the water from leaking out.
Especially in the handles you will notice that there are huge O- rings placed all around the body just with the aspect to avoid leak. While in brass stem there are many mechanisms set at below which can be dismantled for the better service of the stem. Inspect each and every part at its finest because they are the main origin of any kind of the problem which you are facing in faucet.
After inspecting you have to divide all the attachments in two parts, the first part will include all the well functioning attachments while second part includes attachments which are to be repaired or replaced. At last keep noting it down whenever you are dismantling.
Step 6: Replace or Repair
Sorting out will make you rely on the things which are to be repaired or replaced, the attachments rejected in your inspections would be damaged or they appear old, some attachments amongst them can be repaired and reinstalled while some attachments did not shows the property which we need even after repairing them thus replacement takes place over there. All you need to do is rush on to the hardware shop with the sample piece which you have in your hand and ask them to give you the same duplicates of the attachment you need.
In case of cartridge you have to be very precise about the repairing ones because it is the main part from where the issues begin, if you are opting to repair faucet make sure that after repairing it should work like new ones and if it didn’t work in that way, then I would advise you to replace your cartridge. Furthermore, try replacing every attachment for the utmost outcome, as hardware keepers do have kits accordingly, just take the kit which suits your mechanism and replace those parts.
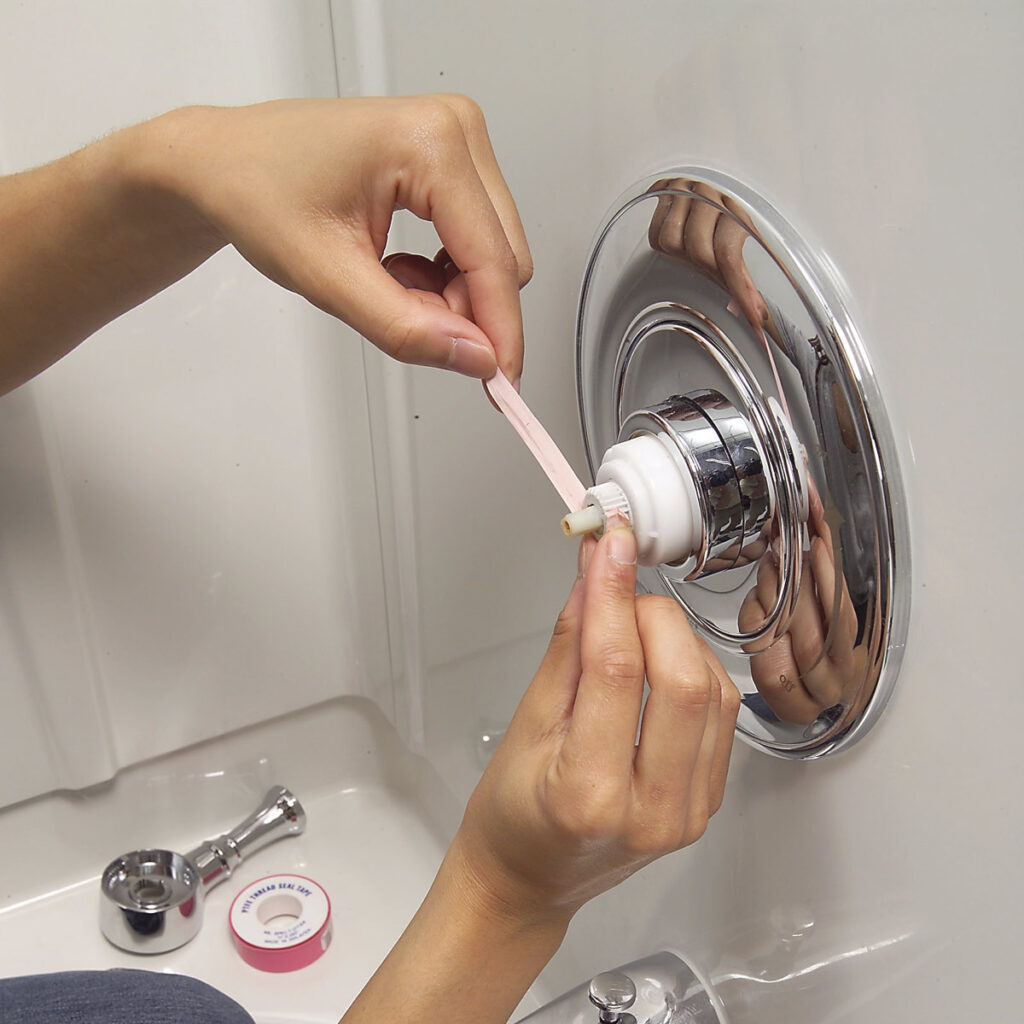
Step 7: Clean the valves
source: marketingplatform.vivial.net
As the faucet is dismantled one can easily prospect on the valve, you will notice that your valve may consist of buildup minerals making the valve assembly roughed and rutted. How to get rid of such build up materials? Take a bucket, pour warm water in it and add some white vinegar in it. Pour the solution in the assembly of the valve, and then start cleaning it with the help of scrub, opt on the best quality scrub to get the best outcome. In case you didn’t get rid of buildup minerals with the help of white vinegar; switch on semi – concentrated acid it is way riskier so put up some safety measurements before using it, pour the solution in the assembly of the valve. Then close it with the help of shutoff valves, at last turn on the water supply and let it drain some water; so that dirt and debris gets rinsed away. Make sure you retrieve shiny and smooth conditions.
Step 8: Reinstalling
Now it’s time to reinstall everything at their initial places. You don’t have to worry much about their initial places; all you need to do is open your note which you were handling from the very starting of work and go through it. Make sure they are back to their initial places to get the best results. Turn on the water supply, after that inspect it once again is there anything left out. Also make sure that now you have finally got rid of leaks or not!
In some instances you have to replace your faucet and have to rely on a new faucet in home.

