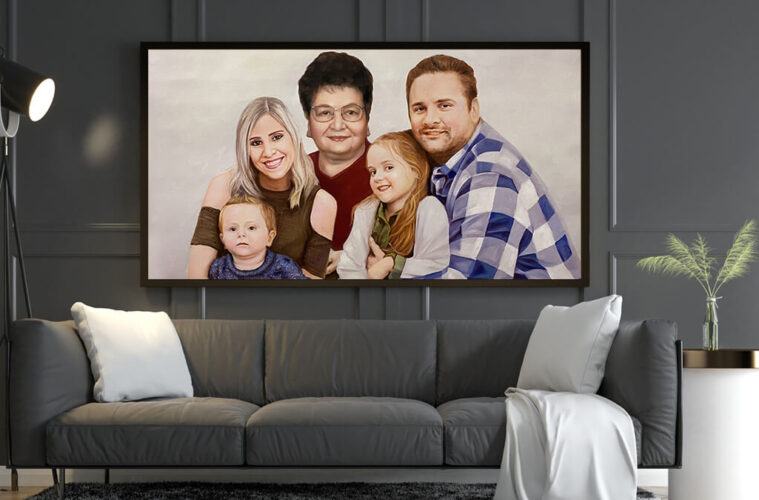
Home décor is incomplete without a piece of art. In fact, every person looks forward to having at least one blank wall that they can deck up with handmade paintings and photos, if not anything.
So, you can sit back and admire all the good days especially when your heart is mellow.
But to do it right, you need to know it right. Let me help you with these 7 tips to arrange wall art like a pro.
Take It Slow!

You are creating a gallery on the wall.
Making hasty decisions can end up unstructured with a few extra wall damages. So, it is always better to first draw a layout on paper.
Just like professional interior designers.
Visualizing may not work out every time but at least a sketch on paper will not fail.
Another plausible way could be to arrange all the frames on the floor and check if the layout looks good. If it doesn’t make your way by rearranging it according to your liking.
Experiment

Basic is basic.
Your gallery should not just display your memories but scream your personality out. Mix it up, break ground rules, combine wall art with artifacts.
Just don’t stick to a regular wall art arrangement.
Think out of the box, or must I say think out of the frame! There are a lot of possibilities, and you should experiment with interiors.
Spotlight The Best Painting
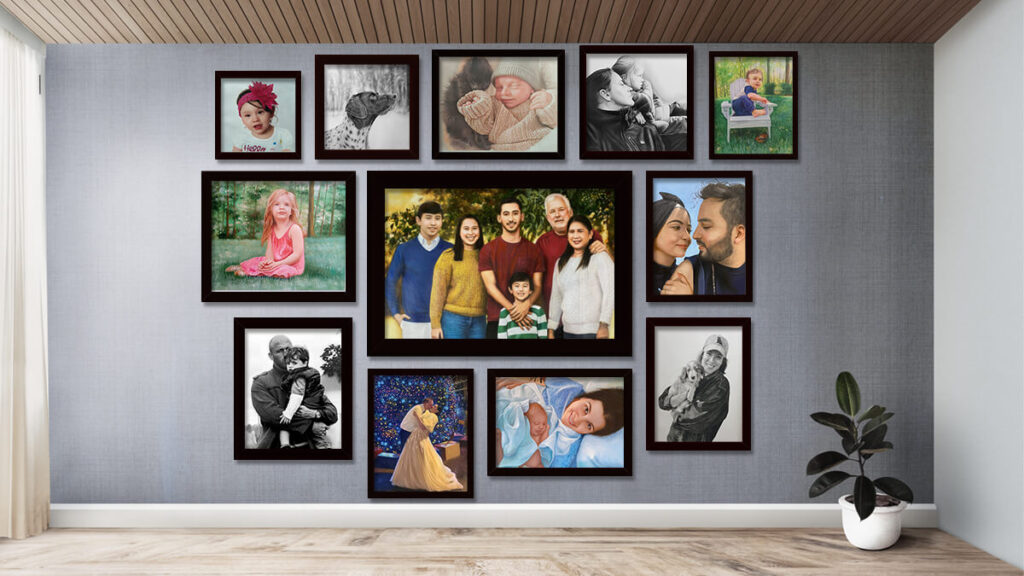
Get yourself a 48 by 72 inches piece by converting your best memory into a handmade painting.
Make it the spotlight and start building around it.
It is always better to have a starting point with a portrait of your milestone. It can be your wedding portrait, or your firstborn, or your graduation day.
Select a milestone as the spotlight and keep adding to the theme in and around.
Go Bonkers On Frames!
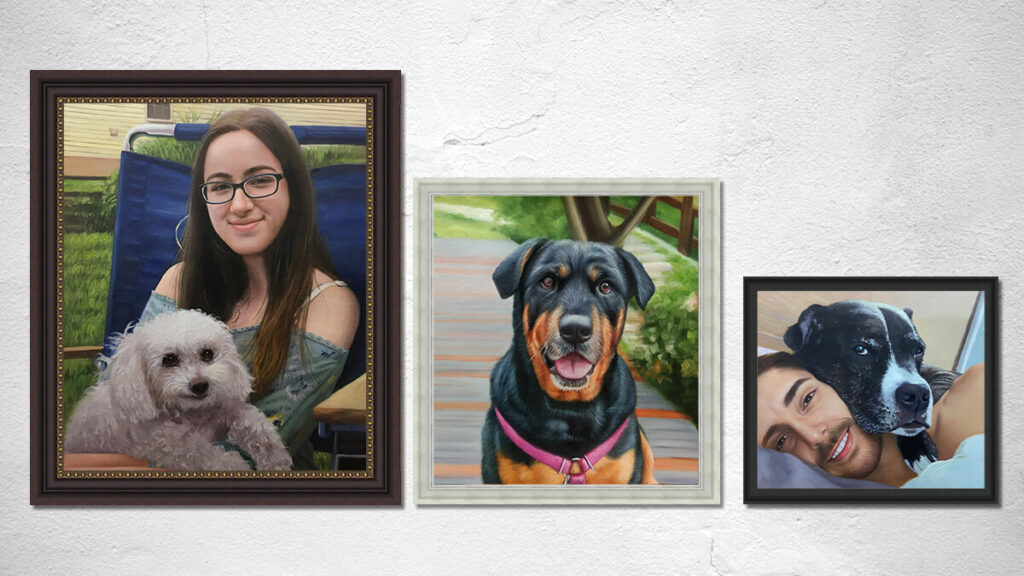
Don’t stick to a single type of frame.
Frames bring out the wall art and each frame gives a different vibe.
Select sets of complementary frames and try spreading them across the artwork.
The same frame turns out to become monotonous after a while.
Go vintage, go modern, go contemporary – mix your frames up.
Don’t be afraid and hang what you like without wondering about the ground rules.
Consider Lightings
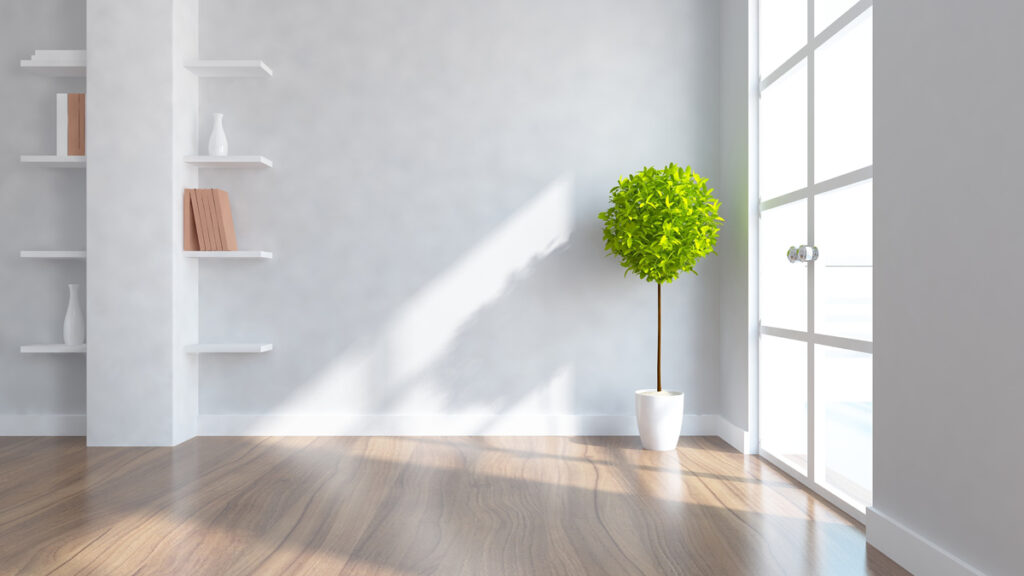
Lighting has a huge role to play in what kind of impression your wall art gives.
For a more psychedelic look, designers suggest going for vibrant shades of blue, green, or red. But if you are an old memory person, yellow lights would go perfectly well with your wall art.
Instead, you can also combine a line of fairy lights with your frames.
The possibilities are endless and the only thing to keep in mind is how you arrange the lightings vis-à-vis the artwork.
Make Your Home An Art Palace
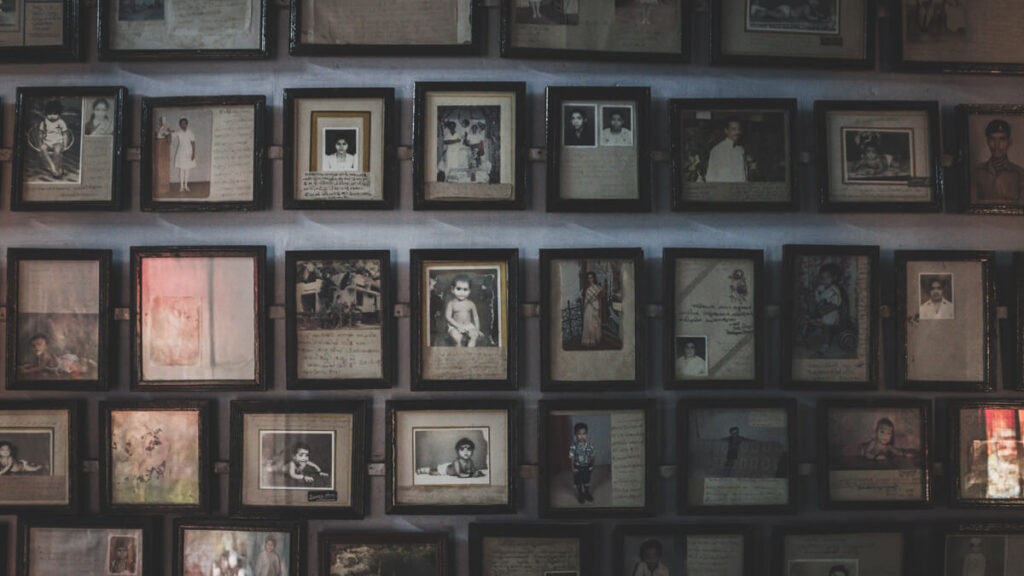
Hanging wall art is not just about arranging all the pieces on one wall.
Spread your artwork across the house and let each corner speak of thought, of a mood. In fact, you can also make each room a place that speaks about a phase of your life.
Putting up art in unusual spaces is my favorite. Washrooms, kitchen kitsch, tabletops, and balcony – you name it and you can have an art piece there.
Keep In Mind The Wall Color
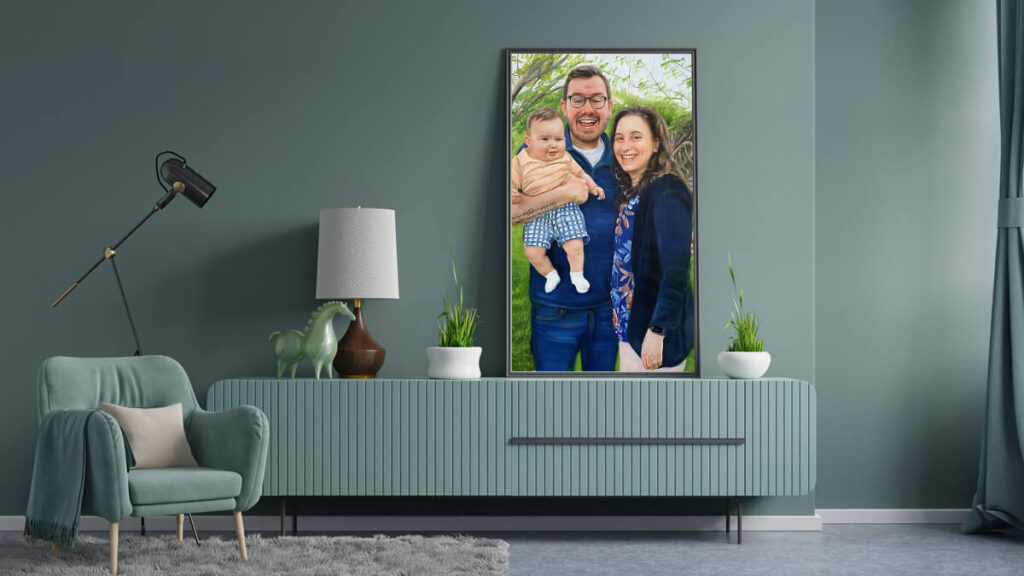
Before hanging the wall art, keep in mind the color of your wall.
The wall color adds a backdrop to the artwork and makes the artwork come out.
Choose a neutral color background.
While I personally suggest you go for white, the choice still remains yours.
White serves are a very classy background to experiment with.
Make sure you take the right color wheel choices before making the gallery.
EndNote
Making a gallery is a piece of cake if you get the measures and the placement right.
All you need is a creative bend and you can have your designer gallery wall look just like you hired a pro to do it.
If you think handmade paintings are your thing, get them crystalized from PortraitFlip!

