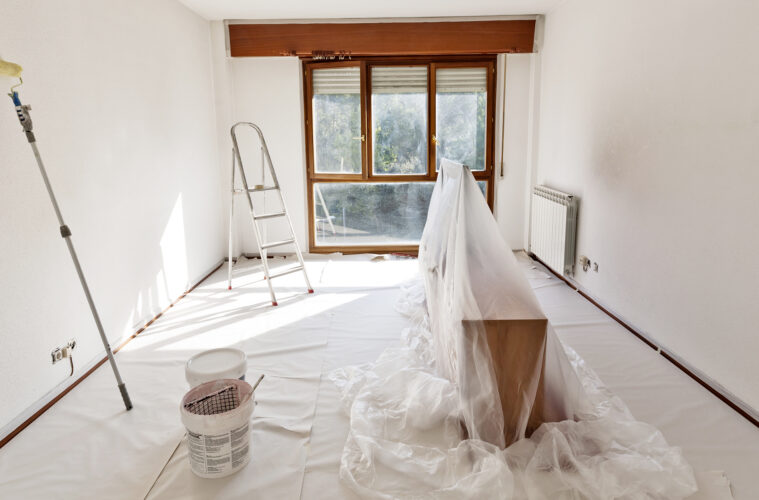
House exterior and interior looks eye-catching, while something looks cool in just a second and also it is difficult to create such an exterior and interior. But, it is not impossible that you can’t do it individually. It’s amusing to have a room which can be decorated by you itself in your residence and to decor it flawlessly makes the experience more enjoyable. An empty wall brings a query to your mind that how you can make it eye-catching and influencing. Keeping all enhancing materials aside, first we would think of painting. Painting in the sense, brings again a question of which color to use and what if it’s not look clean and neat, and so on. I think many would love to paint the wall as per their need. But what if there is no painter at your home to paint your empty walls, so I must say there is no requirement of a painter you just need one and convenience in their work. What to do then?
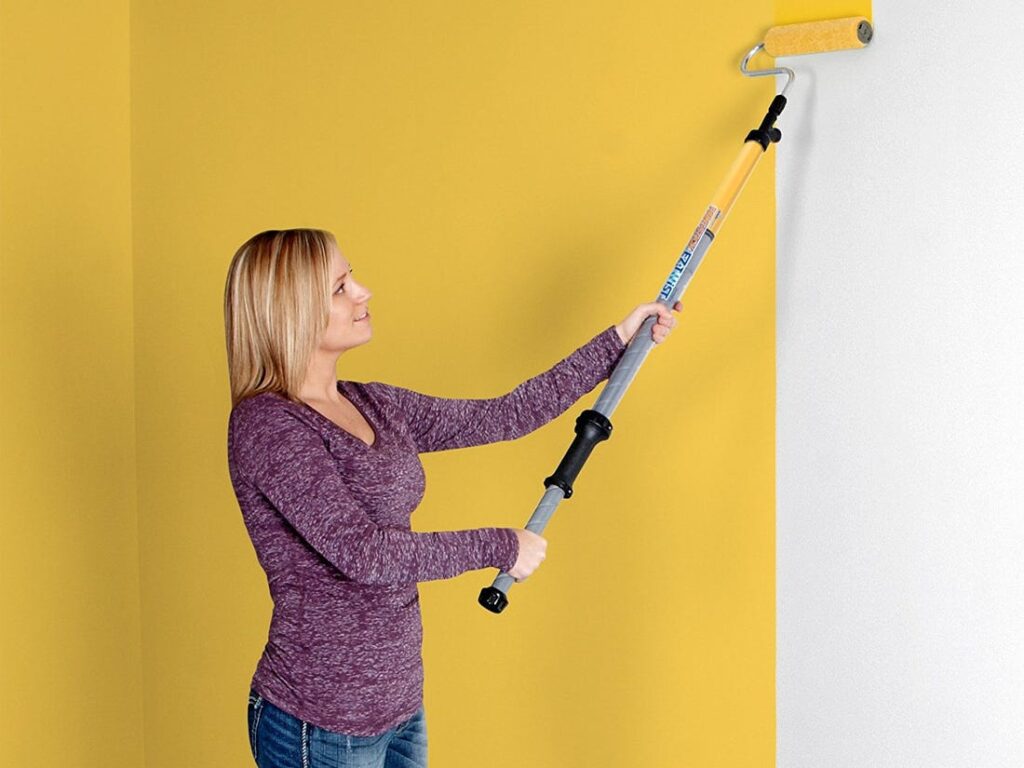
source: familyhandyman.com
only product, so don’t you think much just have a look below! Here, you are going to learn something new and motivating about how to paint and what should be used for painting. Moreover you might have realized while painting the wall, sometimes it goes in an uneven manner due to which paints slips and spits here and there, no one would like such incoSo here we have got up with paint – edger which can congest the surface from the corners without allowing the paint to spread, even if you carry the coat from the paint-can or paint-tray in your paint edger it won’t allow the paint to drop. Well, if you think with enjoyment, you can run your paint edger as you want it to be painted and have a look at your talent you wore to decorate your walls! But still a question arises: how to select a good paint – edger? Here, in The Architecture Designs, we have some best tips, facts and bullet points about how one must choose the paint – edger or paint roller edger.
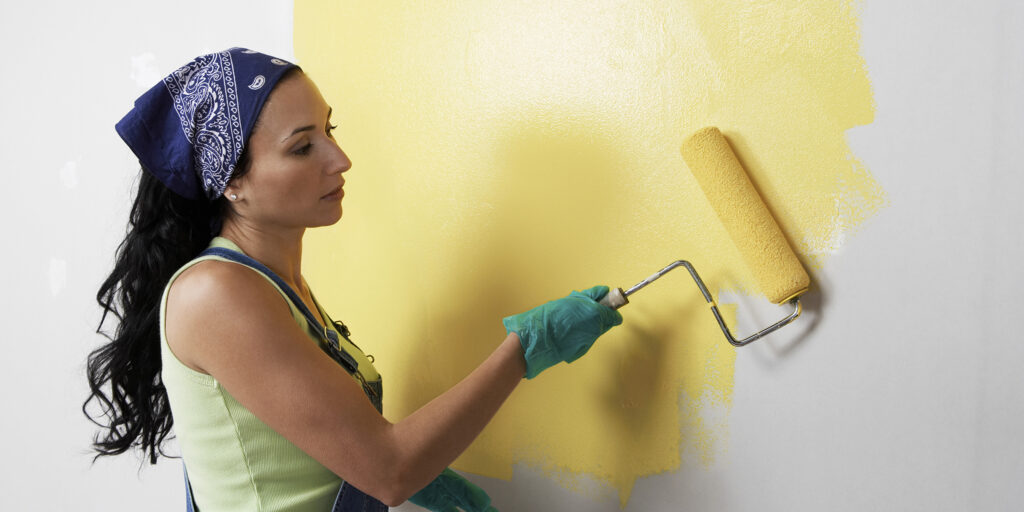
source: insider.com
Before this tool came into existence the people before were used to paint edging techniques, there are three main techniques which one would know. Keeping those techniques in mind as the generation went on enhancing their selves they made different types of paint edging tool, these tools made painting and designing on wall very easier, sometimes painting with other tools, costs us in material loss but if you use edging tools then it will save your material cost moreover it is consumes less time than the other tools of painting. Thus to give a final accomplishment to the art in earlier time mainly two techniques named as cutting in and masking off were used. There are some painters available too who rely on such techniques rather than upgrading themselves by this tool. If we talk about DIY or self made paintings then I would advise you to go with paint edging tools. Let us have a look at the paint edging techniques.
Cutting in
source: pinterest.com
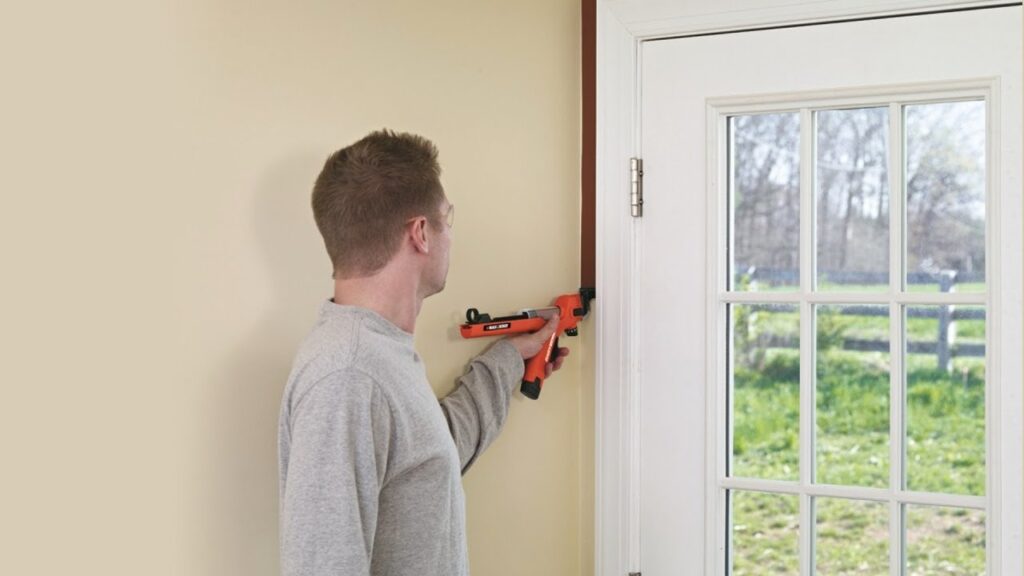
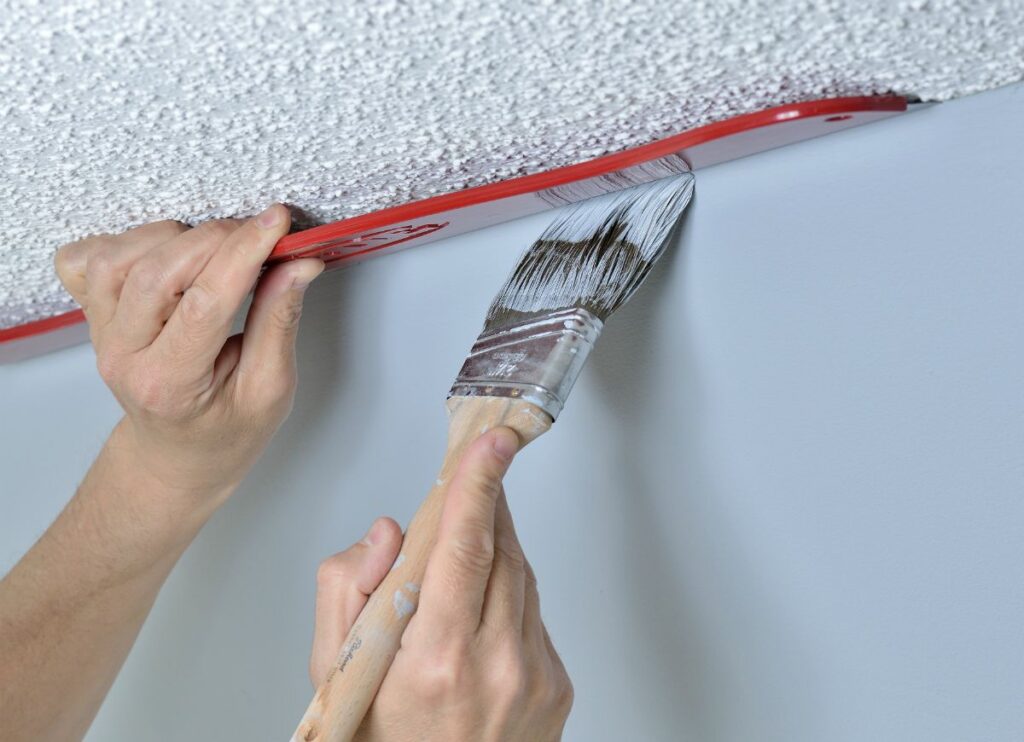
Where everyone has trouble while painting is cutting along ceilings and moldings, and some other areas where you require straight linings. If you follow some of the below mentioned steps then you can become a professional, if not at that high level then at least you can improve accuracy and speed in cutting in technique.
- Make a perfect composition of paint.
- Do not overload the brush if you do so then you would get uneven lining whereas we need a symmetrical lining while painting.
- Use small brushes at corners or wherever you require them, no matter if it takes more time.
- When painting near the joints make sure you leave some spaces before the joint line, before you go for painting those spaces complete your remaining work, at last have a look there and paint that portion in a precise manner, you can even mark such end lines with the help of a pen or pencil.
- At last to wipe off the goofs or spitted areas, cover your brush with a cloth and brush the area you need to wipe out, don’t forget to apply paint thinner on the cloth.
Masking off
source: familyhandyman.com
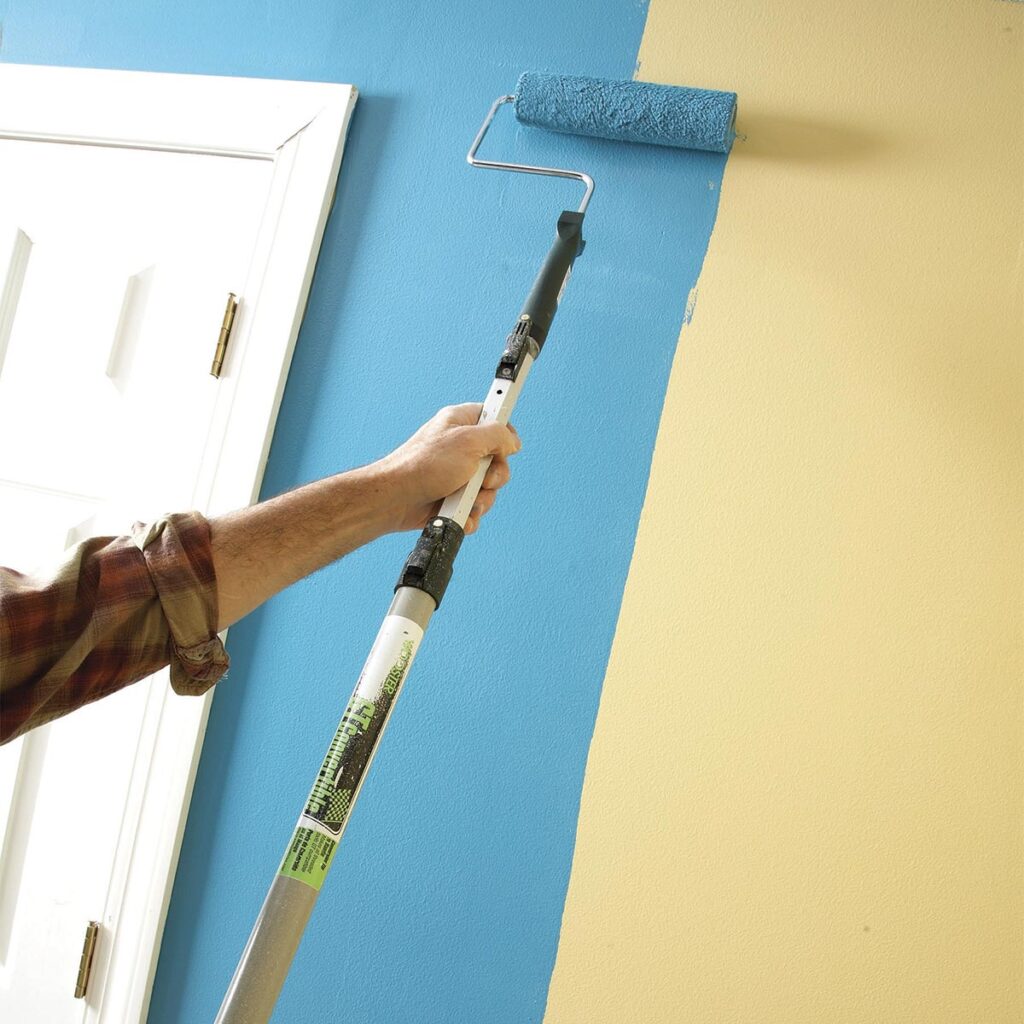
This technique is very simple and can be applied by anyone whether you are a professionalist or a rookie. All you need for this technique is tape. As noticed that cutting in is a difficult technique to perform, thus to fill up the corner edges in a proper manner, that it gives a proper outcome you can rely on masking off. One can use this trick in two ways:
Hiding the unpainted part
After painting out your walls and ceilings, you leave the corners for completing it at last, but you don’t have to do it anymore, take a quality painters tape and apply it at the corners and edges to hide the unpainted portion. It would add up a good elegance too.
Making designs
source: bobvila.com
If you don’t have the perfect equipment for creating designs or you are eager to make DIY designs, then rush to take painters tape and draw shapes whatever you want with the help of tape and then paint the portion made by tapes, your designs are ready to glow up your house now!
Masking off sometimes may go wrong, as tape has slight curves on it and lining them in a perfect straight time would take you much time.
Paint edger
The tools line up your corners and edges in a perfect manner, it allows you to paint freely without any erection, also you don’t have to look over the unpainted part as you can easily clip on the very edges and corners of the wall or ceiling. It is a special tool, thus it is more expensive than the other two techniques. Moreover the main aspect to make this tool is solely to achieve straight lining along the edges. You don’t need masking or painters tape to hide an unpainted area now; also you don’t have to rely on cutting in technique for achieving a perfect painting. Drawing the paintings is made easier with the use of this tool.
Technically it is used below the crown molding, to paint the surrounding areas of windows and doors, and at the juncture between two walls. You can add a perfect finish and touch to your paintings with the help of paint edger. But a one edge can’t be perfect for all types of paintings you need, there are mainly two types of edgar let us discuss about them.
Types of paint edger
Spreader paint edger
source: thespruce.com
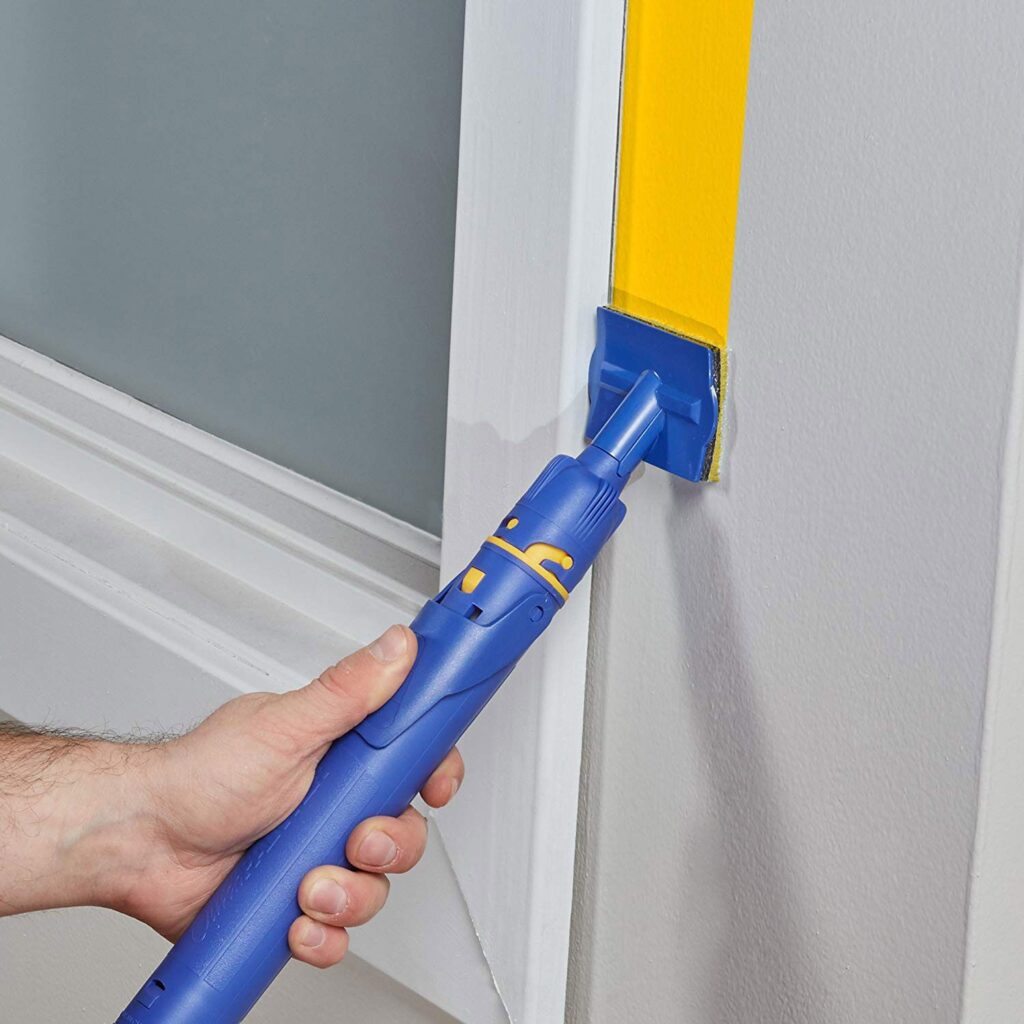
This tool consists of a tank, a plain surface having a pad front, and a pipe connecting the tank and the front pad. The pipe is even connected to supply the paint to the pad. In some cases instead of tanks we use a tray to supply paint through a tube.
This tool is easily available at any of the hardware shops; more often you can even construct it in your home itself. All you need is a tank to store paint, a pad, and some tubes / pipes to supply paint to the pad. The price of a spreader paint edger is almost $10 or less than that depends on the constructing material and the quality of the pad. This type of edger costs much less than roller edger, thus if you don’t want much designs or complexity on your walls and ceilings then you can easily rely on a spreader paint edger.
This tool doesn’t brush the paint on the walls instead of brushing it smears the paint in an inevitable manner, you can get perfect lining and edging, you can even over brush the painting of this tool with the help of brush or with another edge.
Roller paint edger
source: shopify.com
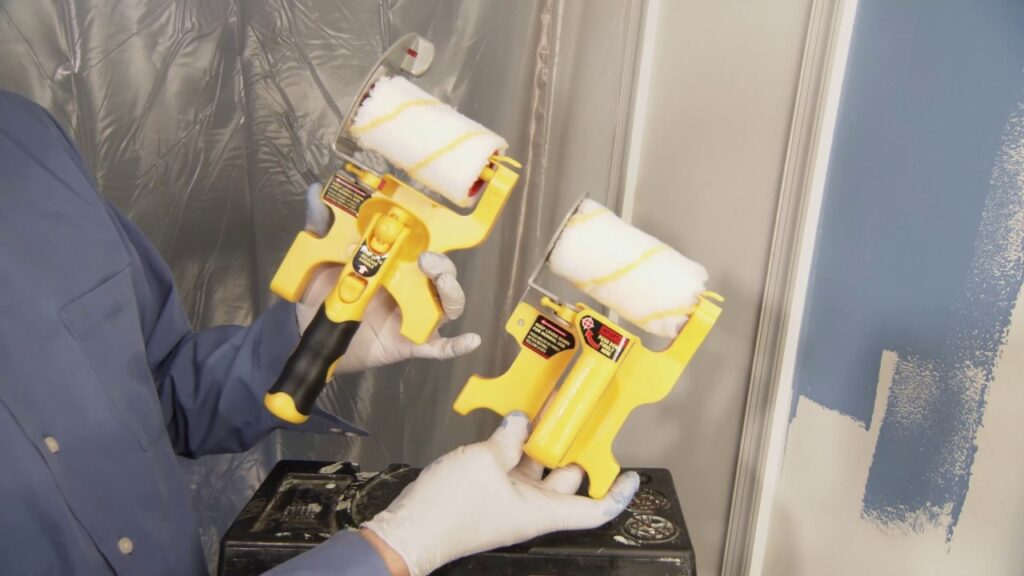
You can say that it is an upgraded version of a spreader paint edger, in this edger composition is made like a pulley, connected with pipes on both the sides and that both pipes are connected with a main handling pipe and at last a handle is attached with it. When one takes a look at a roller they see it as a clear mechanized tool which is easy to construct. You can make numbers of designs using different roller pads; there are varieties of roller pads available in the market with varieties of design and colors. Some brands of roller paint edger uses metal or plastic to prevent slopping of paints from the either sides.
This type of edger is much more expensive than a spreader paint edger, it does have better function ability than other edgers. There are many types of roller paint edger invented so far for different – different purposes as per the requirements of the painter or owner. Some of them are listed below:
- Accubrush XT paint edger
- Home right quick painting paint edger
- Shur – line paint edger
- Emery brush paint edger
- Mr. long arm 0470 trim smart paint edger
Amongst all the edgers, if you want to select a perfect edger as per your requirements and accessibility I would like to advise you:
Accubrush XT paint edger
source: pinterest.com
It is a roller edge consisting of a tiny brush at both the sides of the roller, those tiny brushes provide a line at both the sides; you can design those tiny brushes if you want to make a design accordingly. A large shield made up of metal or plastic is attached with the roller to avoid smudging in the areas where you are not intended to paint.
The uniqueness of this edger is its tiny brushes which are detachable and designable, and they always run along with the roller in a symmetrical manner. Its roller is large enough to handle a decent amount of paint. This tool is difficult to use while you are working at the corners or junctures. This brush is way too expensive, thus buying it for a DIY purpose is not accurate, if you are a professional and rollers are your best friends at work then you must have one in your collection.
Home right quick painting paint edger
The name itself gives you a sensation like this tool can be used as a DIY painting tool, moreover the composition of this tool is done in a manner that the pad is connected with tube, you have a switch in hand with help of that you can apply the paint as per your requirement, it do not have metal or plastic support to avoid painting in unpainted side which you don’t want to paint. Pad is so small that it can be used in corners and junctions easily, whereas accubrush XT paint edgers cannot be used; make sure that the tube must be maintained so that it provides a constant flow in the pad. The feed tube of this edger is large enough to paint the surface of your wall, it is almost 50 linear and also cheap in price, easily stored and it is easily carried by your hands.
Shur – line paint edger
source: pinterest.com
If it is difficult for you to paint with the other edgers, so I think you must go with Shur – line paint edger as it performs to slow down the friction gained by applying the edger on the wall and would work smoothly as there are two plastic wheels at the corner of the edger. This edger is inexpensive and is easily available at your near hardware and even at the department stores. As it is made up of plastic wheels would not work much longer, it can be used as it is bought new but also at first it won’t work that good, after using it once or twice you may get a good result. But if you try this only for once then you must go with the Shur – line paint edger. As you can see this is not that expensive and is easily available.

