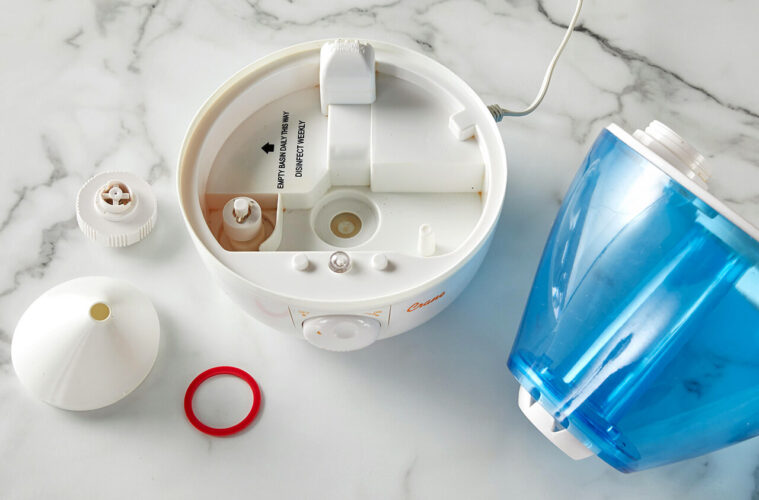
Cleaning a humidifier is a straightforward process that doesn’t take more than 30 minutes at most. Unfortunately, the majority of consumers still don’t know the correct way to clean their humidifiers. Some even confuse rinsing the tank with scheduled cleaning.
Rinsing isn’t the same as cleaning. Indeed, rinsing the tank forms part of the scheduled cleaning. You’re also required to rinse the humidifier tank every time you refill the unit. Before you add new water, pour out the old water, and rinse the tank with clean water at the tank.
Rinsing eliminates dirt and debris potentially left at the bottom of the tank. It also removes mold and algae that may be growing inside the tank. Mold can begin to grow in still water after just 24 hours. It’s partly why you’re advised to change the water at least once a day.
Cleaning is a more thorough process that involves washing and gently scrubbing every part of the humidifier, including the outer casing – not just the tank. It’s also done less frequently, usually every two weeks.
The Humidifier Cleaning Process
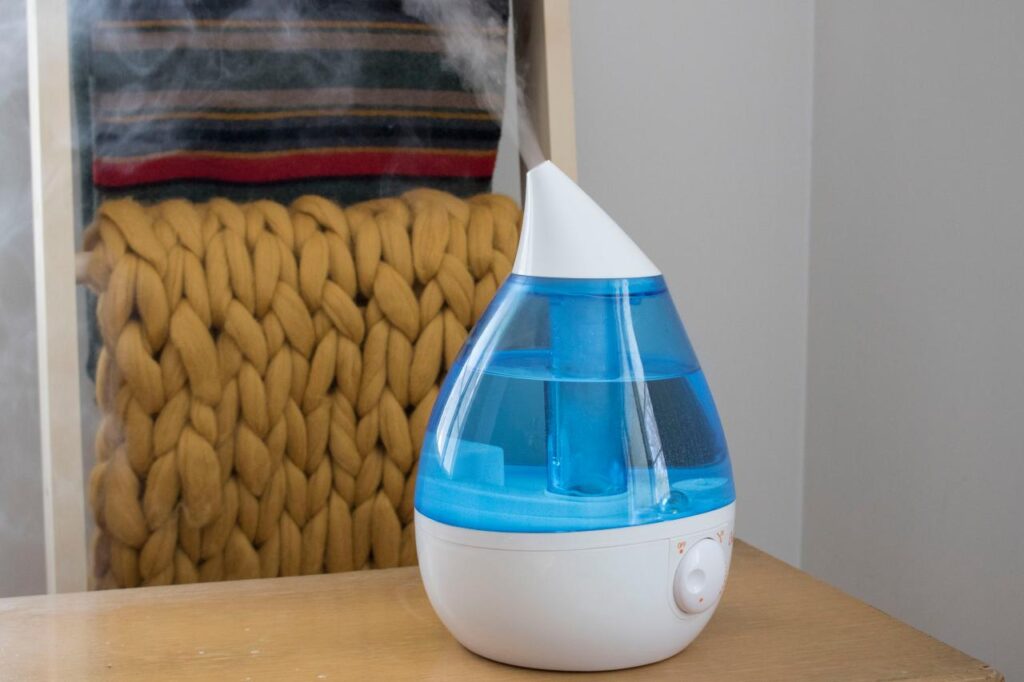
source: sndimg.com
A good humidifier comes with an owner’s manual with special cleaning and maintenance instructions. You can also contact the manufacturer for specific cleaning guidelines that apply to your humidifier.
However, the following are basic guidelines for all humidifiers.
Required Tools and Materials
- Distilled white vinegar
- Liquid chlorine bleach
- A small, soft brush
The Step-by-Step Process
The cleaning process is the same for cool and warm mist humidifiers. However, humidifier parts may differ. Refer to the owner’s manual whenever you feel lost.
Unplug and disassemble the humidifier
source: meredithcorp.io
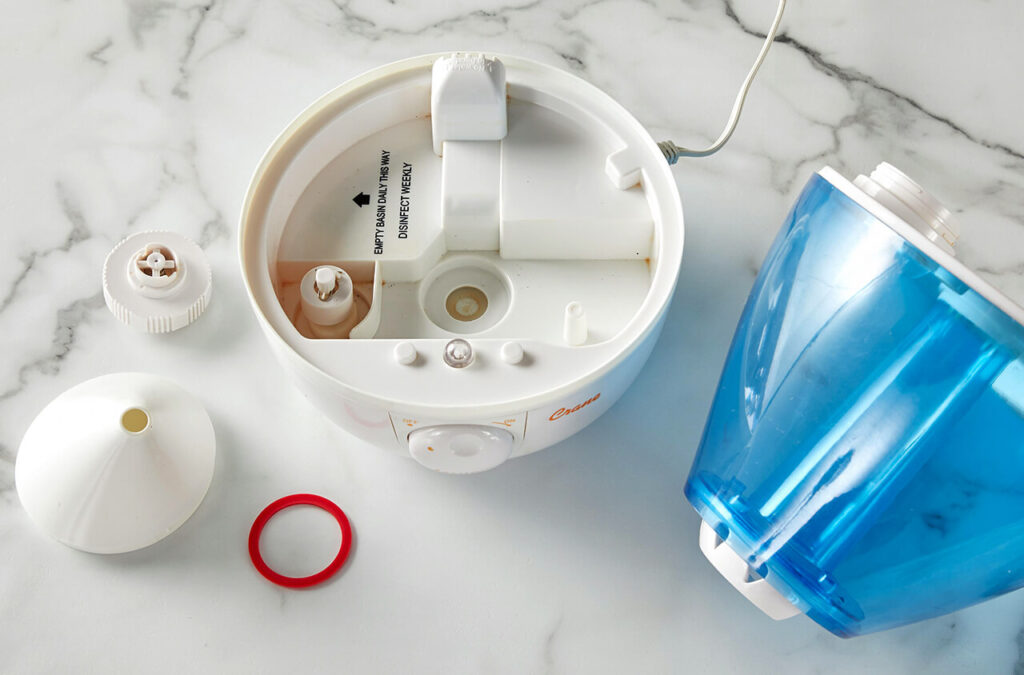
The exact disassembly process varies depending on the type of humidifier. However, at the very least, you want to remove the tank and empty it. Then, remove the base. Most models unlatch or unlock without much effort. Once the base is unlocked, remove any other removable parts and set them apart. Set the filter apart too.
Soak the base and other parts in white vinegar
What makes white vinegar unique is that it removes buildup without leaving chemical traces on the humidifier parts. Fill the base with vinegar solution and place all the smaller parts into the base to soak too. You’ll need to leave these parts to soak for at least 30 minutes.
Soak the tank too
As the base and other components soak in white vinegar, use a solution of one teaspoonful of bleach and one gallon of water to soak the tank. Make sure to fill the tank. Alternatively, fill it halfway and swirl the solution around to reach every inch of the tank. If you can’t readily access bleach, use 3% hydrogen peroxide solution. Leave it to rest for at least 30 minutes.
Wash the filter
source: meredithcorp.io
If you intend to re-use the filter, this is the time to clean it. Completely submerge the filter in a vinegar solution and allow it to soak for 20 minutes to loosen scale and buildup. Then rinse it in running water and air it to dry. Don’t squeeze it.
Scrub the humidifier parts, base, then tank
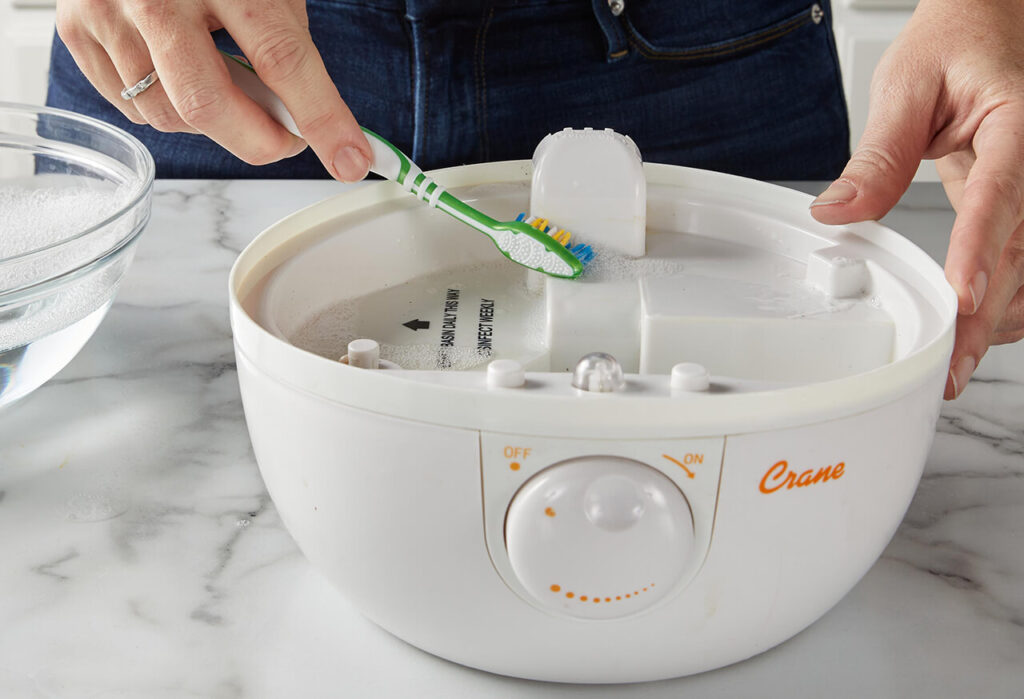
For all these parts, begin by gently scrubbing with the soft brush then wiping with a soft cloth dipped in vinegar or the hydrogen peroxide solution (for the tank). Be very gentle. Otherwise, you may break some of the components. Also, try your best to reach all the corners of every part. Dirt particles have a habit of hiding deep inside small gaps.
Rinse with clean water and air two dry
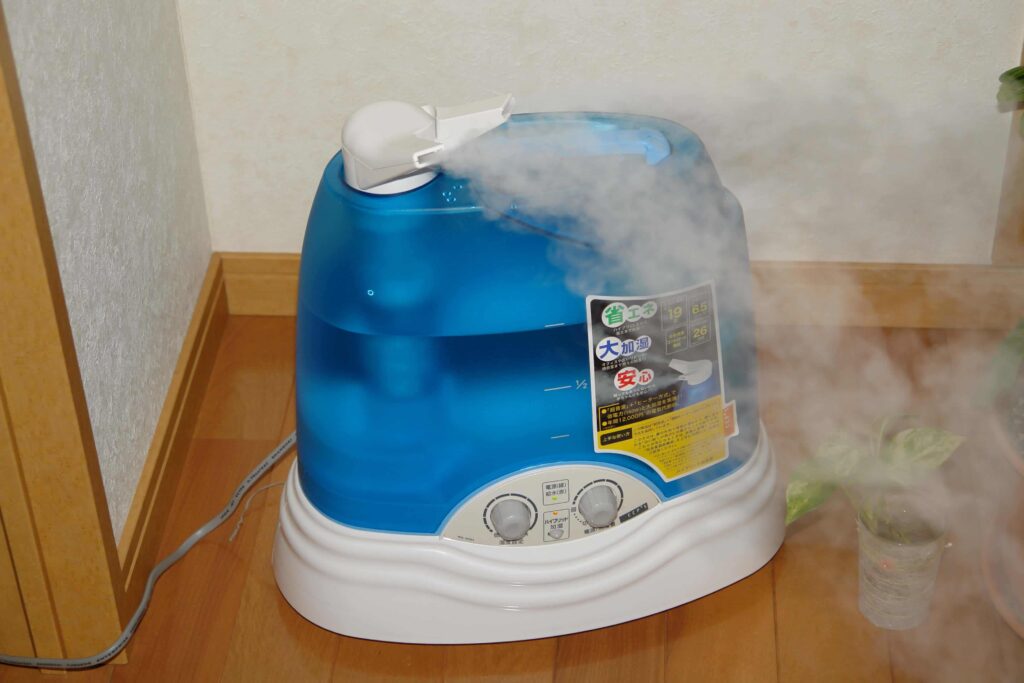
source: indoordoctor.com
If possible, use running water from the tap. However, if you’re conscious about wasting water, fill a large basin with tap water and thoroughly rinse each component, shaking everything gently to dislodge any trapped dirt. Repeat the rinsing until all the smell from the cleaners is gone. It can take three or more passes.
Air to dry
The best way to air humidifier parts to dry is to lay them on a clean towel in a shaded area away from direct sunlight. You can even then air them in the house. Feel free to wipe off persistent moisture with the towel to fasten the drying process.
Reassemble the unit and resume operations
Once every part is dry, you can reassemble the humidifier. Don’t forget to replace the filter. Then, refill the tank with fresh, mineral-free water, plug it in, and start enjoying fresh, soothing humidity again.
Summary
Remember that you need to rinse the humidifier every time you change the water or refill the tank and thorough-clean it at least once every two weeks.

