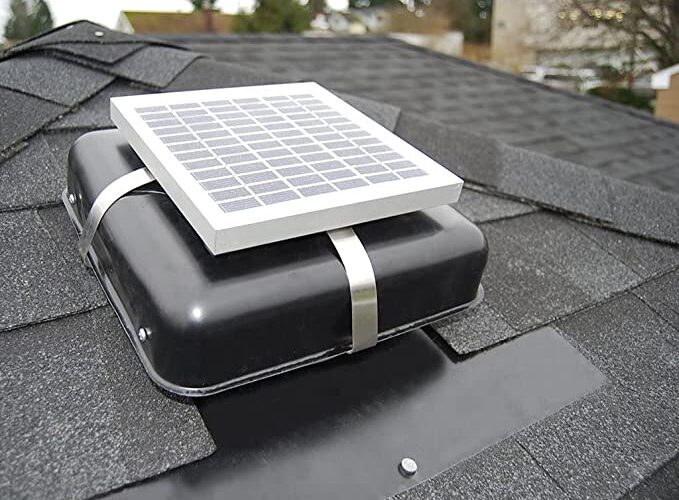
More and more homeowners are proactively enhancing air quality for their properties. Solar roof ventilation is an excellent addition that’s been given more consideration as it regulates the room temperature, especially during harsh weather conditions.
As the name suggests, this vent fan is fueled by solar energy. It incorporates ventilation technology to efficiently exhaust plenty of hot air over one day, providing cooling effects. During winter, it plays a crucial role in removing moisture and thus prevents mould growth and roof damage.
The system is eco-friendly as it minimises dependence on traditional power sources that utilise fuel fossils. It also eliminates roof ventilation prices associated with high electricity costs. Besides, it boasts effortless installation applicable to any section of the roof.
This article provides the seven simple steps for installing solar-powered roof ventilation.
Steps to Install Solar Roof Ventilation
Prepare the tools for the installation
source: pinterest.com
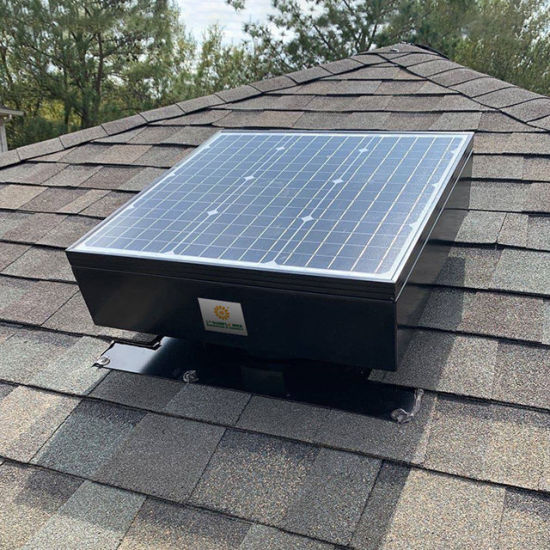
Basic tools for the process include a caulk gun, roofing cement, drill/driver, reciprocating saw, utility knife, flat pry bar, hammer, ladder, and safety harnesses. However, the design and specifications of the solar roof ventilation further determine the exact tools you need.
Look for the right location
An expert opinion can always go a long way, with solar roof ventilation companies in Sydney recommending a location with plenty of sunlight exposure. The more sunlight you can harness, the higher the system’s performance due to an adequate energy supply.
Ladder up
source: energyattic.com
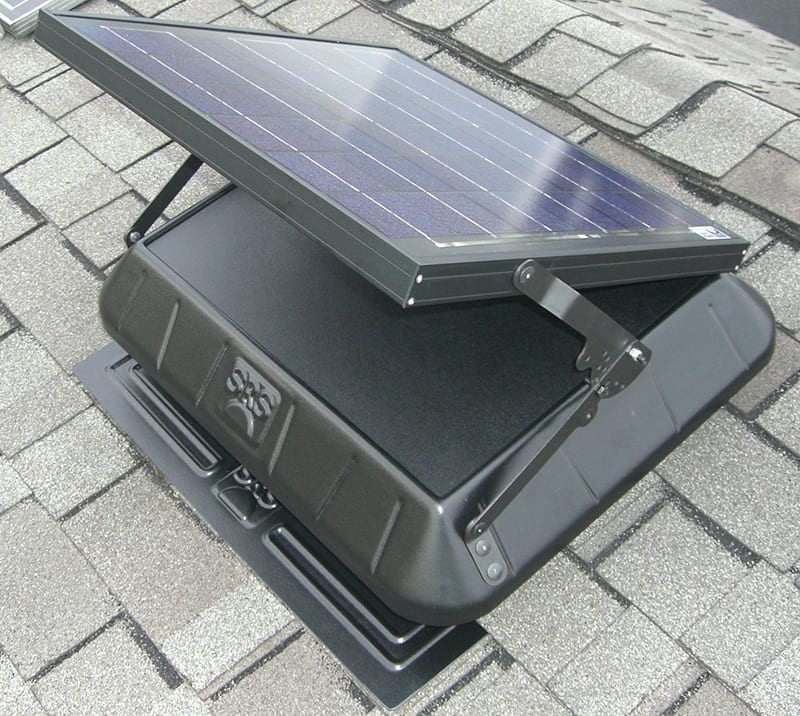
Equip yourself with a ladder and lean it into your preferred location. It’s crucial to choose a location with adequate airflow throughout the roof. Then position the vent adjacent to the ridge capping to mitigate leaks. This step shouldn’t be performed without wearing a harness.
Remove the shingles
You will have to remove your shingles to place the ventilation. Your safety is always a priority. Start by putting on gloves and protective eyewear, mark the centre of your chosen location, and drill a hole right into it. Shape the hole in reference to the roof vent’s perimeter. A utility knife can always act as the best replacement for the drill in cutting the outline of the roof shingles.
Cut the roof
Mark the centre’s roof, where you intend to place the vent. Use the reciprocating saw to cut the roof beginning from the mark. Keep in mind that you have to remove the shingles surrounding the perimeter.
Place the vent
source: solarpathnsw.com.au
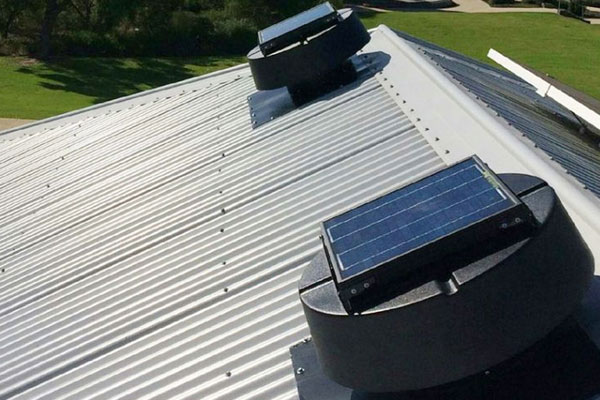
First, apply the roofing cement to the hole you just cut and install the solar roof vent in an even fashion. Then screw the vent flashing to the roof prior to applying caulking around it.
Replace the removed shingles
As you may have guessed, the removed shingles will need a replacement. Use the appropriate roofing nails to connect new shingles around the vent. The edge of the shingles (surrounding the vent) will need caulking and roofing cement applications.
What Is The Unique Value Of Solar Roof Ventilation?
- Comfort
It cools down your home and controls moist conditions for a comfortable indoor temperature. With humidity levels in check, you can minimise the risks related to roof damage, mould growth, and health issues like wheezing, allergies, and coughing.
- Save money
While most homes are equipped with HVAC units and electric fans, it’s no secret that these options are pretty costly. This is especially true if they run day and night. You can significantly save on your energy bill by installing a solar vent as it is powered by free solar energy. Fuel costs are constantly rising, and this system can be a safety net.
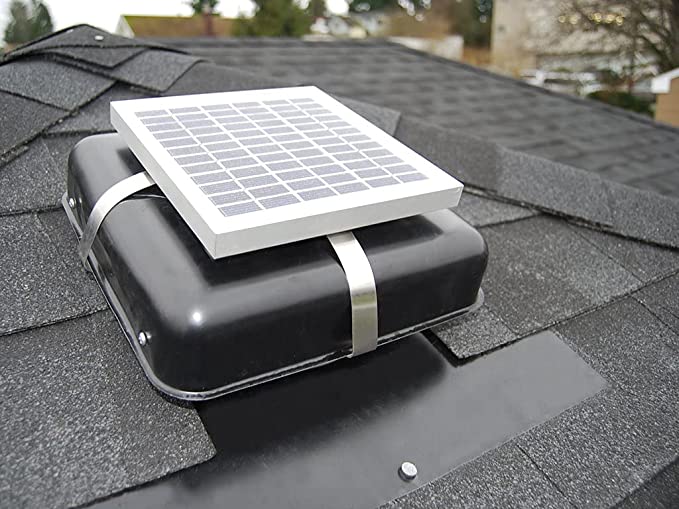
source: pinterest.com
- Simple installation
As explained above, installing a solar roof vent is easy and won’t take more than an hour of your precious time. You can also opt for expert installation, which still costs less than other electrical systems.
- Green solution to your cooling needs
Electrical systems utilise fossil fuels to release carbon emissions. Solar roof vents are powered by the sun and, therefore, a sustainable environmental system. This reduces your carbon footprint and preserves Mother Nature.
Conclusion
Your solar roof vent installation is easy as 1-2-3. Anyone can install it with the right tools, materials, and, of course, the ideal max breeze solar-powered roof ventilation. Just be sure to carry out every step with safety in mind. It’s highly recommended to opt for a professional company for your installation. This way, you can rest assured that it has been done to the highest standards for efficacy and longevity.

