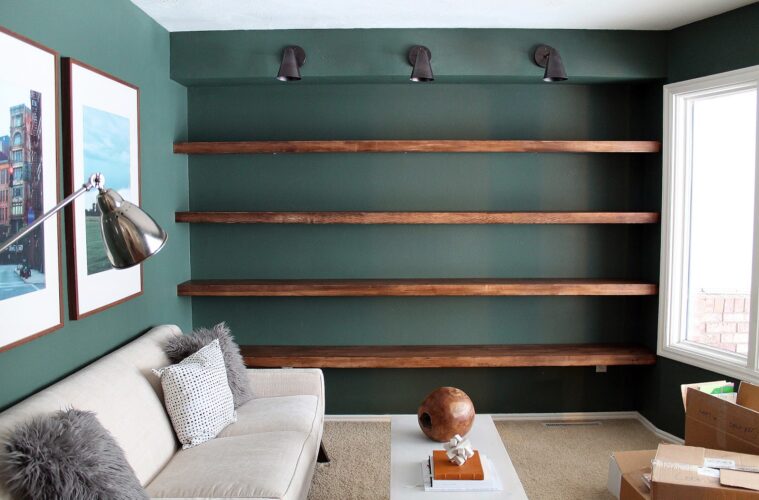
Do you want to add a little extra storage space to your home or garage? If so, installing heavy-duty shelves on your walls is the perfect way to do it!
Heavy-duty shelves are incredibly versatile and can be used to store a variety of items, from books to tools and more. Plus, they are incredibly easy to install and can be done in just a few steps.
Here’s how to mount heavy-duty shelves on your wall:
Benefits of Installing Heavy-Duty Shelves
Installing heavy-duty shelves on the wall is a great way to maximize storage space in a home or office. Heavy-duty shelves are designed to withstand heavy weights and are ideal for storing a range of items, from books to tools, electronics, and even items of décor such as flower vases. They are also extremely durable, so they can last for years with minimal maintenance.
Moreover, heavy-duty shelves can be a cost-effective storage solution, more so since you can vary the size of your project based on your budget. With the right tools, materials, and some guidance, they are quick and easy to install on the walls for a clean and organized look to any room.
A Quick Guide to Installing Heavy-Duty Shelves on a Wall
1. Choose the Right Shelving Material
source: pinterest.com
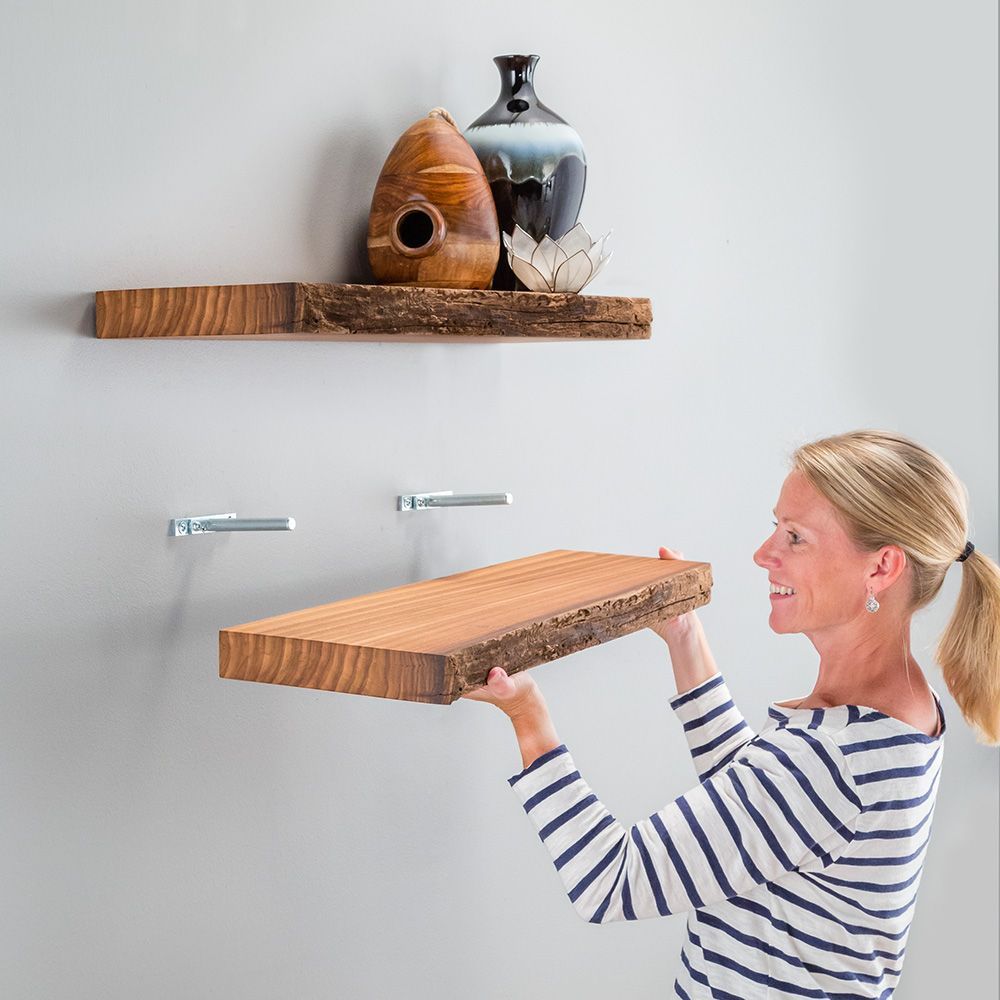
When selecting heavy-duty shelves, it is paramount to ensure you choose the right size and weight capacity for the items you plan to store. The last thing you want is for your newly-installed shelve to break down and crumble shortly after installation.
Depending on your needs, your options may include the following:
Metal Shelving
Usually made from steel and often used in industrial and commercial.
Wood Shelving
Typically made from hardwood or ply boards, modern wooden shelving is often suitable for residential buildings.
Plastic Shelving
Often made from a combination of metal and tough plastic.
Glass Shelving
Made from tempered glass, glass shelving can also be a great pick.
2. Put Together the Necessary Tools
source: pinterest.com
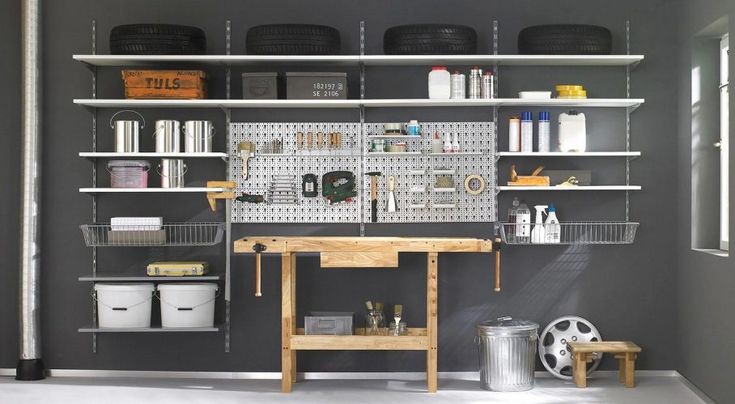
Just like with any other home improvement project, mounting heavy-duty shelves will require having the right tools (and materials) for the job.
Some of the basic things you’ll need to successfully put the shelves up include:
- Drill and drill bits
- Tape measure
- Level
- Stud finder
- Screws
- Screwdriver
- Anchors
- Hammer
Oftentimes, the tools you need may also depend on the materials you’re working with, as well as the wall material you are mounting the shelves onto.
3. Gather Important Support Accessories

source: pinterest.com
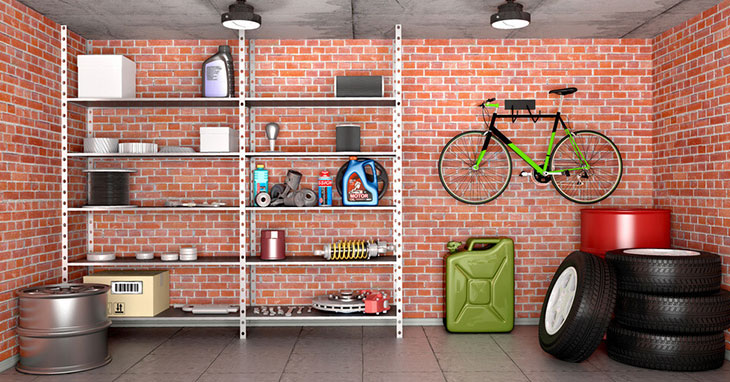
From anchors to brackets, support structures are among the most important components of a shelving installation project. For heavy-duty shelves, you may need masonry anchors, steel brackets, toggle bolts, and heavy-duty screws.
These help attach the structure and keep it stably in place on the wall. However, the support accessories you need will depend largely on the design and strength you need for your heavy-duty wall shelving.
When creating an adjustable shelving or hanging bookshelf, for instance, slotted channel mountings will be incredibly important. Slotted channels typically consist of two pieces of metal, with slots that are designed to fit shelf pins.
By inserting the shelf pins into the slots, the shelf can then be securely attached to the wall, and you can even move things around to give your shelf a new look whenever you feel the need to.
4. Prepare the Wall
source: pinterest.com
Once you have the materials, tools, and accessories in place, it’s time to begin the real work. Start by wiping down the wall with a damp cloth to remove any dust or debris. And much like preparing the wall for painting, some sanding may or may not be needed as well. This will depend largely on your wall’s material and its current condition.
5. Mark Your Placement
Once you’ve taken measurements and determined the right spot for your shelves, go ahead and mark the wall with a pencil. You’ll want to make sure the two outer edges of each shelf are level and even, so use a level to ensure accuracy before placement.
6. Install Brackets and Secure the Shelf
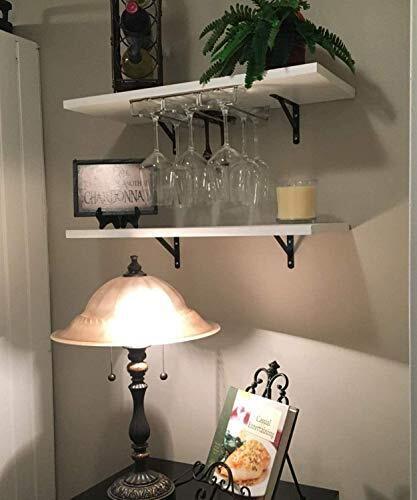
source: pinterest.com
Once the wall is prepped, you can begin installing the brackets. Start by using a drill to create pilot holes for the screws you’ll be using. Then, insert the screws into the pilot holes and use a screwdriver to secure the brackets to the wall. Make sure the brackets are level and even with each other.
Once the brackets are installed, you can place the shelf on top of them. Make sure the shelf is centered and secure it to the brackets using the included screws, studs, or toggle bolts.
7. Add Your Items
Once the shelf is secured, go ahead and add your items for the first look at how your newly-installed heavy-duty shelves will perform. While at it, be sure not to overload the shelf and always follow the provided weight capacity guidelines to ensure it can handle the weight of your items.
And there you have it! The above steps and tips can make it a breeze for you to mount heavy-duty shelves on your wall. With a little effort, you can have extra storage space to display or store all the items you need at arms-length in your home or office space.

