

If you’re like most families and have a garage, you probably require it for multiple purposes that can rank anywhere from straining to messy.
We see houses garages being used for multiple purposes such as working on vehicles, storing tools, additional supplies and working on random hobbies that are more than likely to create a mess. To maintain the efficiency of such a room you have probably thought of installing a utility sink right there to avoid the hassle of rushing to nearby faucets in the house for cleaning up.
However, installing a utility sink in the garage can be a complicated process, especially if you don’t know how and where to start. Hence, if you believe the installation should be carried out by a plumber, you should start looking for the right professionals for the project. They have the proper knowledge, experience, and skills to handle a utility sink installation. As a result, you can save time, money, and energy as they can complete the job professionally and properly.
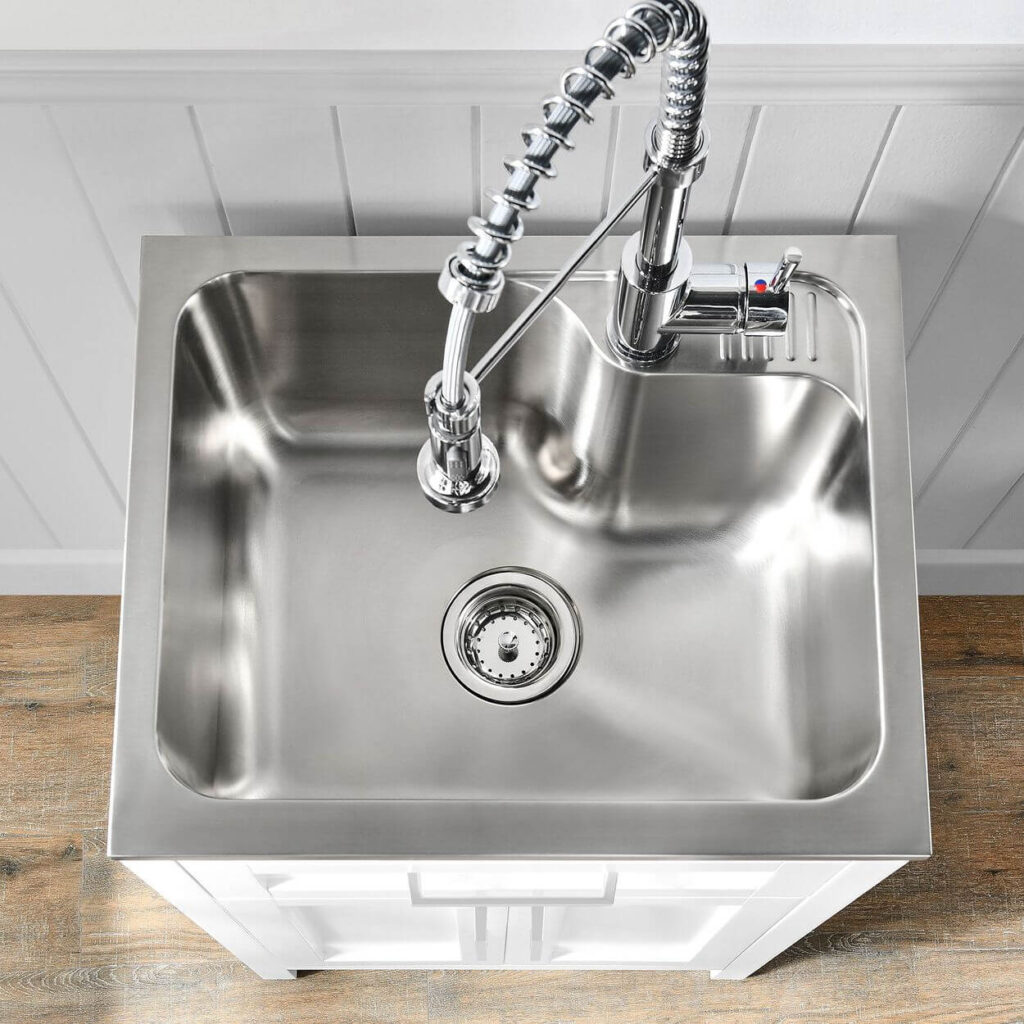
On the other hand, if you’ve decided to work on this project by yourself, then you should equip yourself with the right skills and equipment to get the job done right. If so, now is the time to work on that since here is a step-by-step guide to install the best utility sink faucet anywhere by yourself! Just a couple of tools, some strength, some patience and you’ll have yourself a cleaning station in your garage!
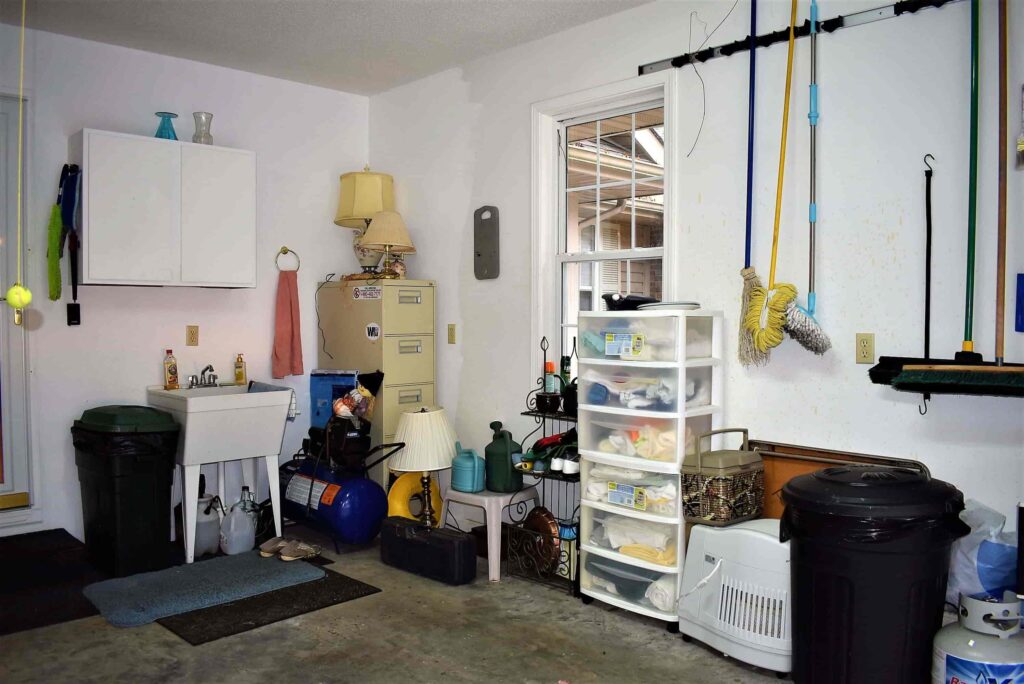
Decide where the Sink Goes

source: sellpoint.net
Make sure you close off the water supple from main water valve. While thinking of where to install your utility sink, you need to make sure it is near to the hot/cold water pipes and a suitable drainage pipe.
Also, don’t forget to mark the areas where the fittings should be connected to the hot/cold pipes and drainpipes. This can help you cut the fittings properly without any problems later on. After making the necessary cuts, make sure the fittings go to the right pipes. For example, the T-shaped fitting should be connected to the hot/cold pipes, whereas the Y-shaped one should be attached to the drainage pipe. With these connections, you can ensure proper water flow without compromising the drainage.
Mark your Pipe
Mark your drain pipe and the hot/cold pipes to see where the fittings will be fitted so that you can cut accordingly. You will be required to add a “Y” shaped fitting into your drain pipe and a “T” –shaped for the hot and cold pipes. These hookups will provide a trail for water to flow into the faucet through your home’s plumbing and will also maintain a drainage pathway.
Creating Hookups

source: lazyguydiy.com
For the drainpipe: Drain pipes are usually made of PVC (polyvinyl chloride), which makes it easier to work with than the water pipes. You will require a handsaw to cut the drain pipe. To attach the “Y’ fitting into the hookup, apply a layer of primer and glue to the end portion of the fitting and place it into the hookup. Attach a PVC trap into the “Y” fittings. This will bring in the flow of water to the drainage pipe.
For the water pipe: Compared to drain pipe services, water pipes are often made of copper and require a tube cutter. After the hookup is made, with the help of a soldering iron/torch, melt the solder between the copper pipe and the “T”-shaped fitting. This will merge the water supply from the hot and cold pipes into one single faucet.
Sink Placement
With the help of a compression nut, place the sink under the new PVC trap fitted in earlier. Place a generous amount of Plumber’s putty under your faucet before fixing it into the sink. You would also need to attach flexible hoses to the bottom of the faucet in order for hot/cold water to flow smoothly through the setup.

source: sparkplatform.com
Connecting Everything
Attach the flexible hoses to the “T” shaped fitting. Opposite ends should be attached to the hot and cold water fitting. If you’ve ensured all connections are made, turn on you your Main water supply and insect the working of your sink, and you notice water leaks anywhere, turn off the water supply and inspect the entire setup for any loose connections. If the water flows smoothly, without any leaks anywhere, Congratulations! You’ve fixed yourself a utility sink in your Laundry Room or garage by yourself!
Final Words
Written instructions are hard to understand at the first go. But after some minutes of concentration, they become your best friend in the field.
Finally, if you want to make sure you install a utility sink in the garage without any serious problems, keep the information mentioned above in mind, and you’re good to go. On the other hand, it’s essential to know that installing a utility sink in the garage doesn’t have to be difficult.
I hope this one is having the same effect.
