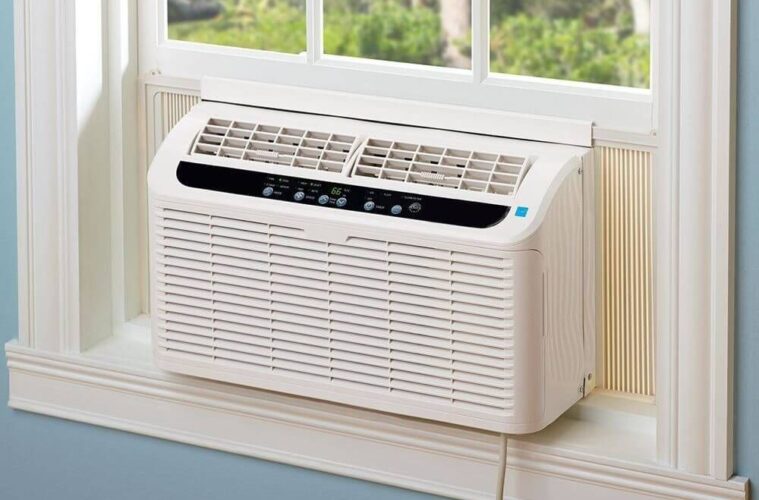
As the summer season approaches, you could wonder how to cool your home. Although many air conditioners can help you achieve this efficiently and safely, a window AC could be more than helpful when appropriately installed. You can click here to enlist AC installation services.
An Air conditioner mounted on your window is a reliable, cheap, and durable way of cooling down your room during the scorching heat of summer. In addition, the current models in the market made slightly over a decade ago are exponentially energy efficient.
Before you start
source: pinterest.com
Before divulging the steps, you must check a few things. First, you must select a window almost similar to an outlet. Most AC windows are estimated to have 5 to 6 feet long power cords.
You must look at which side of your AC’s cord extends from and choose the outlet where the cable reaches. Some AC models permit one to open the cord from either side.
Additionally, after purchasing a window AC, you will be given a manual to refer to the manufacturer’s instructions and directions.
What tools do you require to fix your window air conditioner?
Ensure you get the following tools and materials.
- Measuring tape
- Manufacturer-provided brackets and screws
- Scissors
- Screwdriver
Locate the center of the window
source: pinterest.com
You should be extra careful when removing the AC unit from the box, as the back can be sharp. But before fixing your AC, confirm if all the unit parts are available in the packaging box.
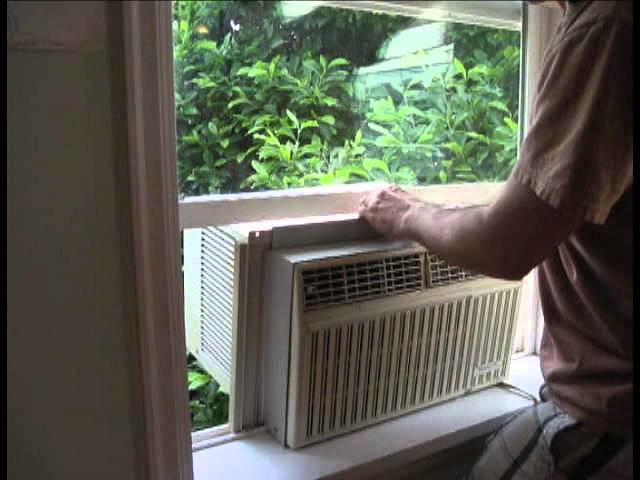
Secondly, it is time to measure the width of your selected window and put a mark at the center using a pencil. Marking the center will ease the installation process and ensure that the side panels reach the two sides of your window.
Open and prepare your window
Ensure that the window is open. It is time to install if the manufacturer has provided you with a weather strip. The strips block the air that may go through the tiny cracks.
Additionally, the U.S. Department of Energy depicts that strips protect your window from damage when removing or installing your AC
However, not all window AC units have strips, and your AC will work flawlessly without one.
Attach the side panels
source: pinterest.com
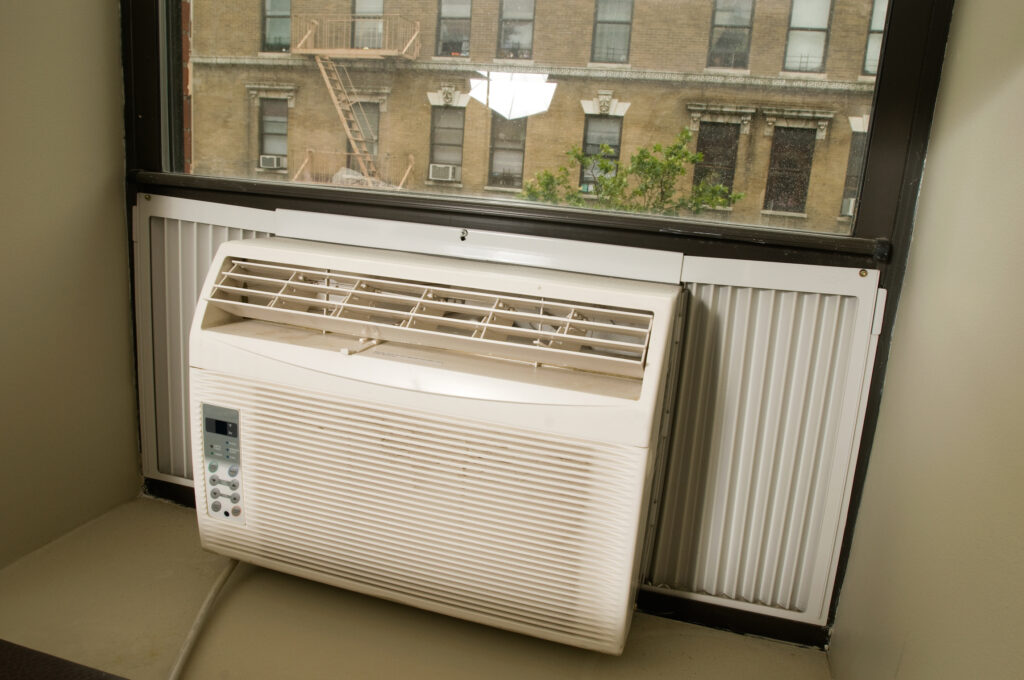
In this step, you must slide the panels appropriately on your window AC unit. Ensure that all the panels are in their appropriate places, and using the screws provided, secure all the adjustable panels in your window.
Ensure that all the screws are connected perfectly and avoid leaving any gaps that can allow allergens, pollution, and warm air into your lovely home.
Insert the AC into your window
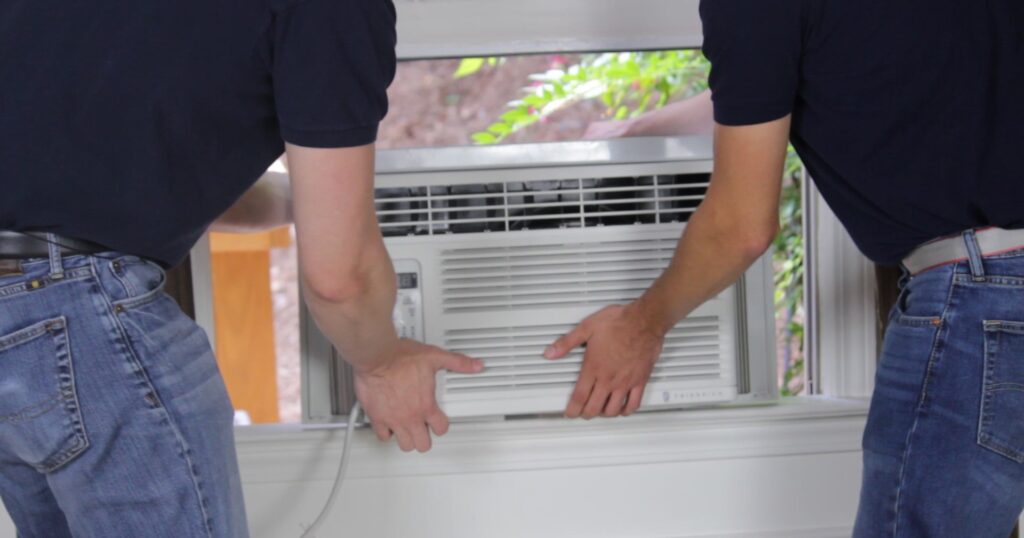
You must get an extra person to help you execute this step, even if you can lift the unit alone. An additional person to secure the AC and close the window is safer.
Most of your AC unit’s weight will concentrate on the outside; thus, you need to take extra care before fixing it into place. Moreover, you should secure the AC once the window is closed.
Install the wall bracket
So far, you’ve done the toughest part. The only thing left is to secure everything and finish up. Depending on the manufacturer, most models have an L bracket to hold the window securely.
It is time to fix your opened window’s L bracket(s). The bracket will prevent the window from getting pushed up, which is a significant concern when installing window ACs.
If your window AC unit is not packed with a bracket, feel free. You can use one from your tool collection to hold the window in place.
Extend panels
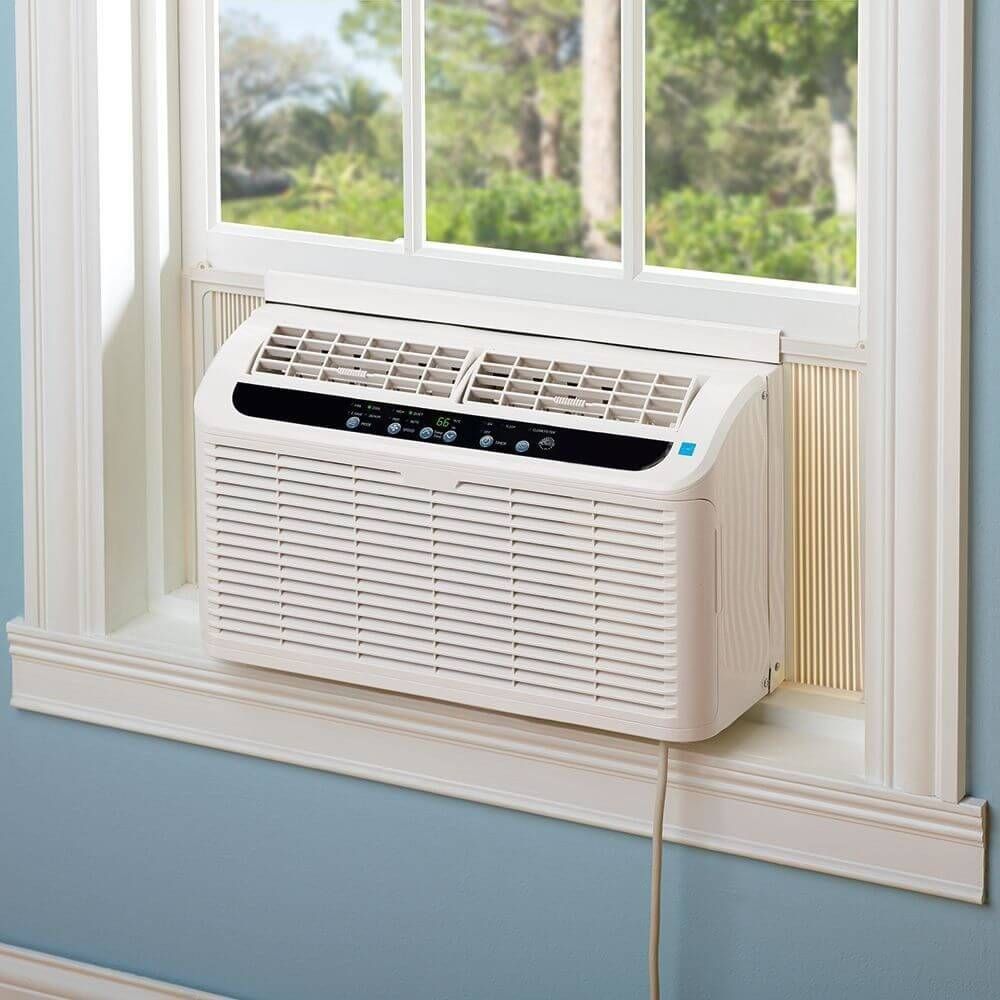
source: pinterest.com
If the manufacturer of your AC provides you with extended panels, add the padding to all the sides of your opened window.
However, if your model has no padding, ensure the side panel extends to reach your window. Finally, attach the two sides of the panel to the window using the manufacturer’s screws.
secure the unit and start cooling
Some manufacturers will provide screws and brackets to connect your window AC to the interior window sill.
That provides an extra level of security; however, a few manufacturers find it unnecessary. However, if your manufacturer provides you with them, screw them at this stage.
You are done with fixing your window air conditioner unit! Next, it is time to plug in and switch on your AC. After a few minutes, your room should start cooling as you enjoy your summer.
Factors to consider before purchasing a window AC unit
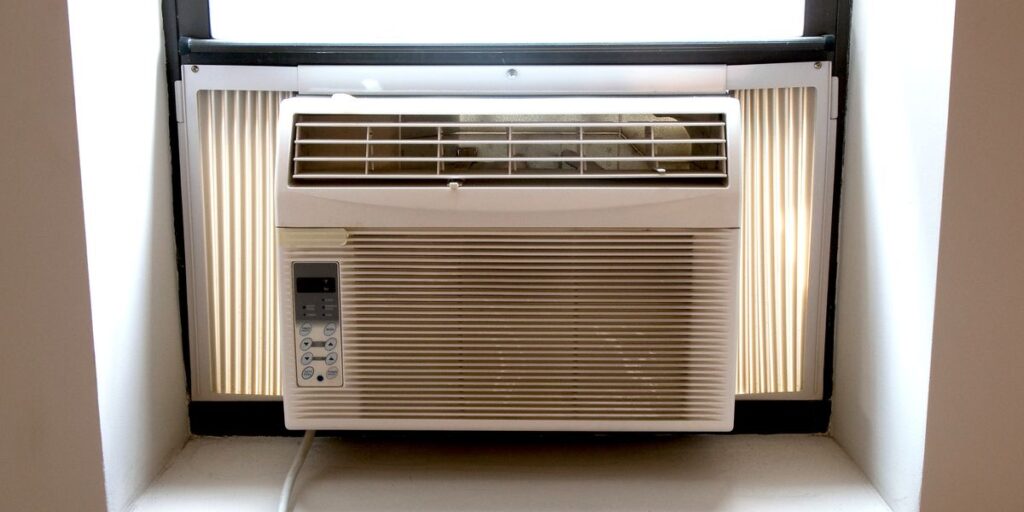
source: pinterest.com
Here are the factors that can help you buy a window AC that suits your needs.
Size of the room
Before purchasing an AC unit, you must value the size of your room. Window ACs get manufactured in various cooling capacities and sizes between 5,000 BTU and 25,000 BTU.
ENERGY.GOV depicts that one needs 20 BTU to cool a living room square foot.
Buy the best
Consider purchasing the most convenient and quietest when buying a window AC unit. As the summer season is hot, so is the competition between various AC manufacturers.
Due to the high competition, the U.S. Department of Energy and Statista.com depict that manufacturers can hold down the prices.
Thus you must select the best AC with the utmost features, such as a handheld remote, a voice control, an app control, and dehumidifier settings.
Check the window
The majority of window ACs get manufactured to fit in double-hung windows. Moreover, most can fit into sliding or swing-out casement windows. Check the manufacturer’s manual for precise installation instructions.
Final thought
With the outlined steps, installing your window Air Conditioning unit should be a walk in the park. Use the manufacturer’s manual during installation.
You can also engage another set of hands to assist you because the AC unit could be too heavy. However, working with a reputable HVAC expert during AC installation is more prudent.

