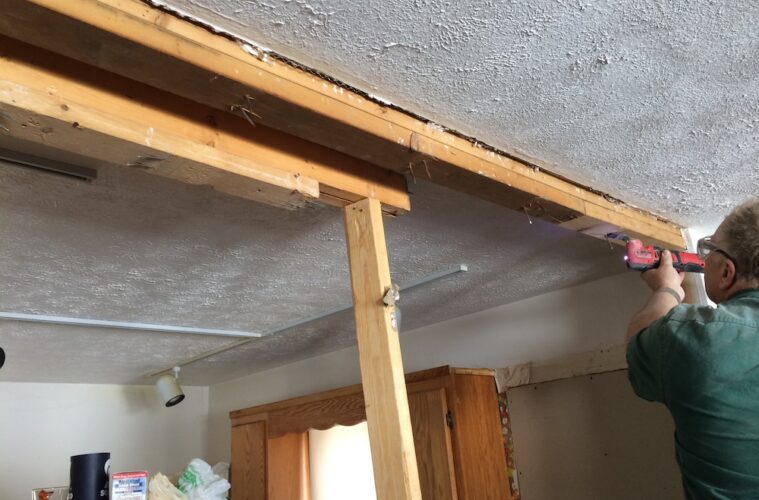
One of the most satisfactory parts of a home renovation project is removing a wall. Not only are you completely changing the way your room looks, but you also get to swing a hammer and take out some frustration. But before you start bringing down that wall, the experts at 360 Demolition & Environmental Services explain how to do it properly because it’s not as easy as it may seem.
Determine if the Wall is Load-Bearing
source: pinterest.com
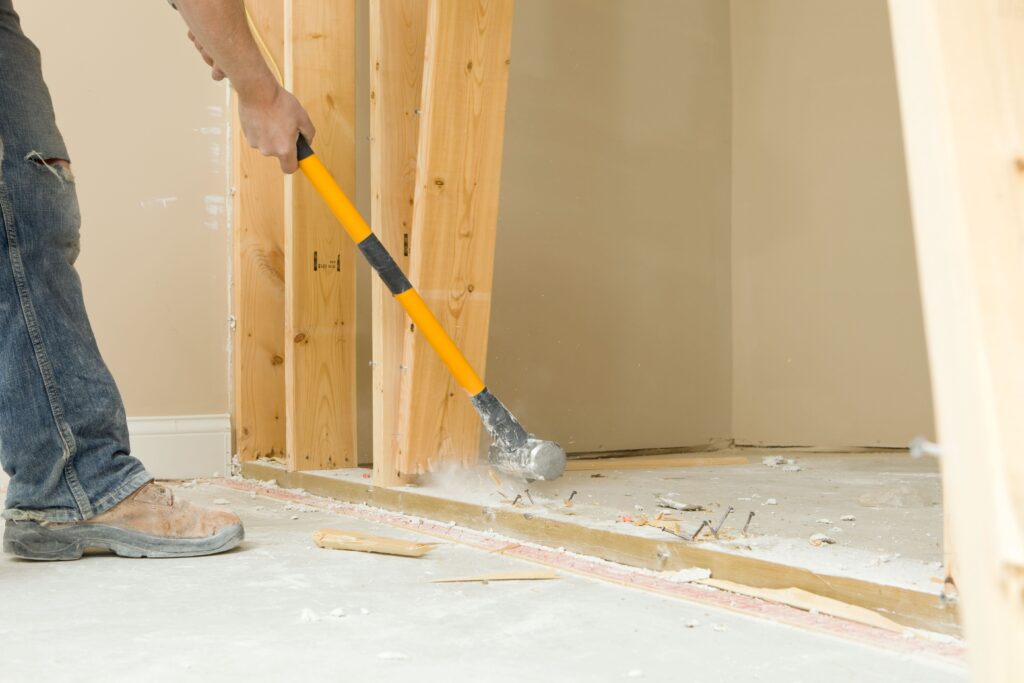
This is probably the most important step of removing an interior wall. If your wall is load-bearing, you can still remove it, but it’s best left to professionals. This is because you could damage the integrity of your home’s structure by removing a load-bearing wall and then you’ll have an even bigger issue— like the entire house coming down.
To determine if a wall is load-bearing, check the basement or crawl space for the floor joists. If the walls’ studs are at right angles to the floor joists, the wall is probably load-bearing. Then go to the attic to check to see if any structural weight is relying on this wall. If so, the removal should be handled by a company that knows what they’re doing.
Locate Any Internal Components (If Any)
source: pinterest.com
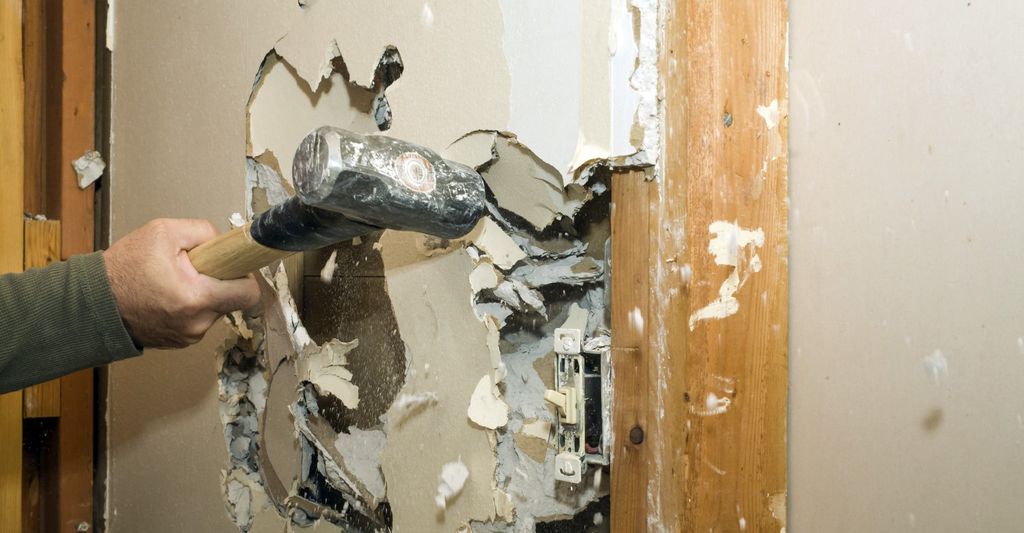
Many walls contain electrical, plumbing, or ventilation components like pipes, wires, and ducts. You may have to trace these lines from the lower level to the wall to find out if they are in there. If there are outlets on the wall, you know for sure there are at least electrical components in the wall and you might want to have these moved before proceeding. In any event, even if you don’t believe there are any components in the wall, be sure to turn off the electricity and gas before you begin demolition just to be safe.
Remove Trim
Always remove the trim around the wall first by prying it off with a pry bar or similar tool. Set the trim aside because it will have dangerous nails protruding from it. Don’t throw it away yet. You might find a use for it later!
Score the Drywall
source: pinterest.com
Scoring the drywall helps you bring down the wall in an organized manner. Sections that you score will come out without taking down parts of the ceiling or other sections of the wall that you don’t want to demo. Take a razor or utility knife and score along the joint where the wall connects to the ceiling. If you are only removing a part of the wall, score that section as well.
Knock It Down!
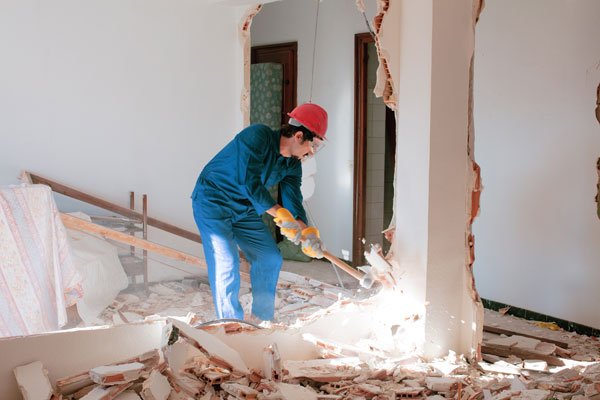
Use a regular hammer to create a small hole in the wall to make sure there are no studs or other components in your way. Make the whole large enough so that both your hands can fit into it. Tear down what you can with the hammer, then rip off any remaining wall away from the studs. Knock out the opposite side of the wall with a hammer. Remove any insulation with gloved hands.
Remove the Studs
source: pinterest.com
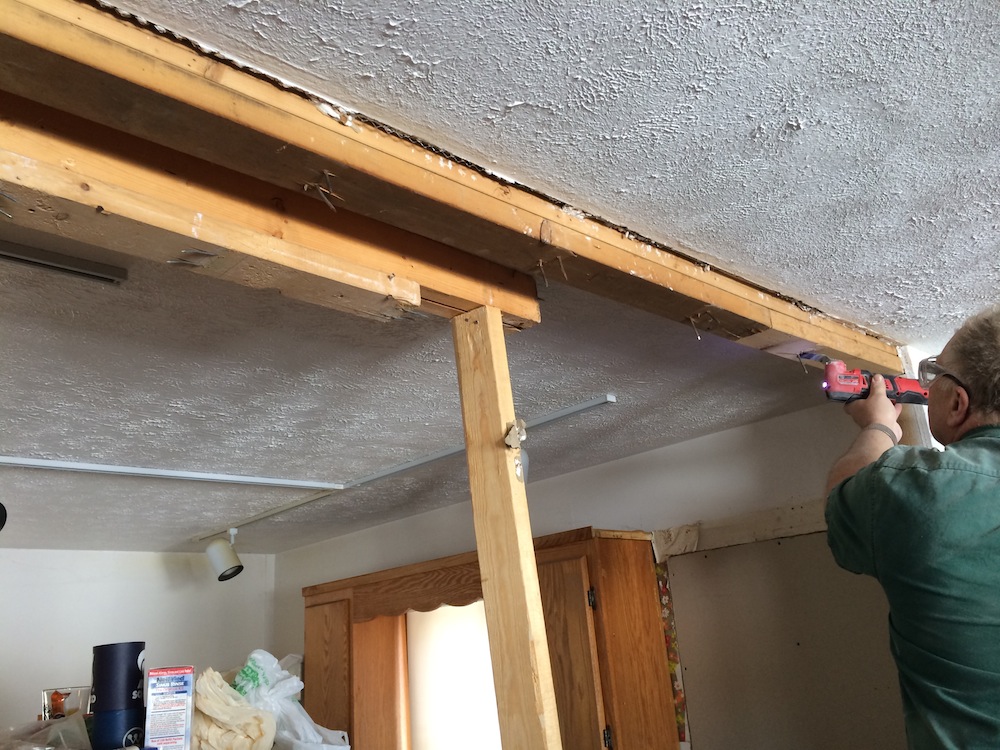
Use a reciprocating saw to cut the studs at the bottom while another person holds the boards in place. Then, pull the studs out from their top plates. Finally, remove the top and base plates with a pry bar or similar tool.
Conclusion
After removing the studs, all that’s left is the cleanup! Taking down a wall isn’t too complicated if it’s not a load-bearing wall, but it does require attention to detail to make sure it’s done in a safe manner.

