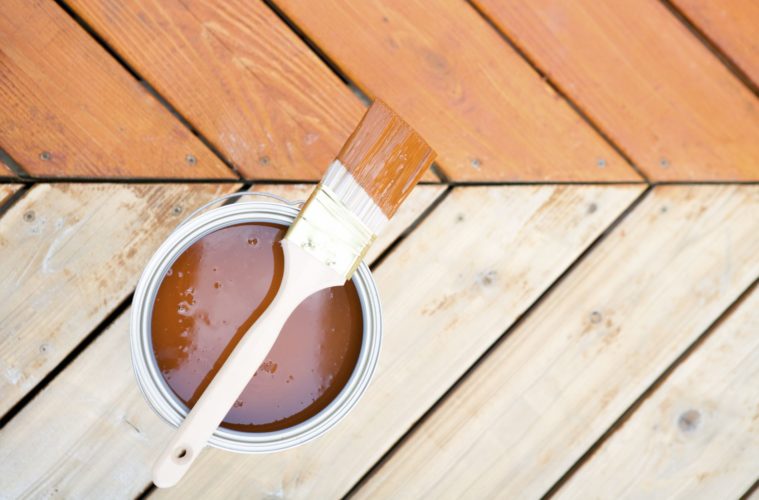
Staining wood can be a great way to give something old and battered an uplift. It also helps to protect against the elements and further deterioration. Perhaps most importantly, it can bring new life to a room or decking area and make you able to enjoy a space again. But how do you stain wood properly? In this post, we will teach you 8 wood staining tips and tricks to get your wooden furniture and furnishings looking like new.
8 Tips & Tricks for Staining Wood
Choose the right paint type
source: homedepot.com
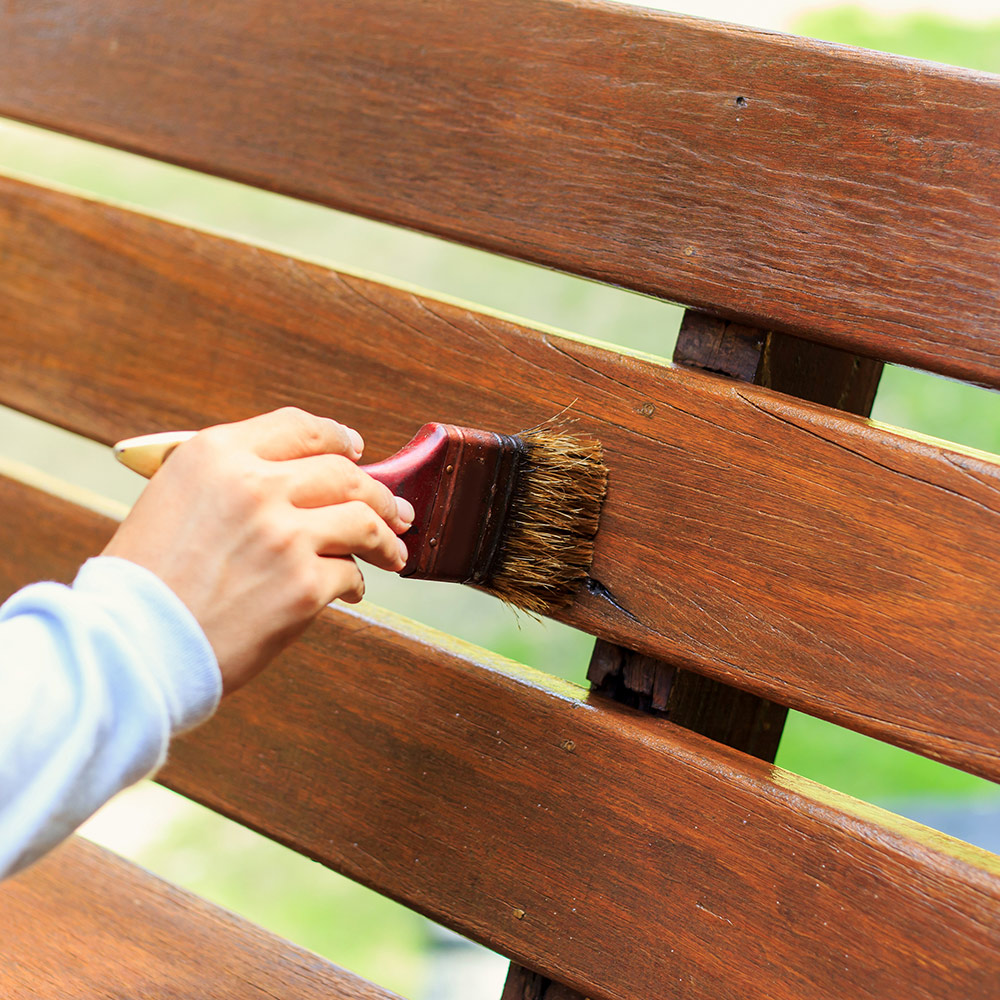
You can buy both water-based and oil-based wood stain products. Choosing the right one depends on the task at hand. Oil-based stains are better outside as they offer longer-lasting protection and won’t be damaged easily by wet weather. However, they take longer to dry, have a stronger odor, and require solvents to clean-up. On the other hand, they don’t require sanding after use as they do not raise the wood’s grain.
The benefits of water-based paints are their faster drying times and lower odor. This makes it more suitable for use in indoor and enclosed spaces. However, it can raise the grain of the wood. This is when fibers from the wood stand up and cause rough surfaces with a dull finish. The fast drying times can make larger jobs hard to get a good finish too. Unlike oil-based paints they won’t penetrate deep into the wood, offering less protection.
Choose the right material
source: thespruce.com
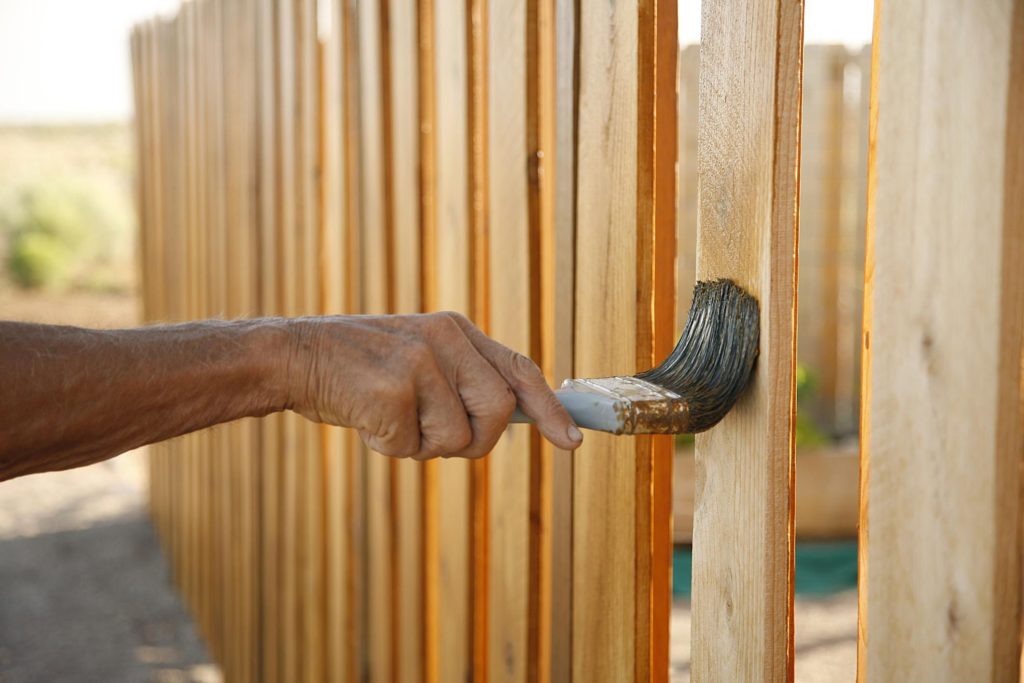
When choosing the right stain you also need to consider what type of material you are staining. Oak is one of the easiest woods to stain and hardwoods generally have a neater and more attractive grain. However, they also require more coats of a stain than a softwood requires. Softwoods like pine have a tendency to have uneven grains and blemishes in the wood. This can cause staining to dry unevenly and leave blotches if you are not careful.
Always sand before staining
source: familyhandyman.com
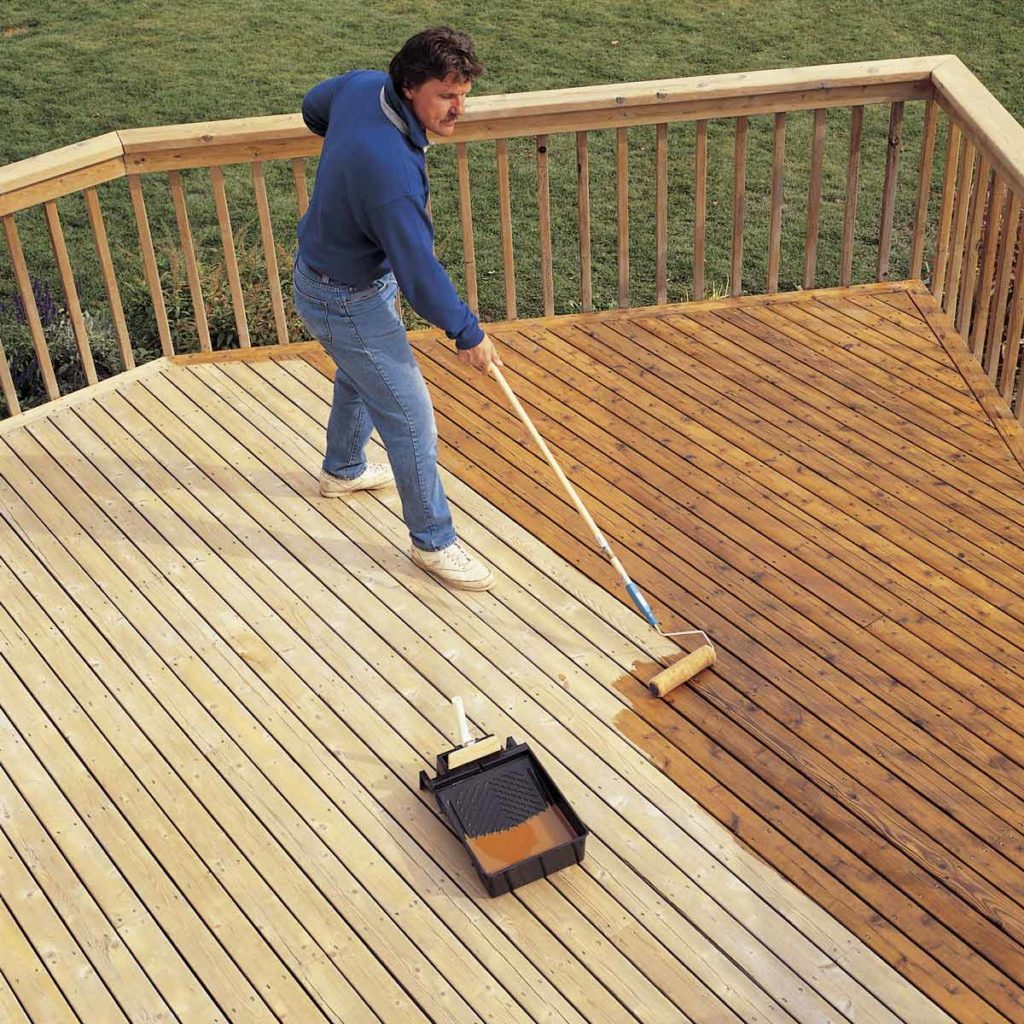
It is vital to sand and wipes down your wood before staining. This ensures that when you apply the stain you start with a smooth surface free from dust and dirt. Scratches in the wood will actually be highlighted by stain too so you want to sand over these. If you are using an orbital sander be careful to keep an eye out for swirl marks. When your stain is applied these will become very apparent.
Top Tip: Use medium grain sandpaper to do this (100-120-grit). Fine sandpaper will prevent the wood from taking the stain. Sanding with a coarse grain will cause the stain to be too dark.
Use a wood conditioner
source: thespruce.com
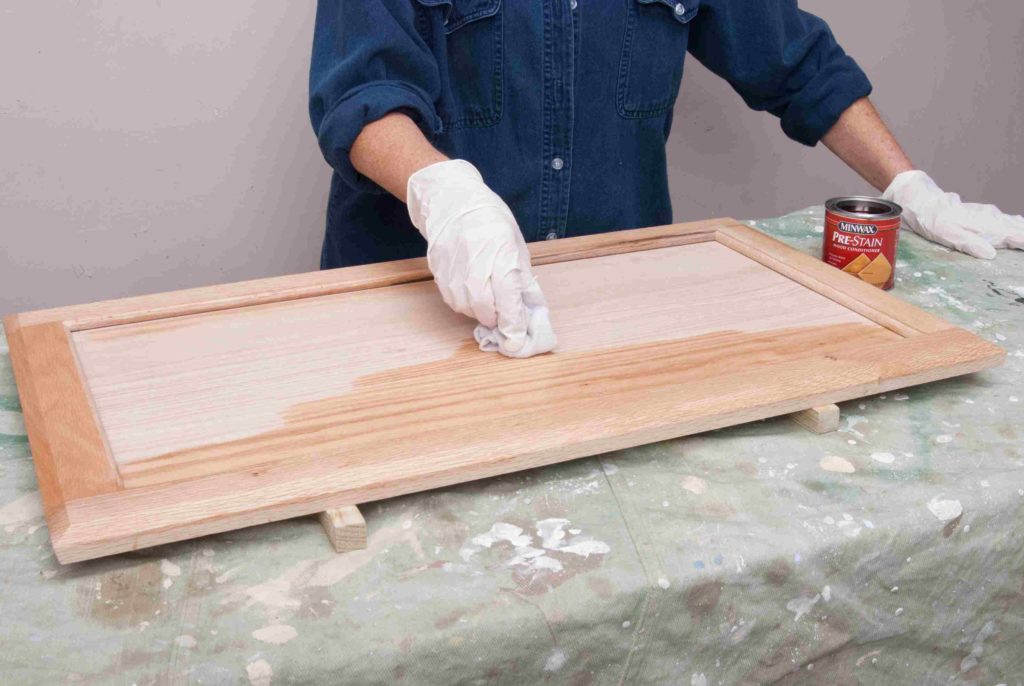
If you are working with softwood, wood conditioner can be an easy fix against blotching. In particular, wood like pine, alder, fir, birch, and maple work best with a conditioner. The conditioner is designed to prevent splotching and works as a clear stain. However, it does prevent your stain penetrating deep into the wood so it is not usually a good idea with hardwoods. It will also make the tone of the stain you use slightly lighter so be careful to factor this in. If using a wood conditioner, you need to make sure the stain is applied before the conditioner is completely dry.
Stir the stain before use
source: washingtonpost.com
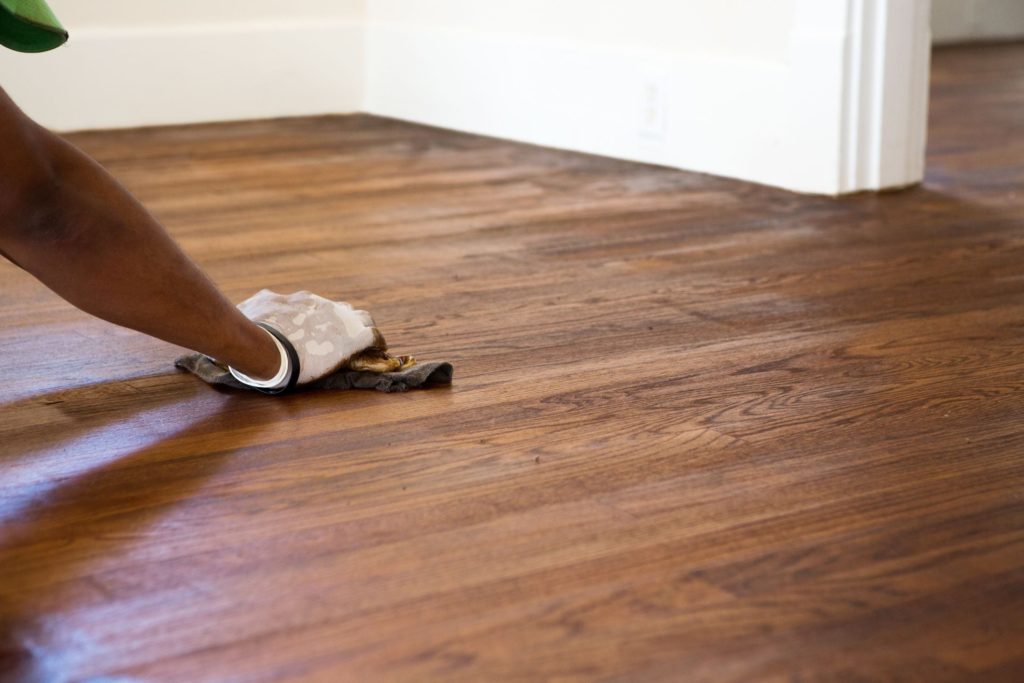
This is a simple step but one people often forget! Don’t try to cut corners by shaking the can before taking the lid off either. This adds bubbles to the mix and will cause an uneven finish. If you don’t stir your stain much of the pigment will have dropped to the bottom of the can. This means the final color would look nothing like it does on the tin. Just find yourself a deep enough implement and stir well. Be sure to have something to hand to wipe the stirrer.
Use a staining sponge
source: thecraftcrib.com
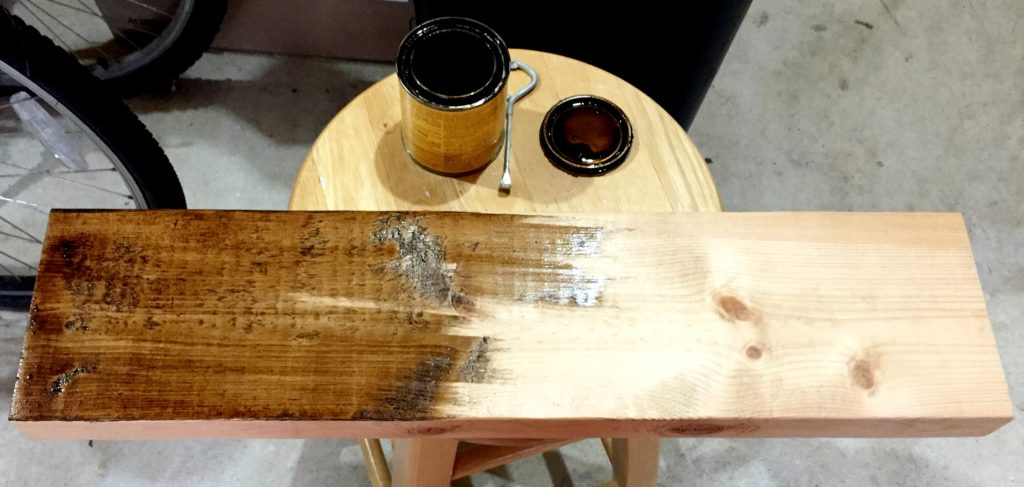
A staining pad or staining sponge makes it easier to apply stain without causing drips and blemishes. This is because they are designed to soak up any excess liquid as the stain is applied. You can cover much more ground with this method. You can apply the stain liberally and wipe with the staining sponge. Be warned that the longer the stain sits on the wood, the darker it will become. This means you will still need to move at a good speed and remember not to leave any stain sitting on the wood for too long before wiping.
Don’t apply stain too thickly
If you apply stain too thickly, when it dries, it will simply peel off. If you want a darker finish allow each coat to dry completely and apply extra layers. The more thickly you apply stain, the more likely you are to end up with blotches too. This is because you are more likely to leave an uneven density of stain on your wood. As you add coats, these uneven layers will become more apparent.
Be careful with wood fillers
source: thespruce.com
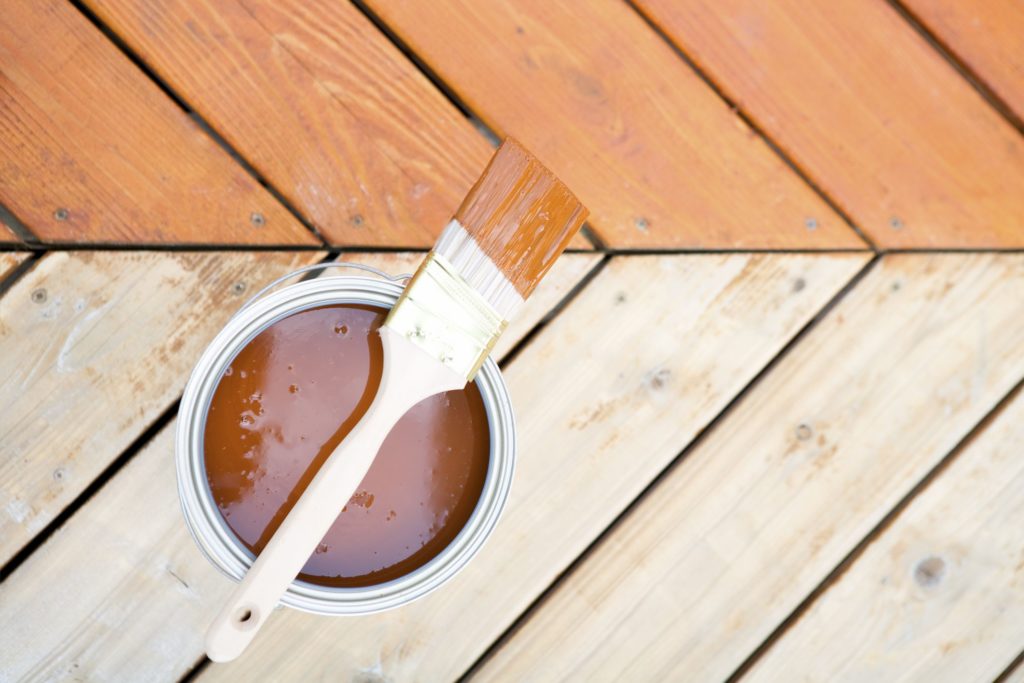
As much as possible, you should sand blemishes rather than try to use fillers. Many wood fillers won’t actually take on a stain. Even if a filler has been designed to take on the stain it will likely dry a different color to stained wood. If you are sure you need to use a filler, test it out on some scrap wood first. If you are happy with the finish it gives, then you can use it on your main project. However, if you have plenty of meat on your wood, sanding it down will be preferable.
Staining wood is simple with the right approach and tools. Staining pads and sponges rather than brushes help make the task quicker. It will also be easier to avoid blotching with staining pads. Be sure to sand everything down before applying any stain. You should also choose the right type of stain for the wood you are using and where you are using it.

